
10041 Polk Street NE Minneapolis, MN 55434
Outdoor Drainage Project Example
Fixed Clogged Channel Drain in Driveway
Examples of KG Landscape's Drainage Repair Work - Before, During & After Pictures a Trench Drain Fix in Minneapolis, MN
The Outdoor Drainage Problems and Symptoms
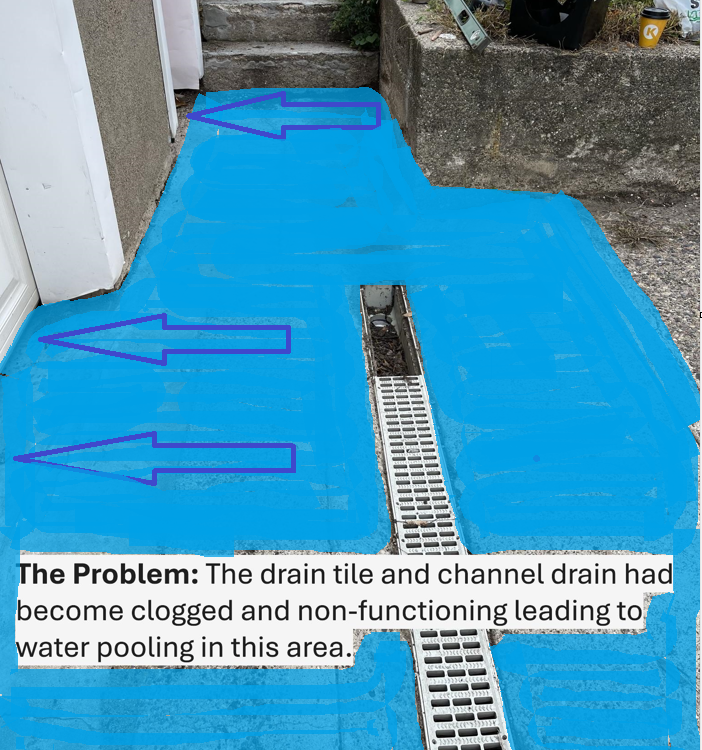
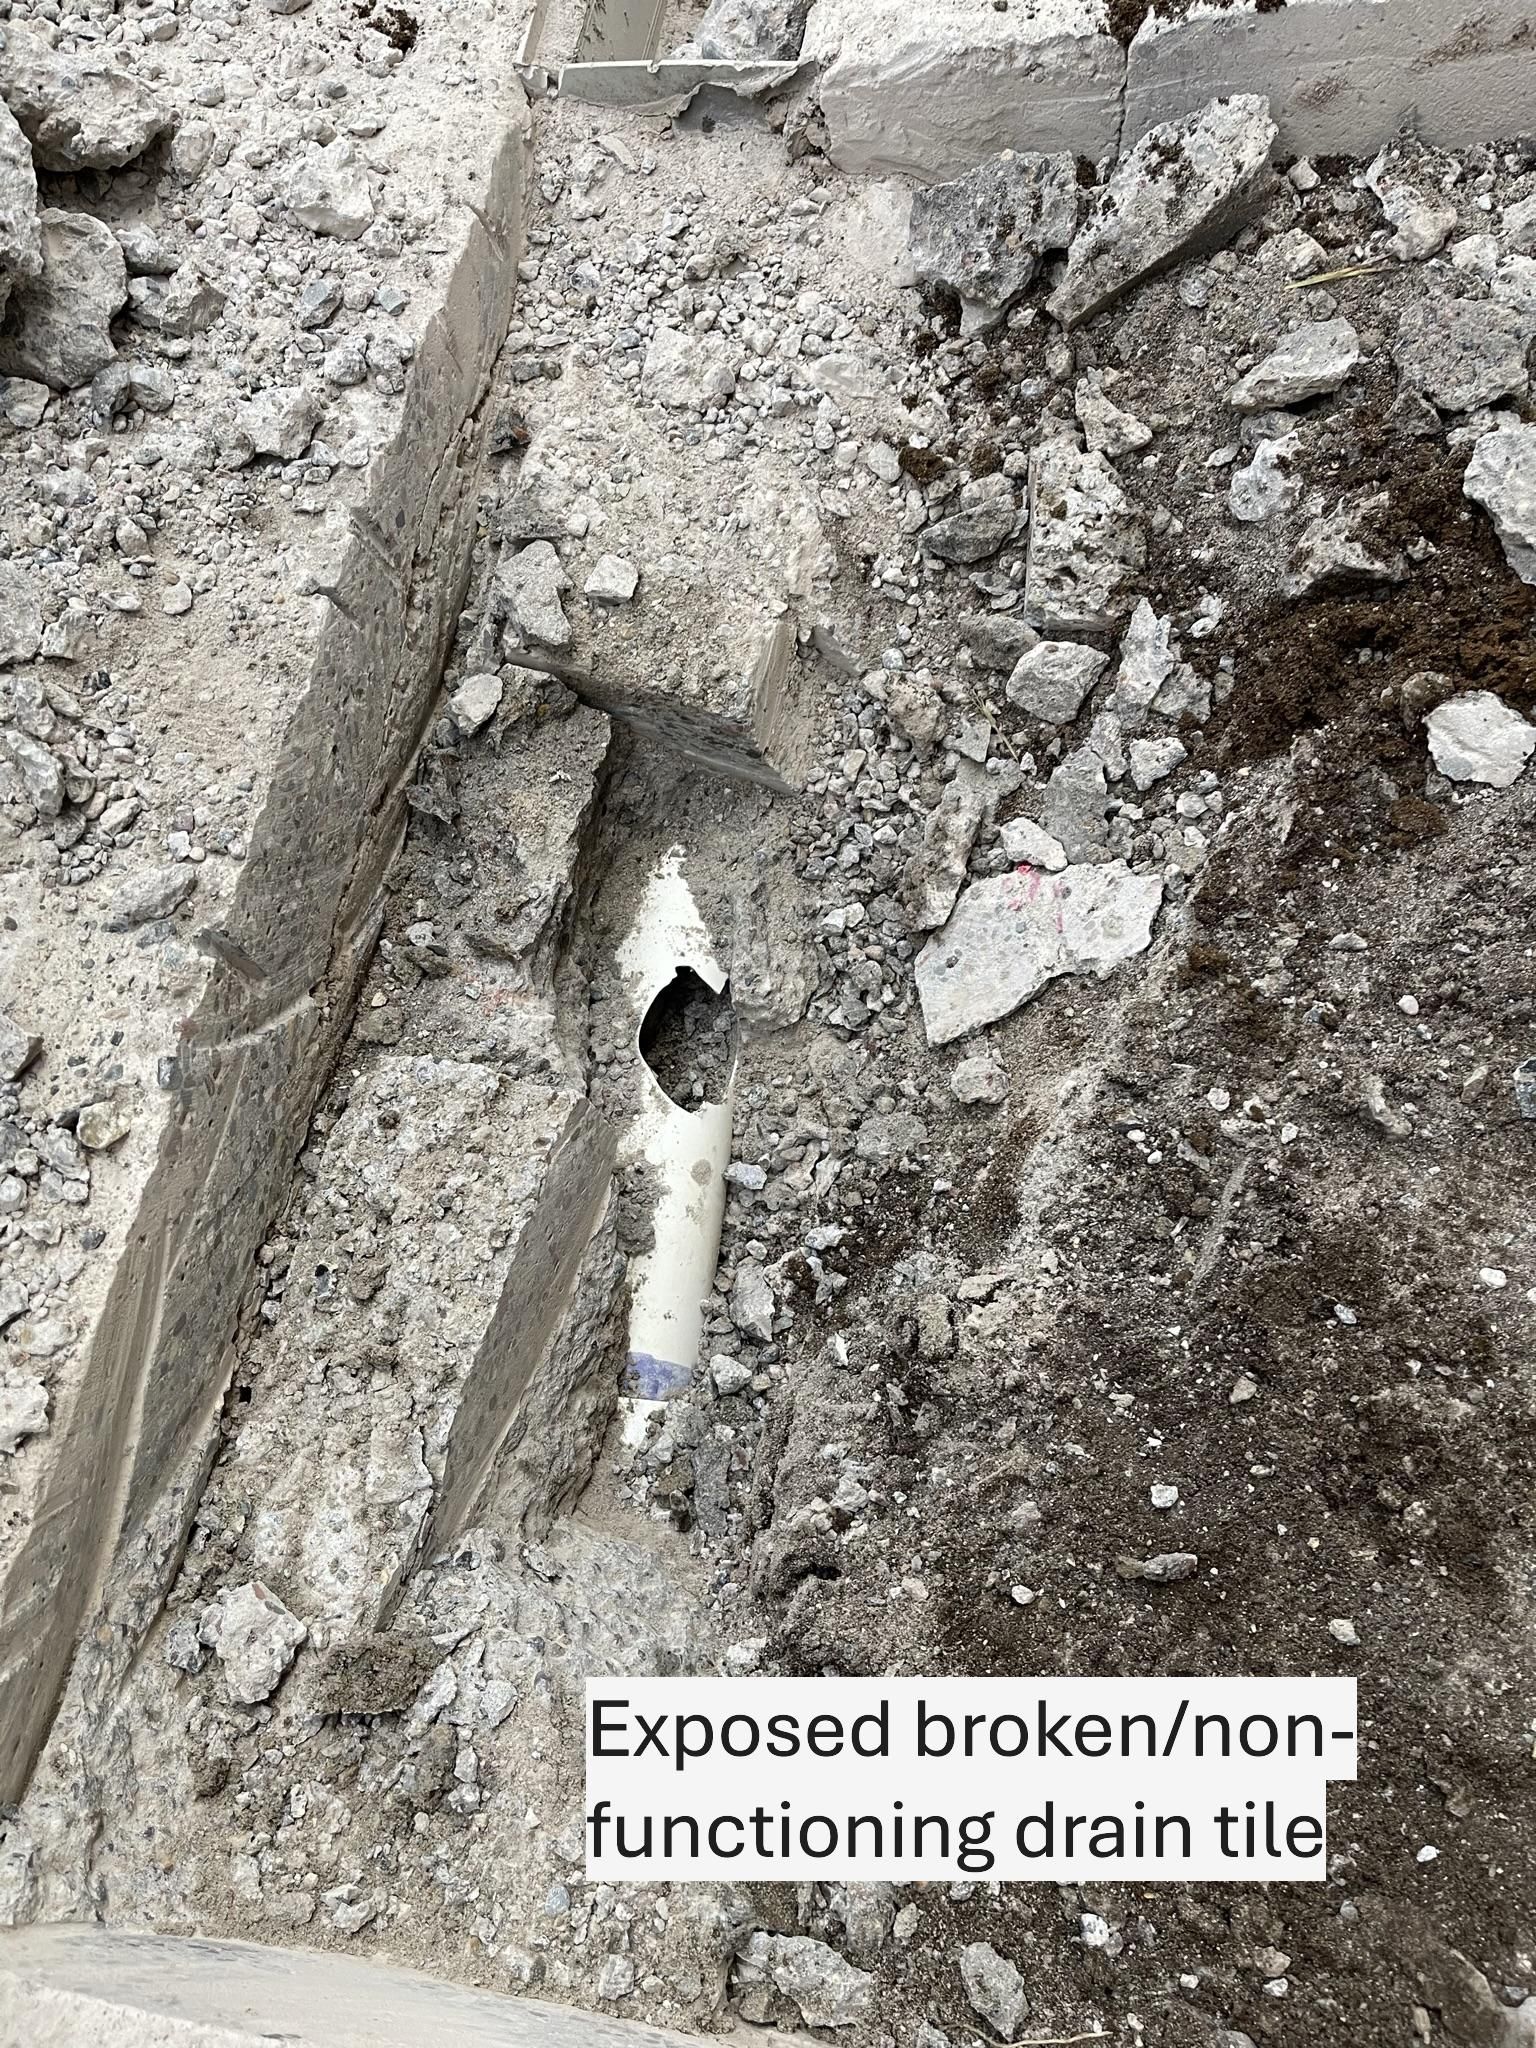
The Drainage Problem: Non-Functioning Channel Drain Was Clogged, Allowing Pooling Water to Run Directly Into the Garage Causing Water Damage in Garage and Basement
This Channel Drain did not a have a functional method to handle the water collected by the drain. This caused the channel drain (aka Trench Drain) to form large puddles of water around the drain after rain events. That puddle would fill up and then empty right into the garage. This customer also had steps in his garage that led down into the basement, which meant the large volumes of water getting into the garage would then run down those steps and right into the basement :(
This was garage was built as tuck under and the slab was lower than the street kevel elevation, so there was no way to send water from the driveway to the street. All of the water from the driveway was designed to flow back downhill toward the garage, where it could then be collected by a channel drain to prevent that water from getting into the garage. So when that drain failed, it was time to find a solution quickly!
Weighing Out Priorities, Drainage Repair Options and Project Budget
During KG’s on-site drainage consultation with this customer, we identified that the slope of driveway and adjacent yard would limit the solutions for this project to either a dry well or doing to direct tie in to the city storm sewer that ran parrel with the street at the end of the driveway, below the road. For this situation, there was no feasible option to drain water off the side of the driveway and into the yard, since the driveway was surrounded by retaining walls holding back the higher ground of yard behind them.
After weighing out or options we realized that for this project, tying the existing driveway drain directly into the city storm sewer would require digging up a larger section of driveway and was out of budget. Building a dry well as large as we (KG) would have preferred was also not in the budget.
To accommodate the customer's budget for this project, we ended proposing a small to mid-sized dry well that water from the channel drain can outlet into below ground. We designed a basin that was adequate in sized to the job for 95% of rain events, but likely would reach capacity during the extremely heavy and somewhat rare rain events (events' exceeding 2" of rain per hour, for more than 1 hour).
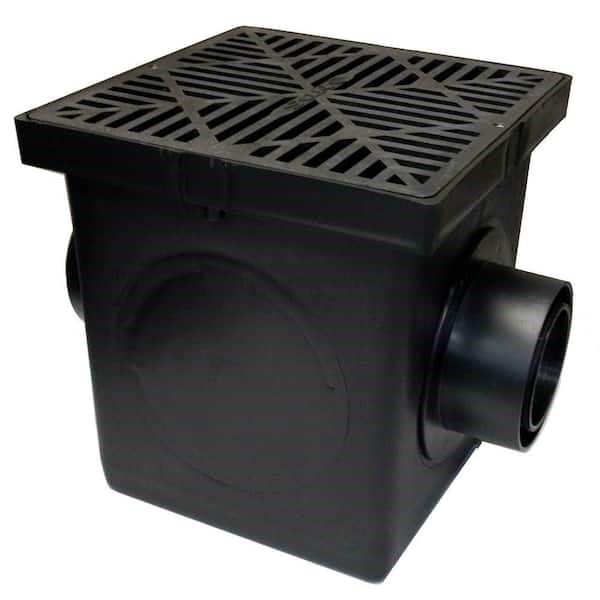
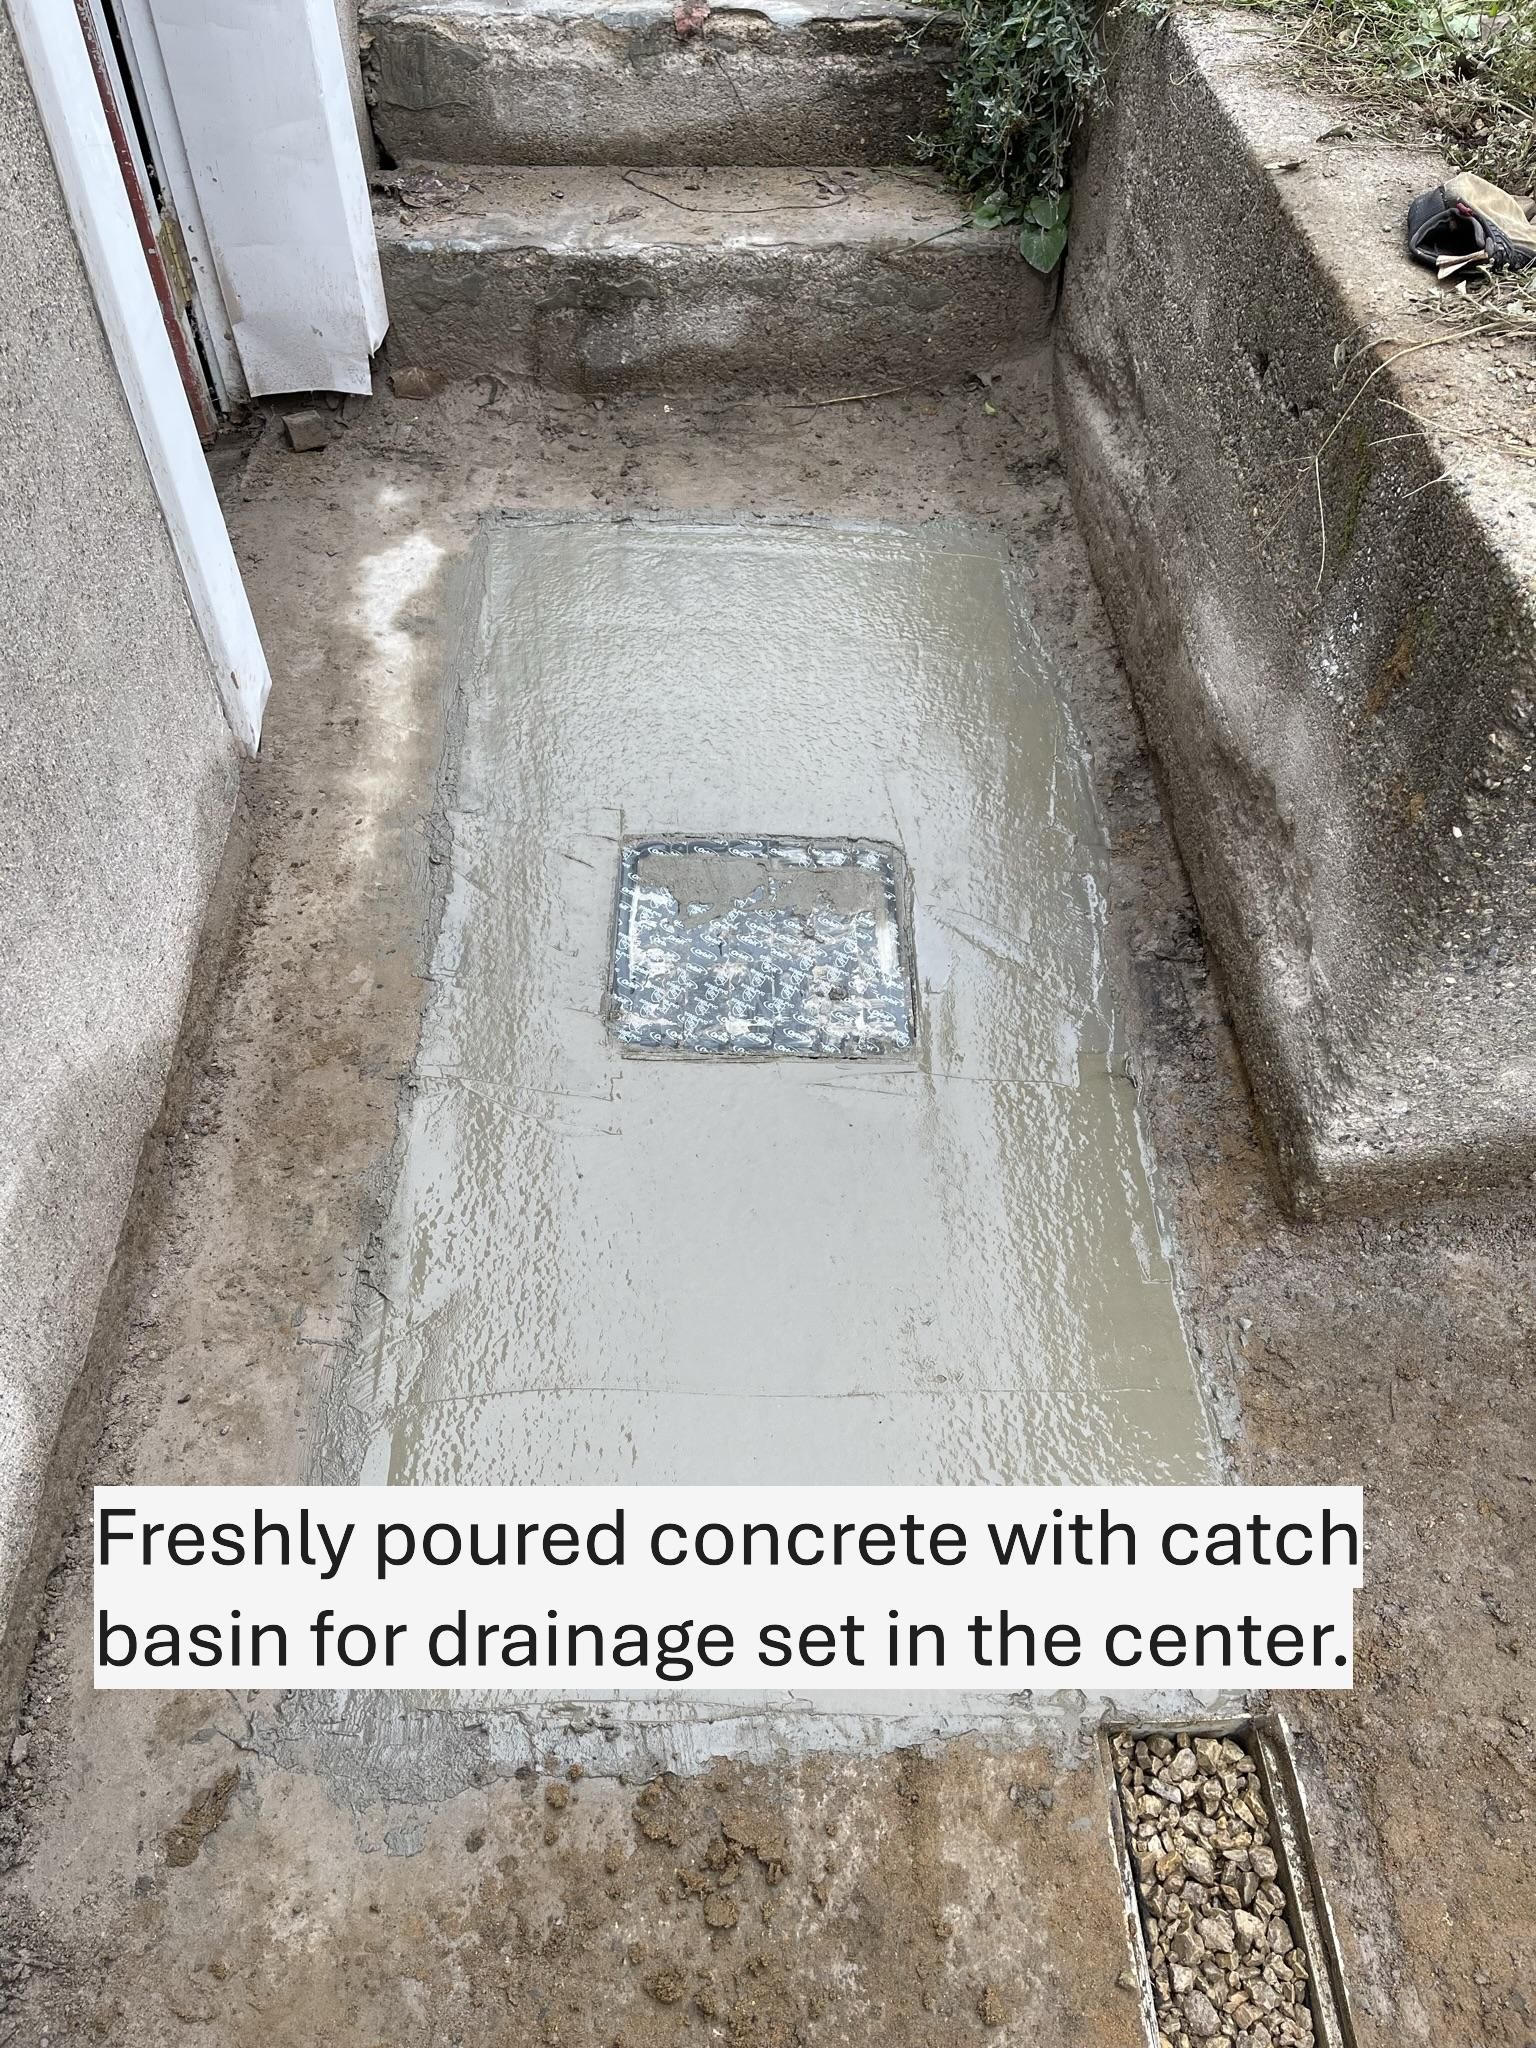
This customer had been using a trash pump (temporary portable sump pump) to drain the large puddle forming around the drain after rain events when the drain was clogged, so he asked that we install a basin where he could drop his sump pump into should he ever need to use it for these rare heavy rain events. That's why we installed the 12" catch basin drain in the center above the new dry well, because the top can be removed and makes and the basin creates a perfect low point for the customer to use his temporary sump should he ever need it.
If your interested in learning more, check out our outdoor drainage webpage to learn more about all of the drainage solutions we offer.
After Speaking with the Customer and Weighing Out Options, Here's The Drainage Solution We Proposed for This Project
Here's exactly what was included in our estimate for the homeowner
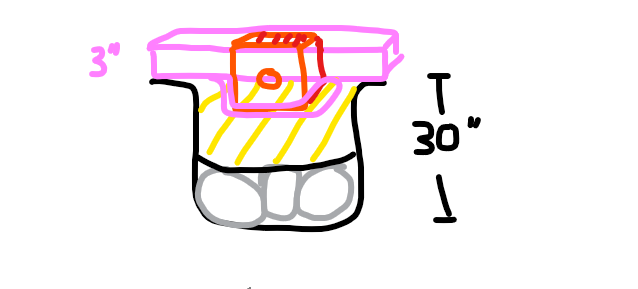
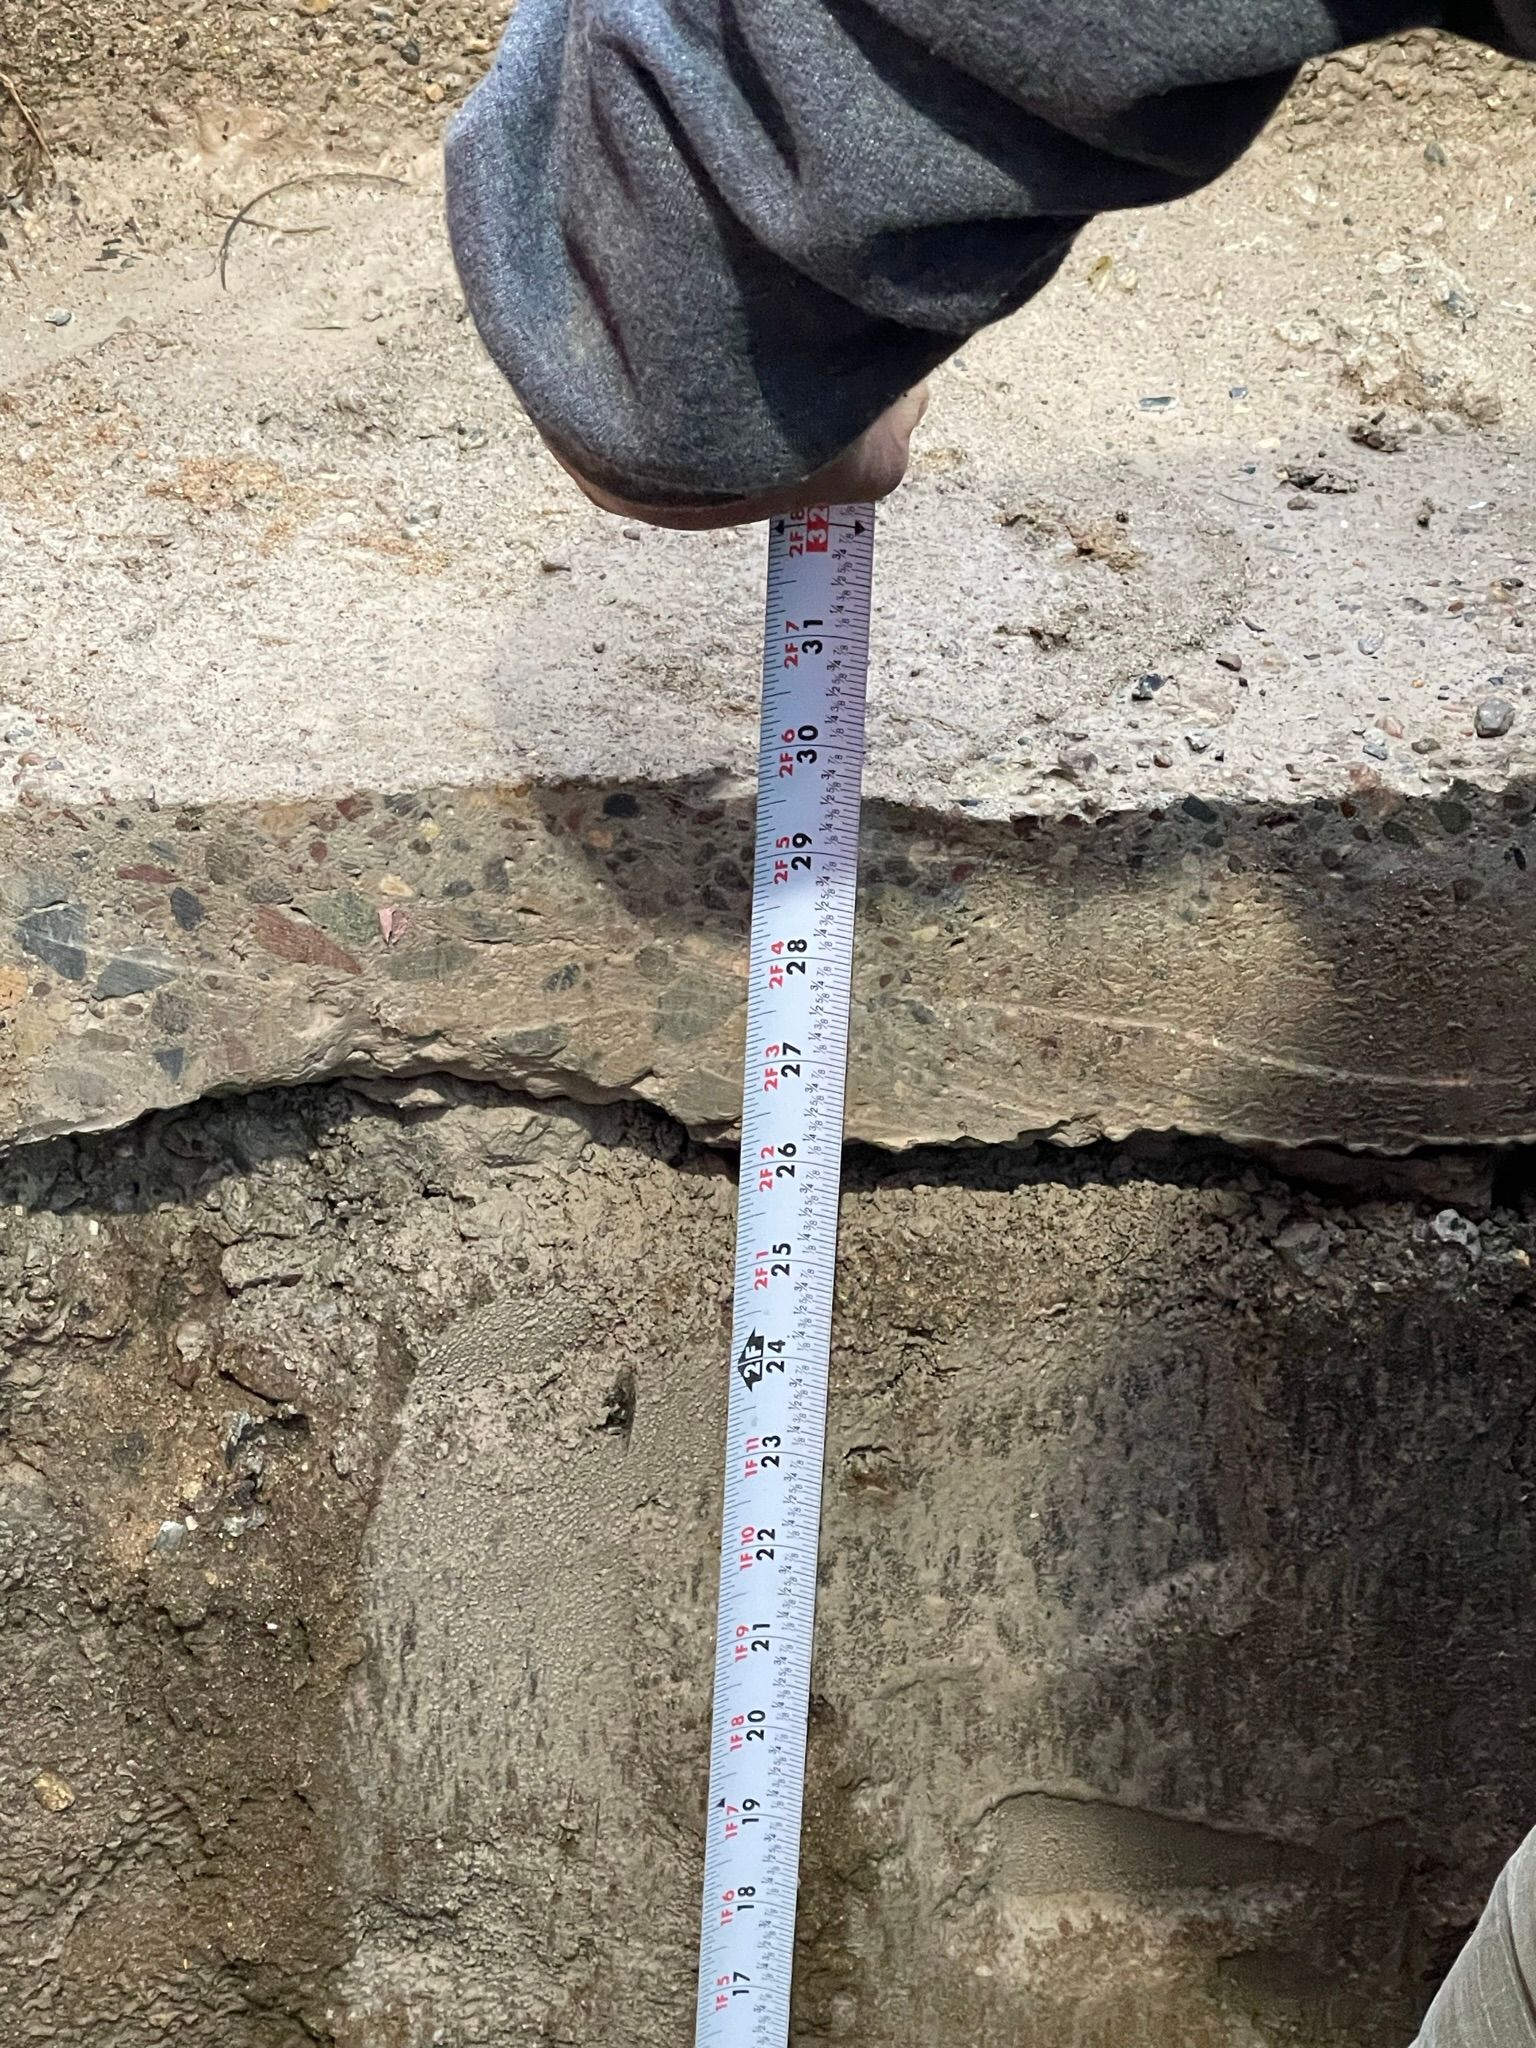
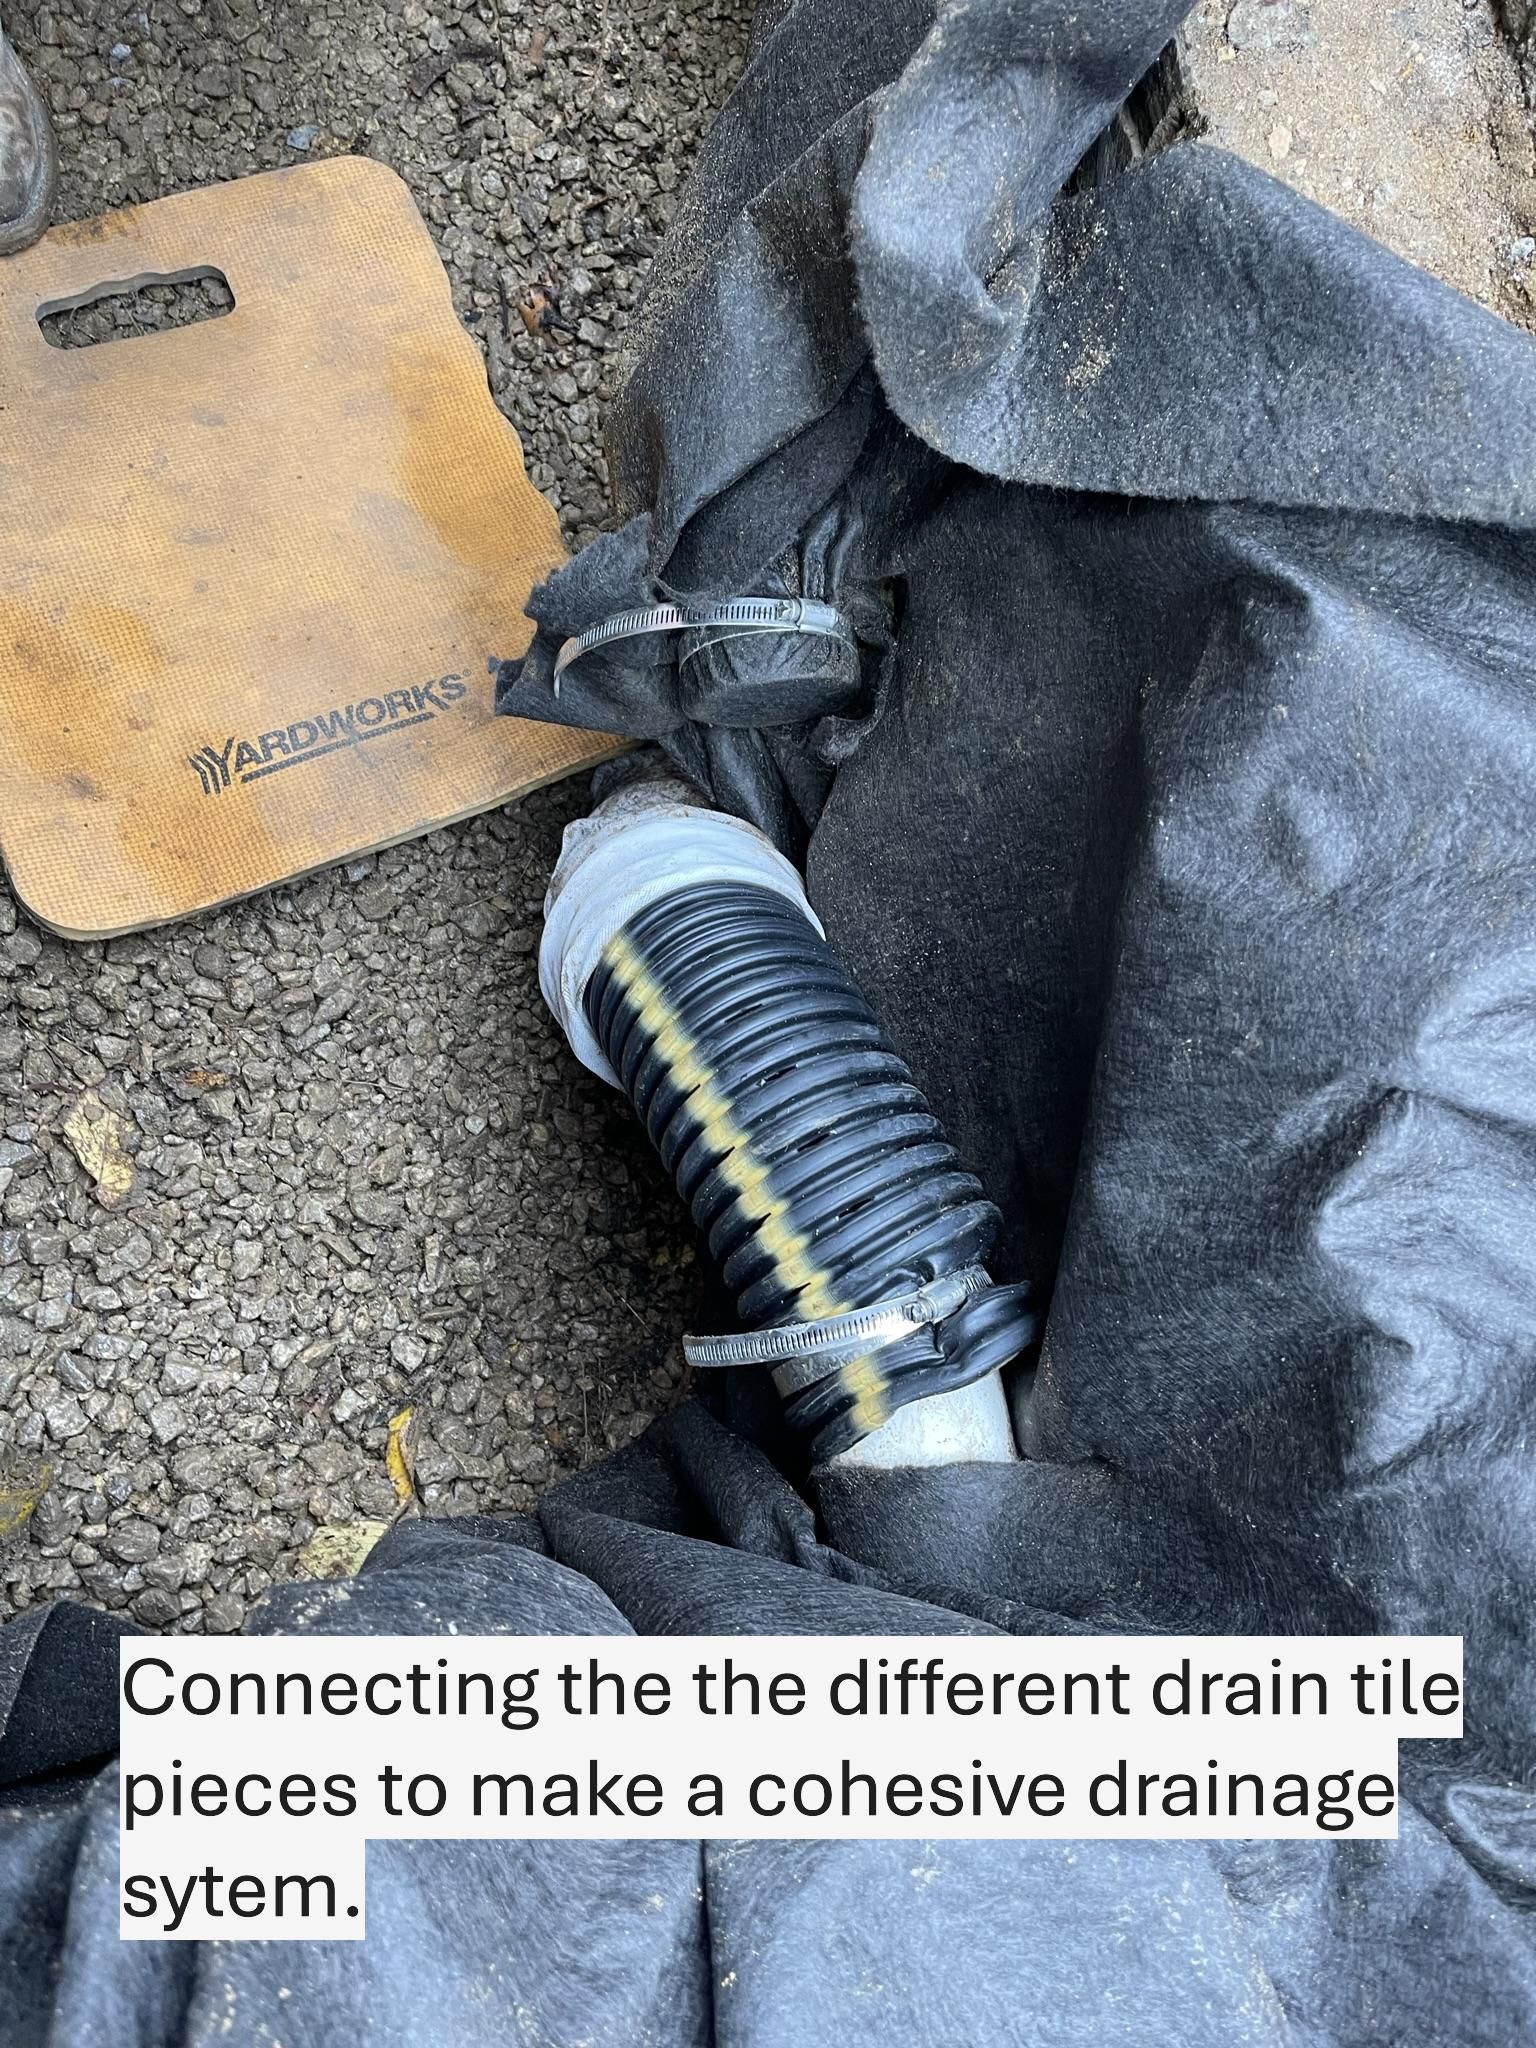
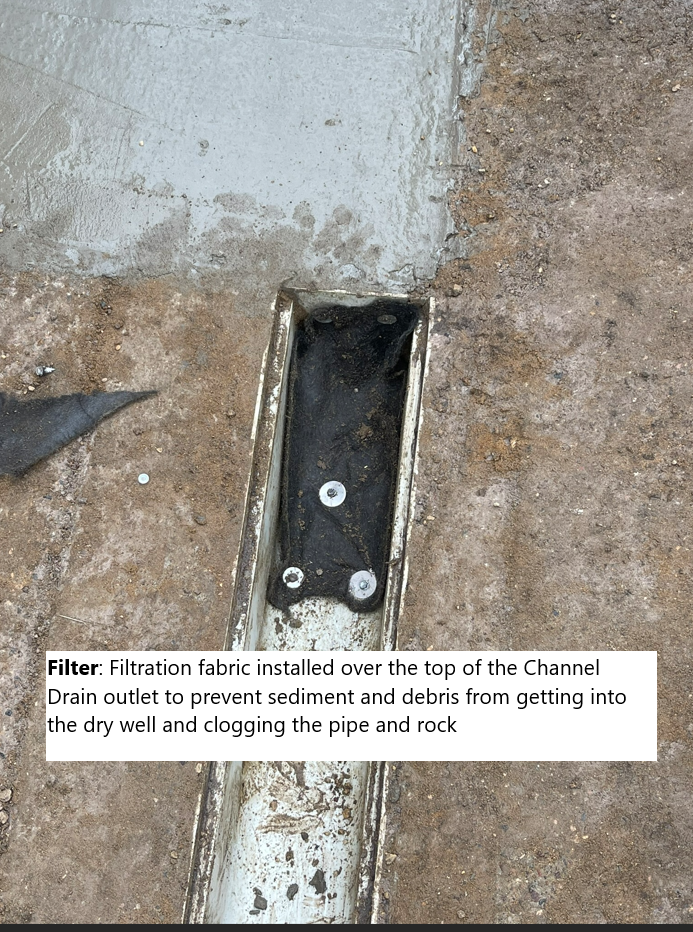
Dig out a roughly 18” wide by 30” deep rectangular hole as outlined below to create a dry well where water collected by the channel drain can drain into and leach into the soil below, this hole will be lined with filtration fabric as shown in black, to ensure the existing pipe from the channel drain is actually draining into this new dry well space KG will connect the corrugate perforated pipe to the channel drain outlet and then “T” that line into a section of pipe at the bottom of the dry well, KG will install install 3-5 lengths of 4” corrugated perforated pipe that will be capped at both ends as outlined in gray below, we will then cover with fabric and backfill with ¾” rock, install (1) 12” catch basin with a removable grate/cover as outlined in Red below (the catch basin will be set with concrete below it, which will be set on the gravel below as shown in pink, Then KG will install new concrete to replace the concrete walkway section that was removed.
Color Key:
- yellow = area where 3/4" drainage rock backfill will be installed
- red = new 12" catch basin (this was added upon request primarily as a basin where customer could drop a temporary sump-pump into, if the dry well were even to reach max capacity during an abnormally large storm)
- black =marks where filtration fabric will be installed to protect drainage rock from surrounding soil sediment
- Gray = Section view of the new strips of 4" drain pipe being used to add water holding volume to this dry well.
- Pink = New concrete flatwork to be added after the drainage components are installed
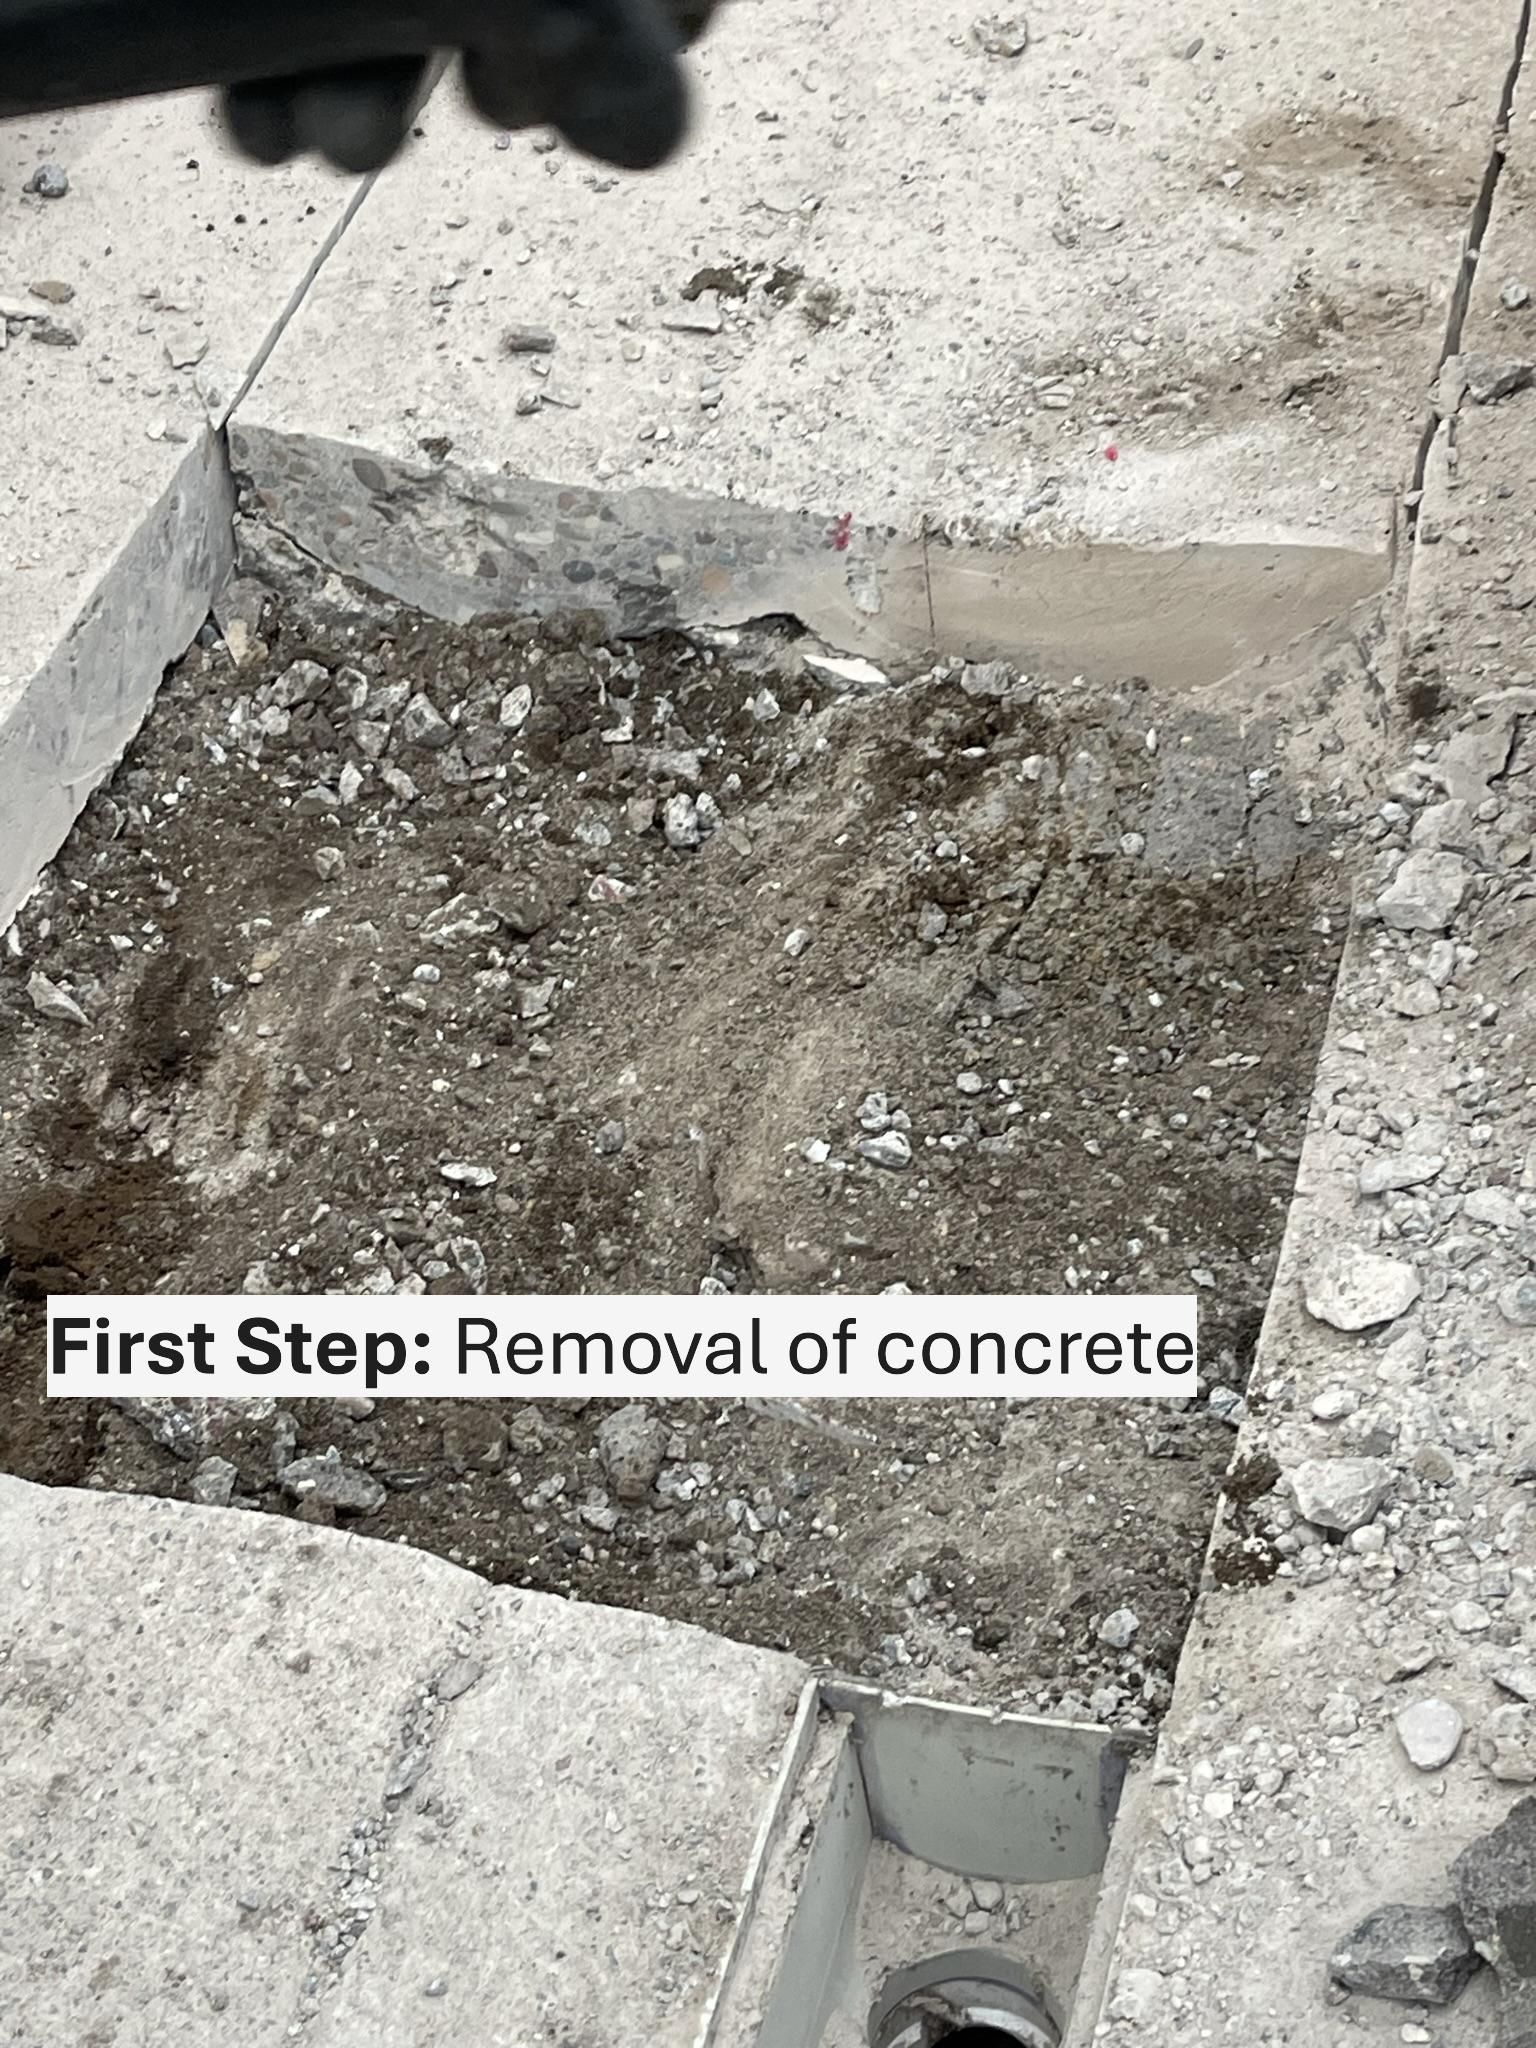
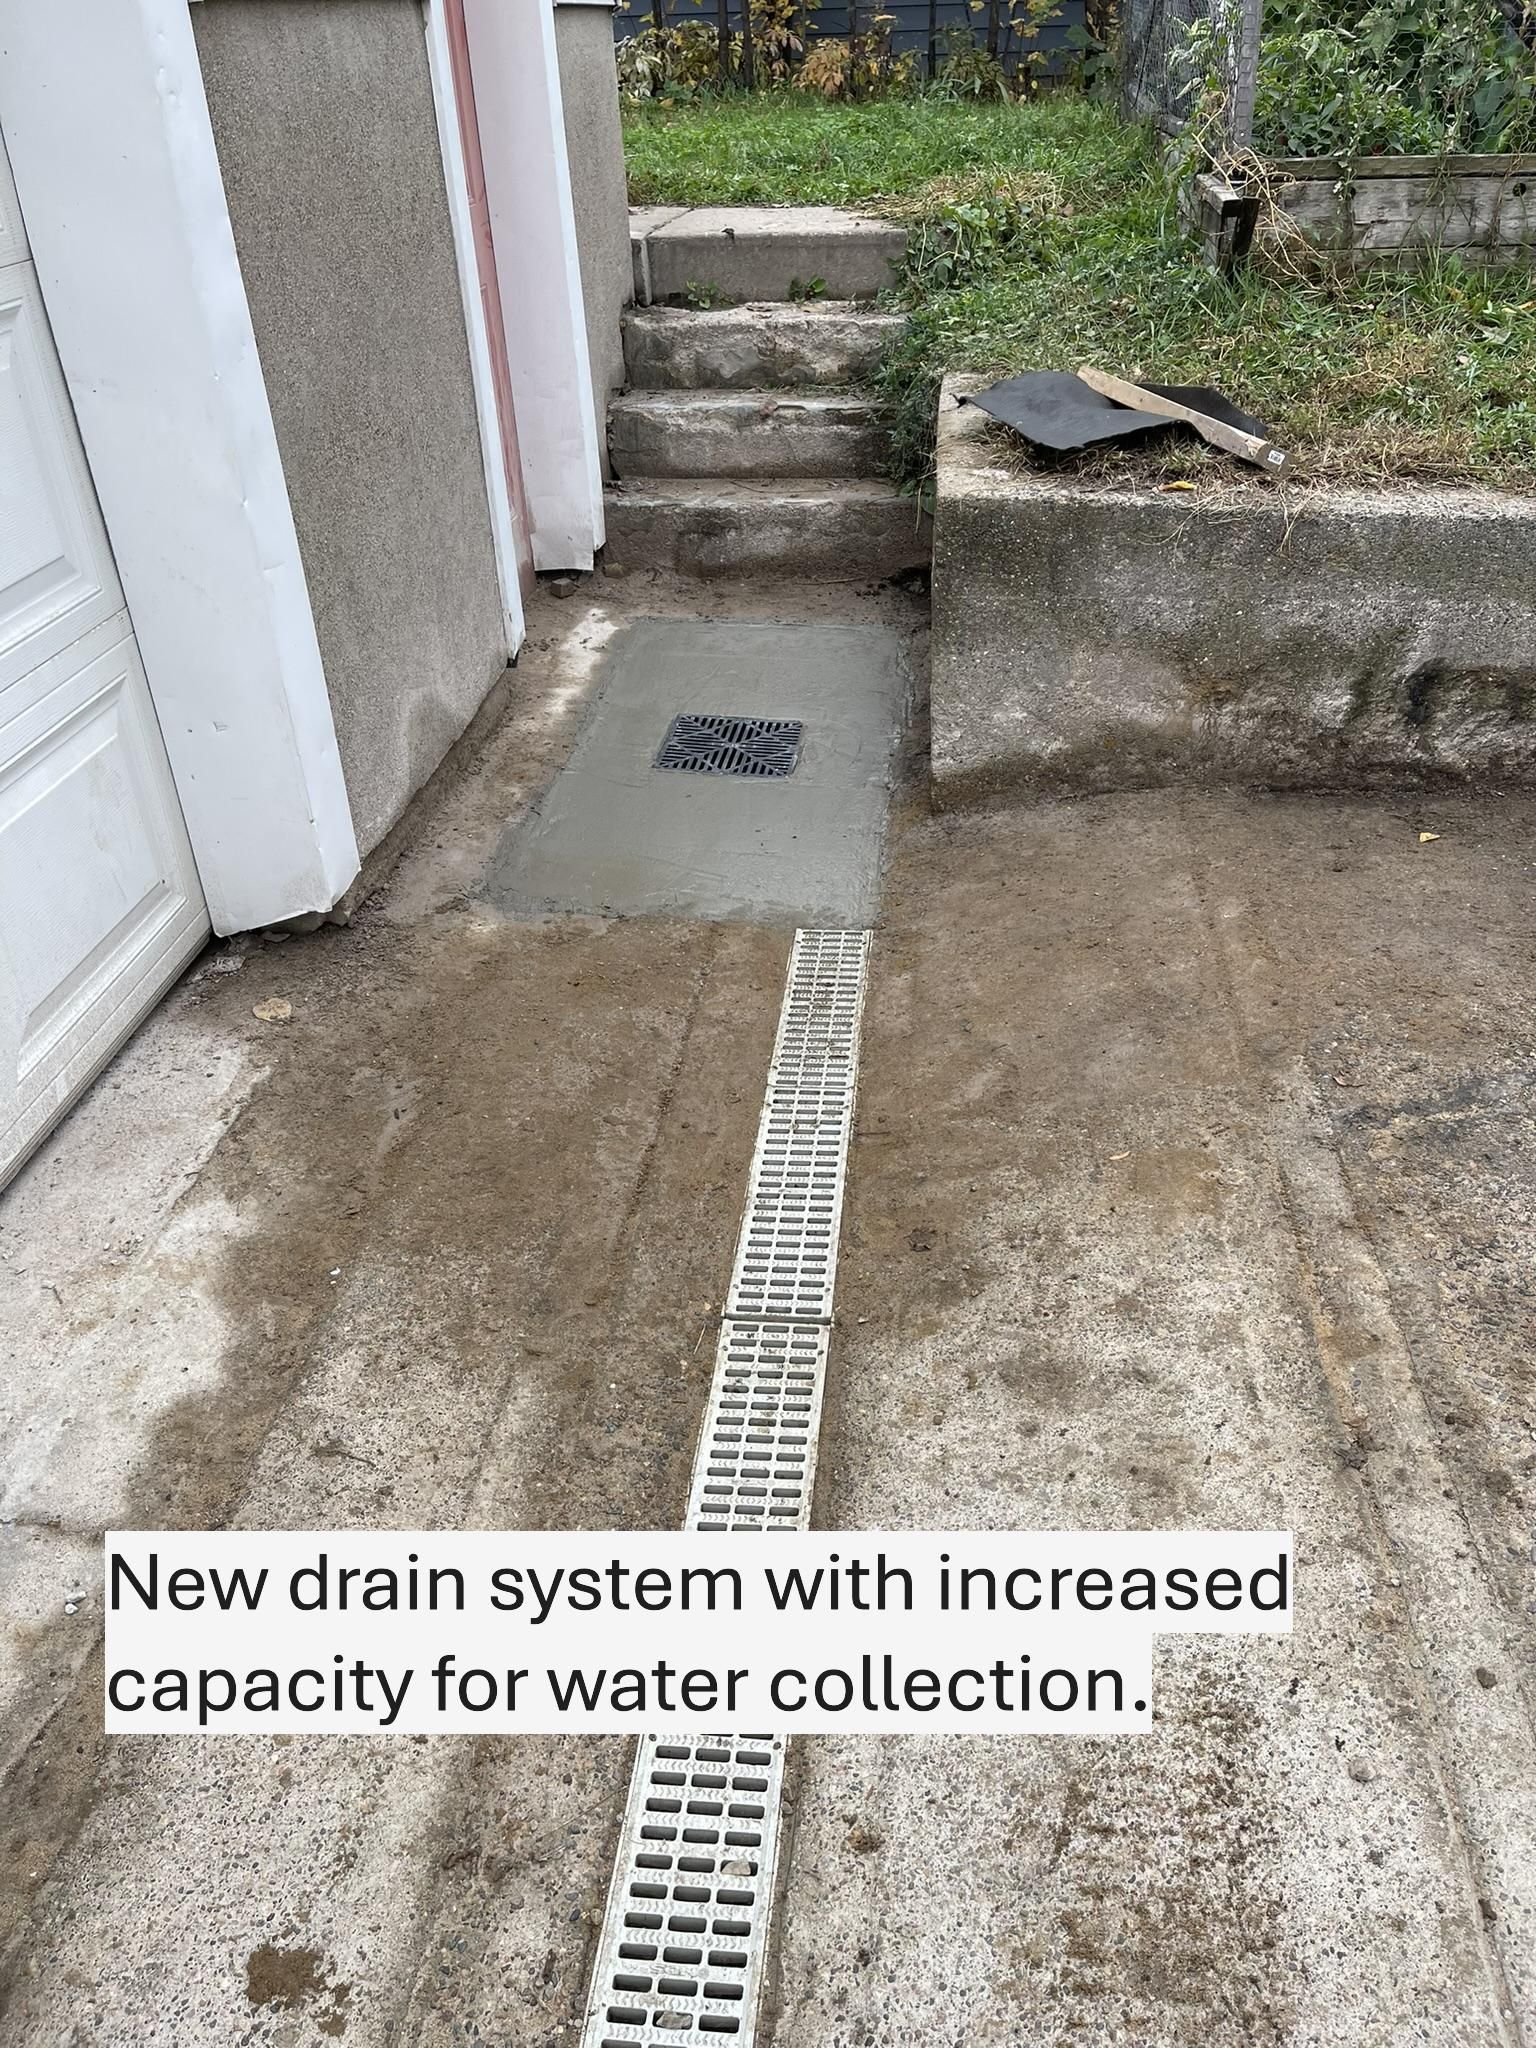
Drainage Fixes - During and After Pictures for This Project

Learn How KG Landscape Can Help Solve Your Outdoor Drainage Problem. Call or Request a Quote Today!
Ready to Start on Your Next Project?
Call us at (763) 568-7251 or Request a Quote Online
Contact Us
Helpful Links
Contact us
Residential Building Contractor License #BC718597 | © 2025 KG Landscape Management