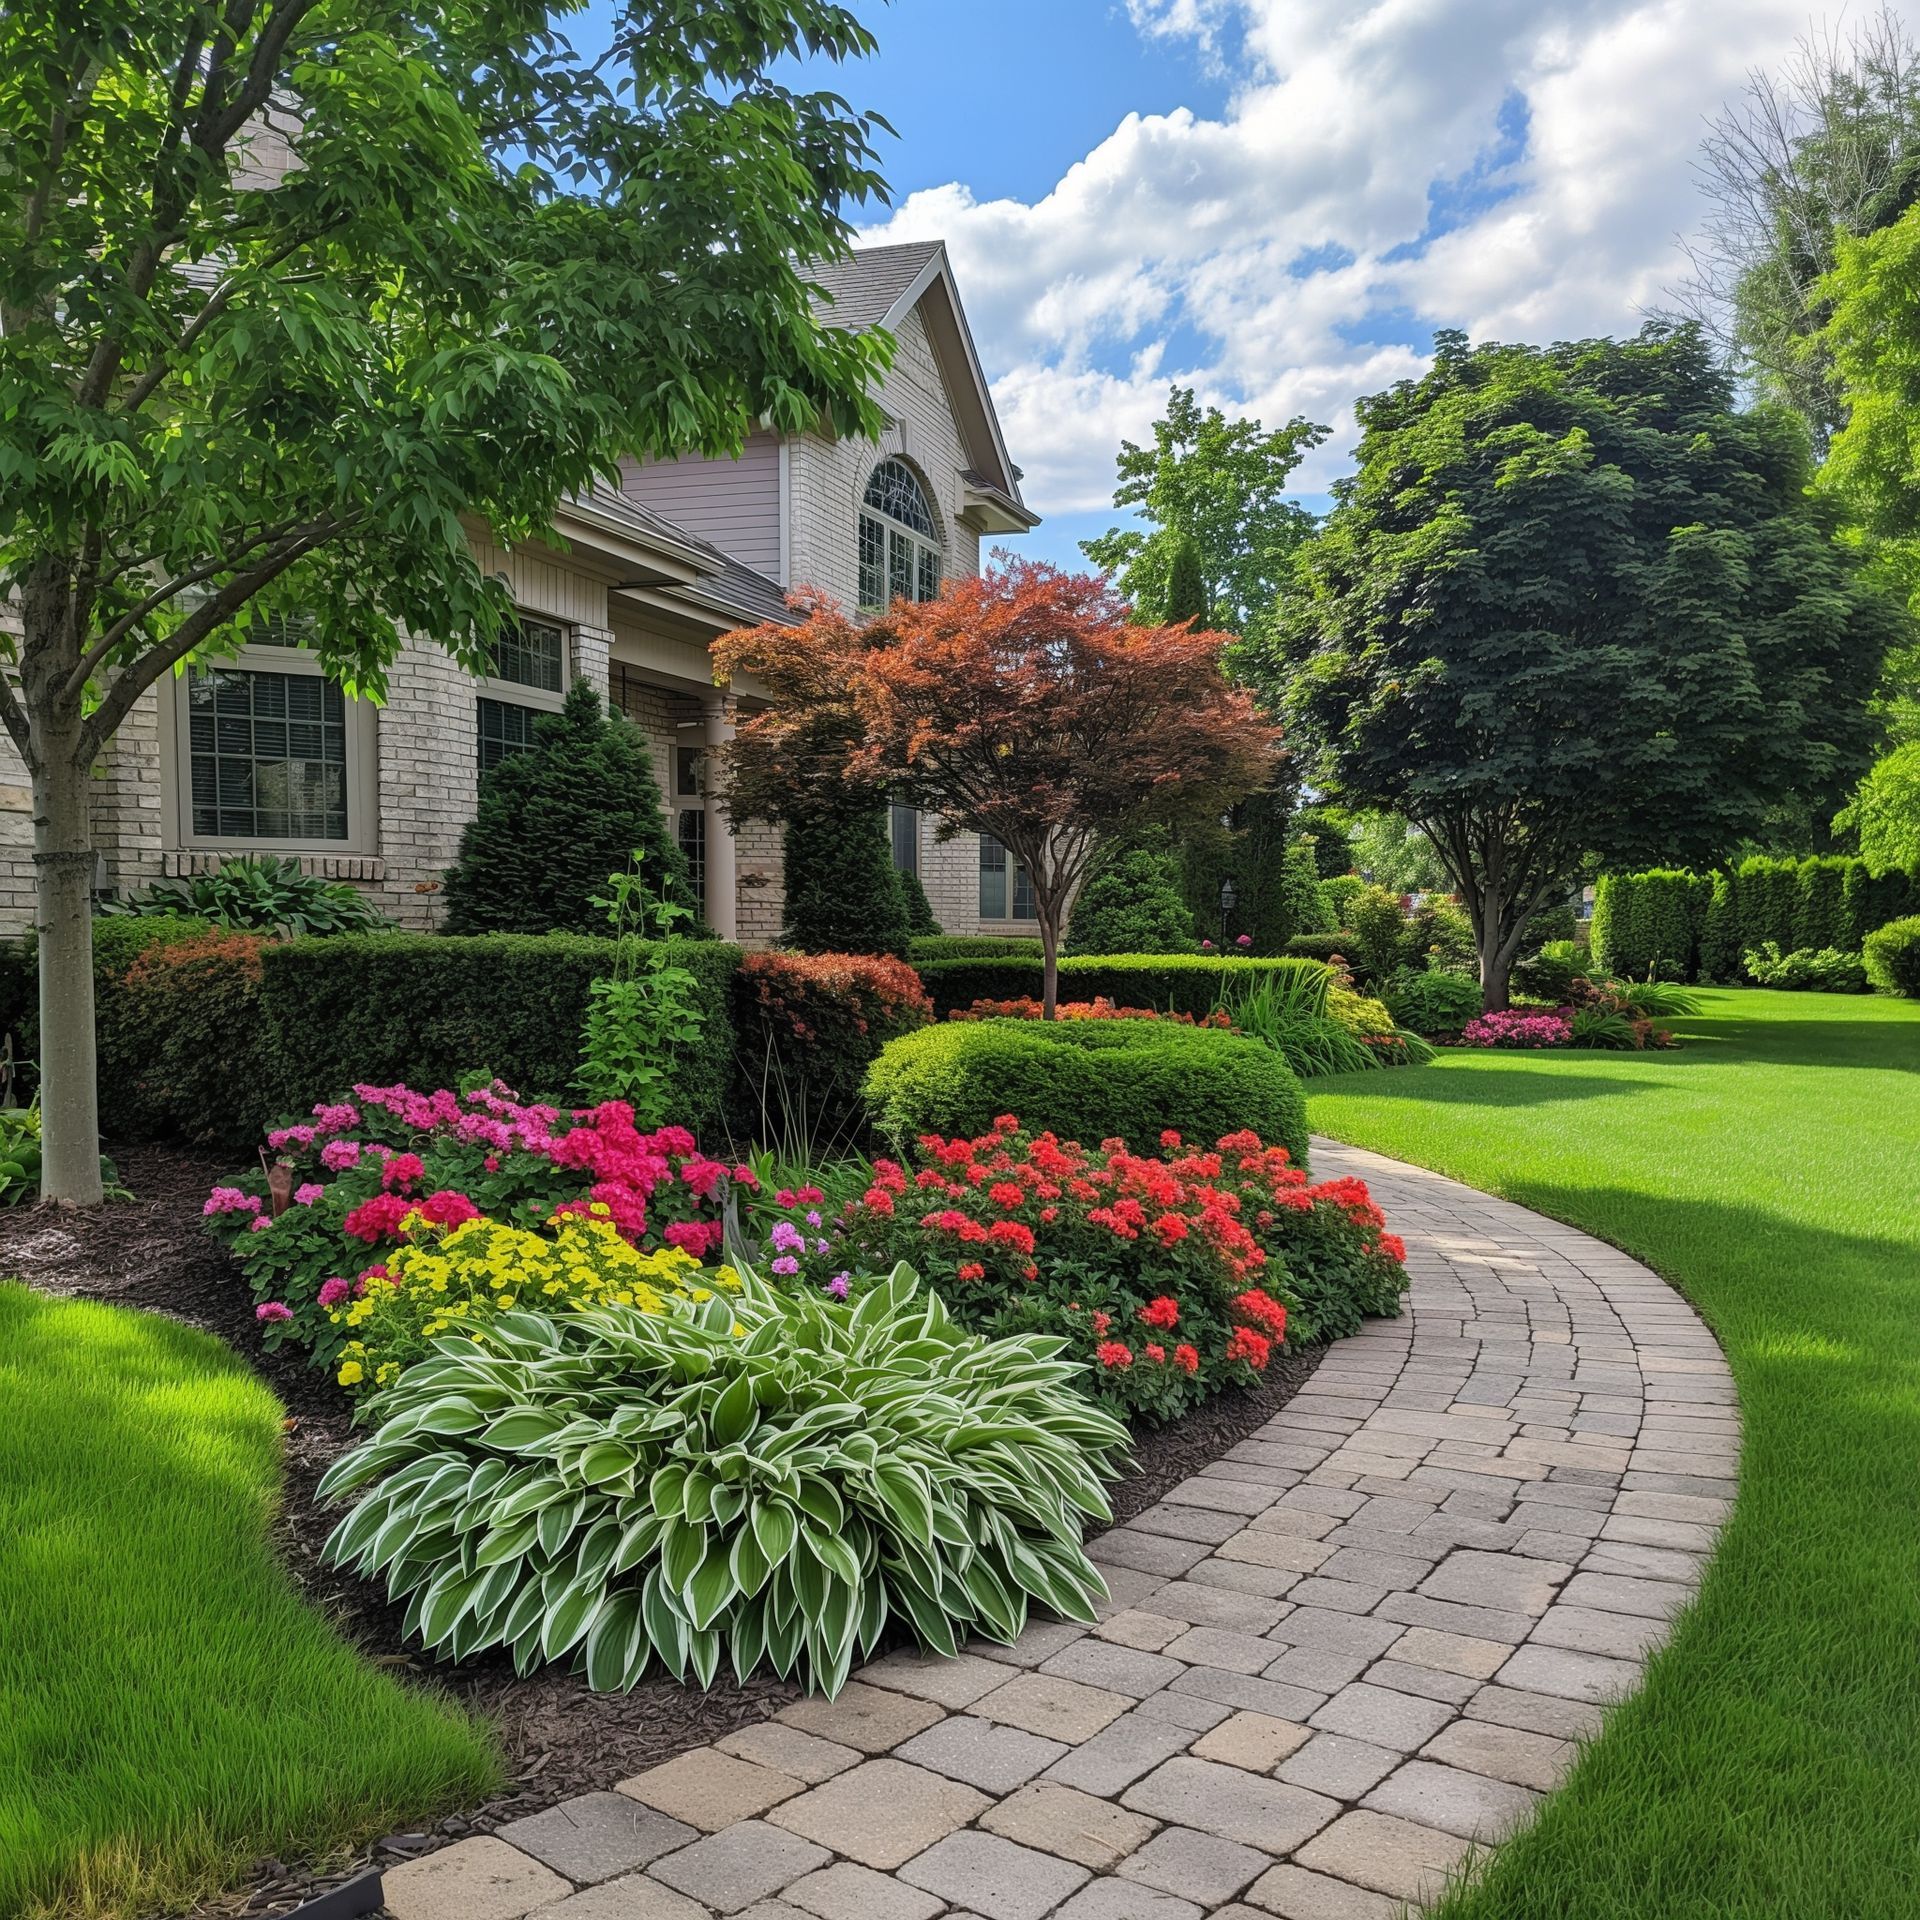

If you’re thinking of building a raised garden bed using a retaining wall, then you’ll be pleased to find out that the project is straightforward. This idea is one of the most popular front yard landscaping designs and is as easy as raising some soil and bordering it with retaining wall blocks of your choice. There are a few vital details to consider, however.
There are many retaining wall ideas out there, and each design uses similar steps, which we will cover here. But first, let’s talk about why you might want to know how to build a retaining wall.
Why Build a Retaining Wall Garden?
There are plenty of reasons why you might want a retaining wall garden. Here are some of the most popular reasons for a retaining wall design:
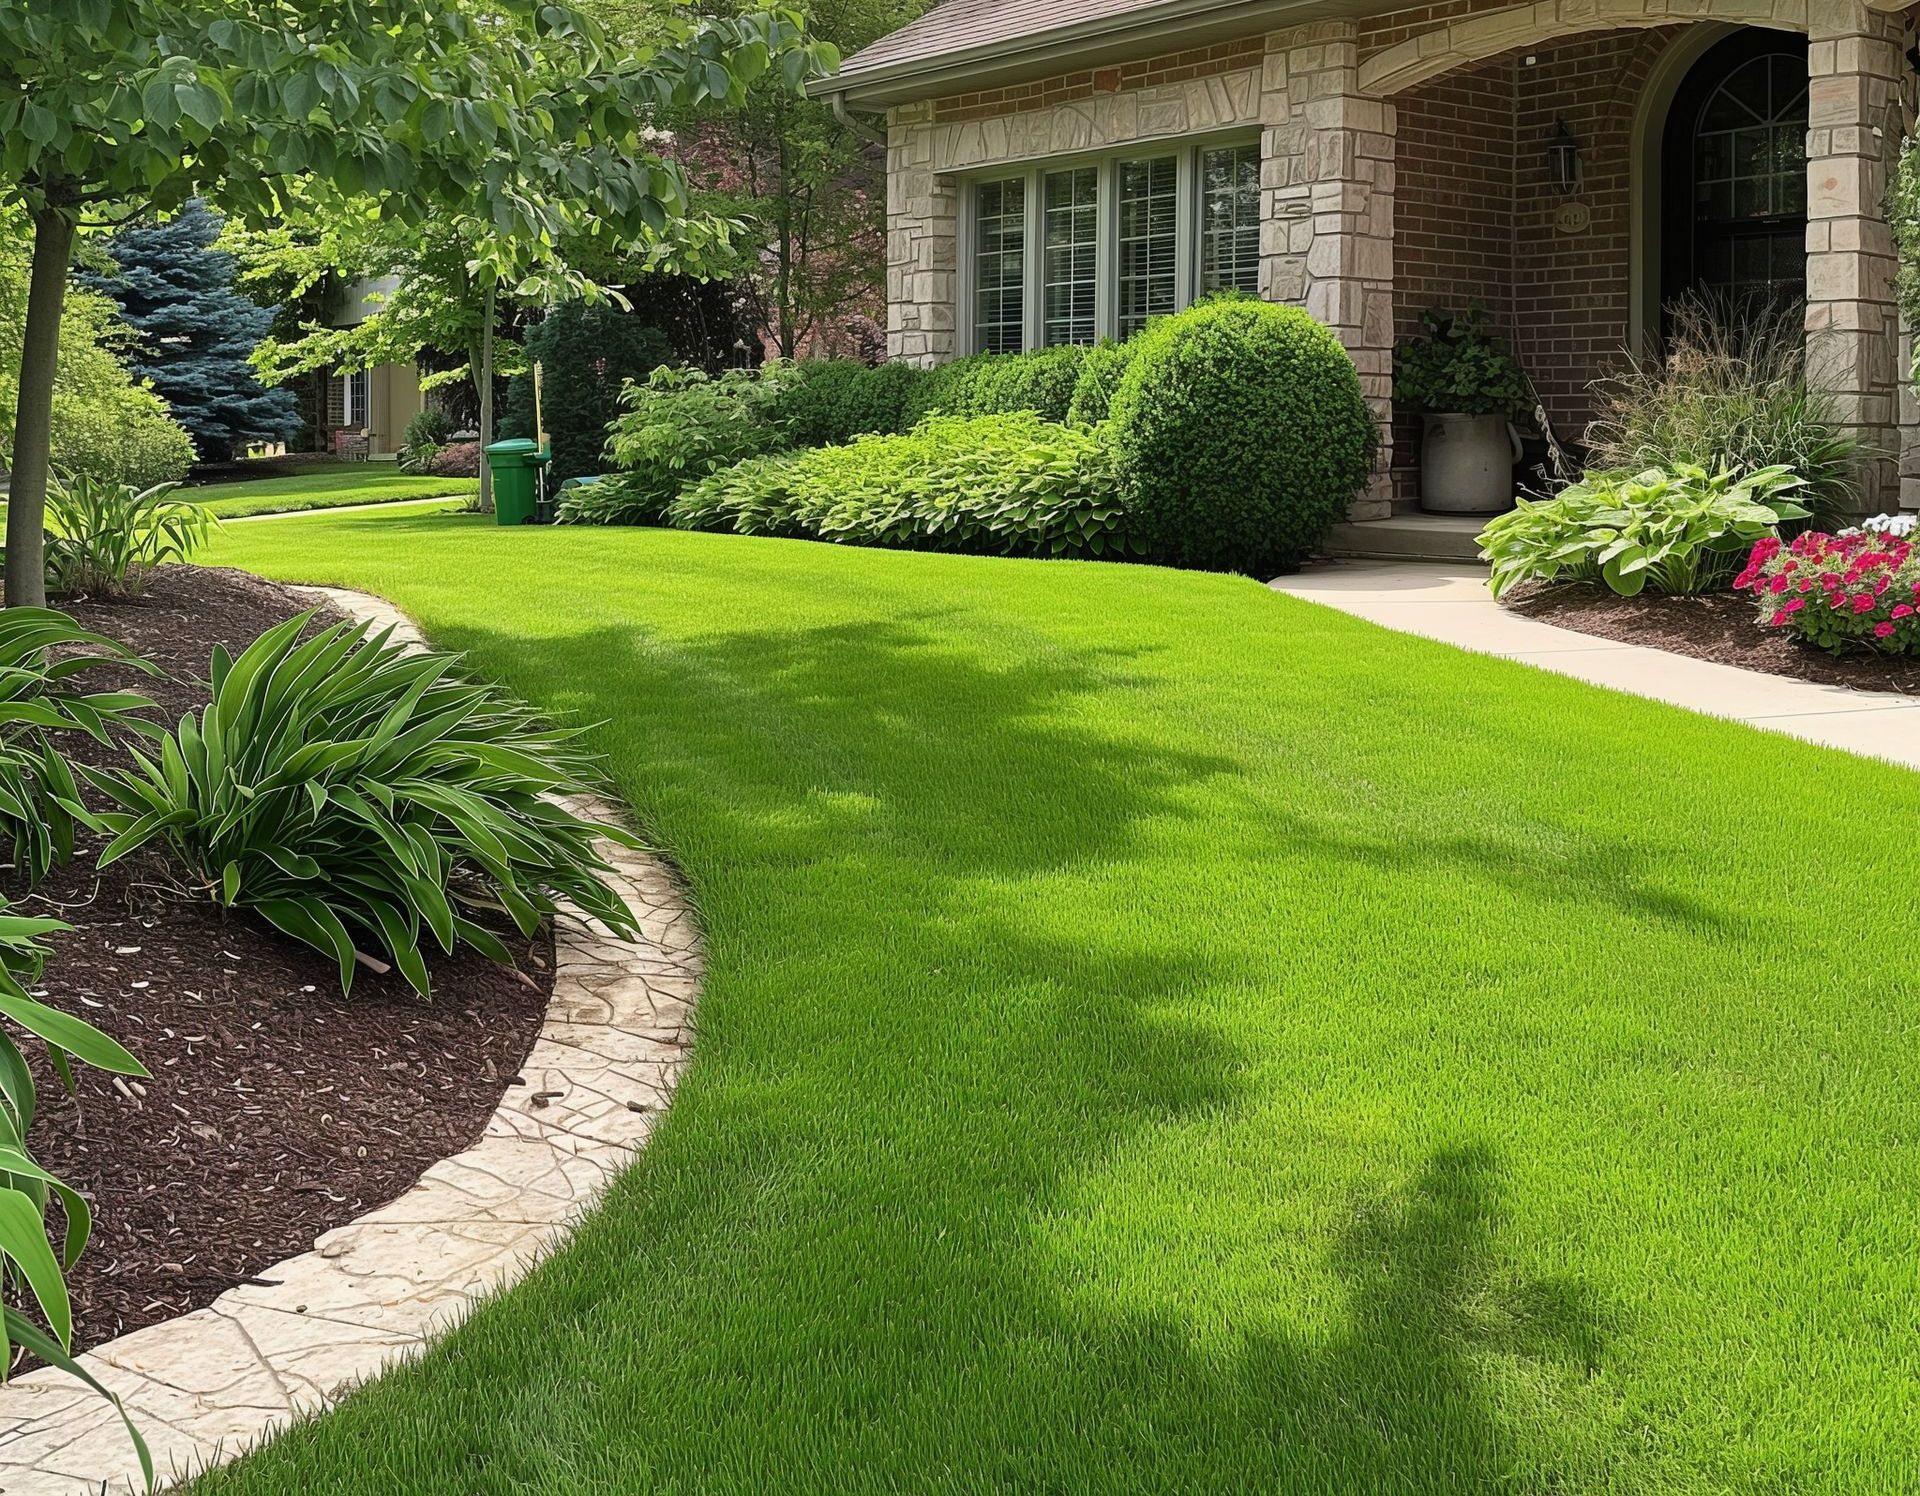
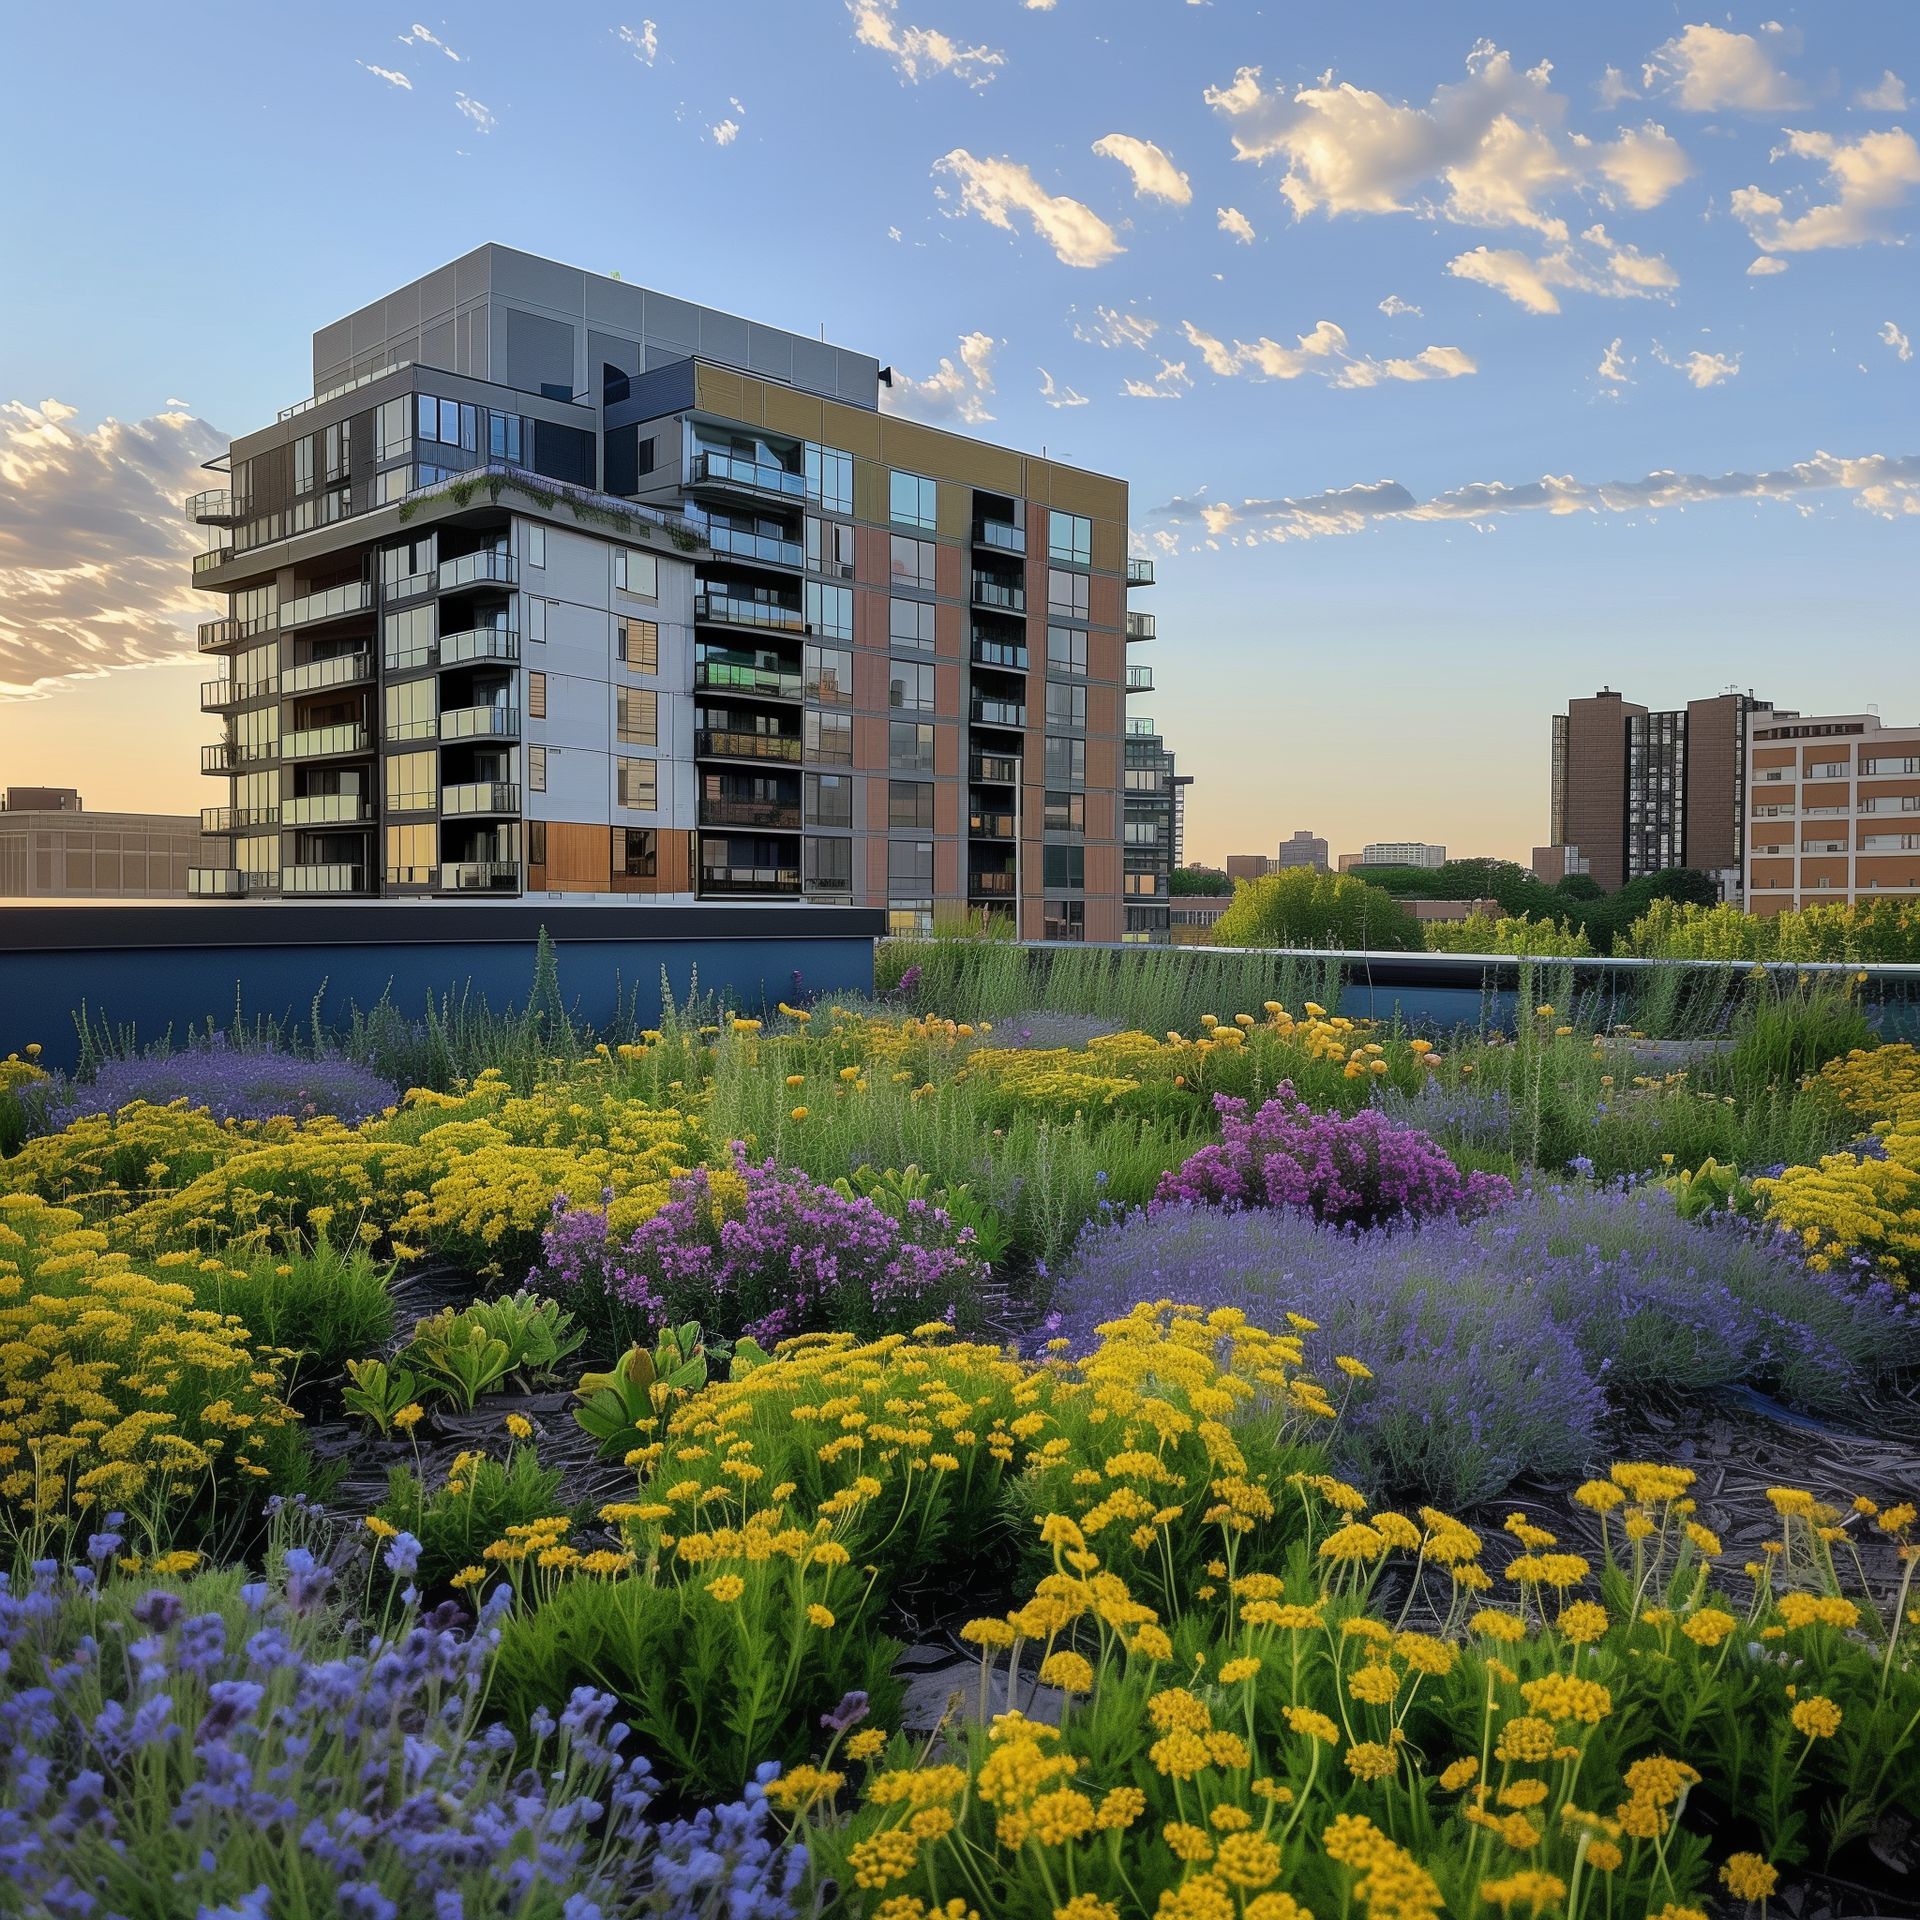
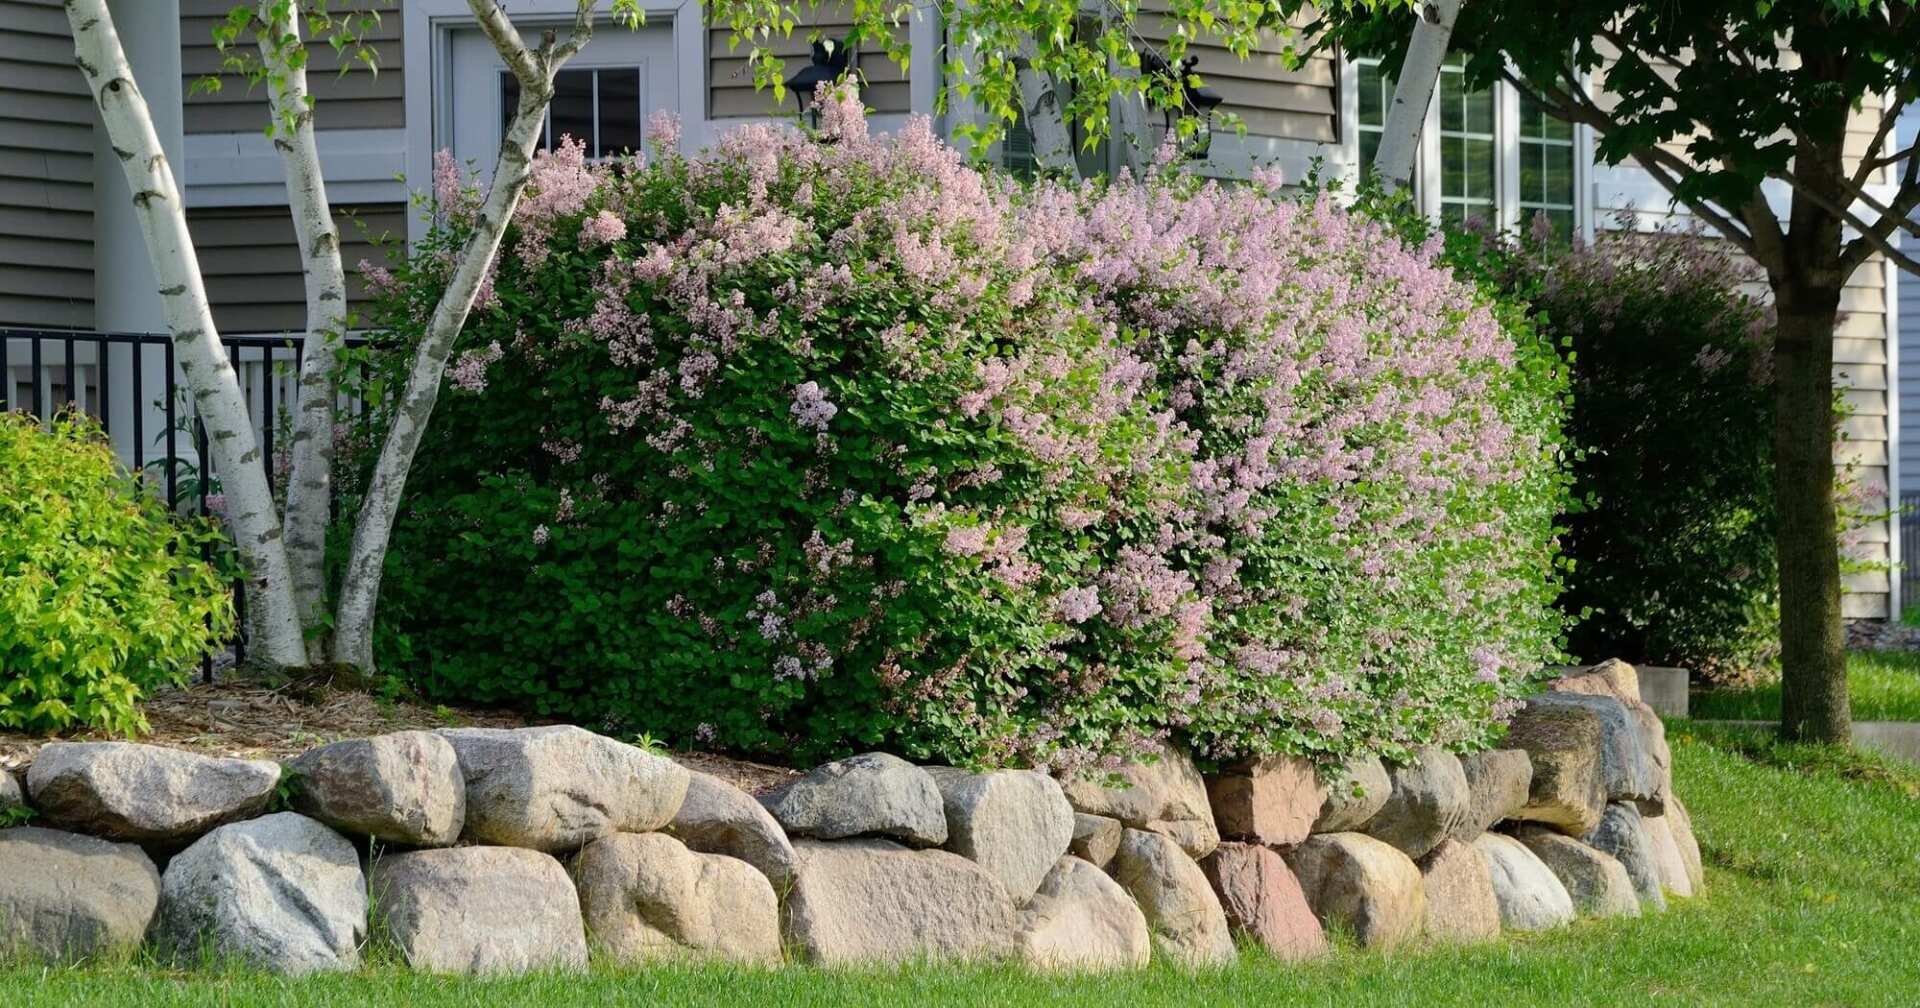
- A retaining wall is a great visual addition to a flat garden.
- You can use the retaining wall to hold more colorful plants, so they add accents to the garden.
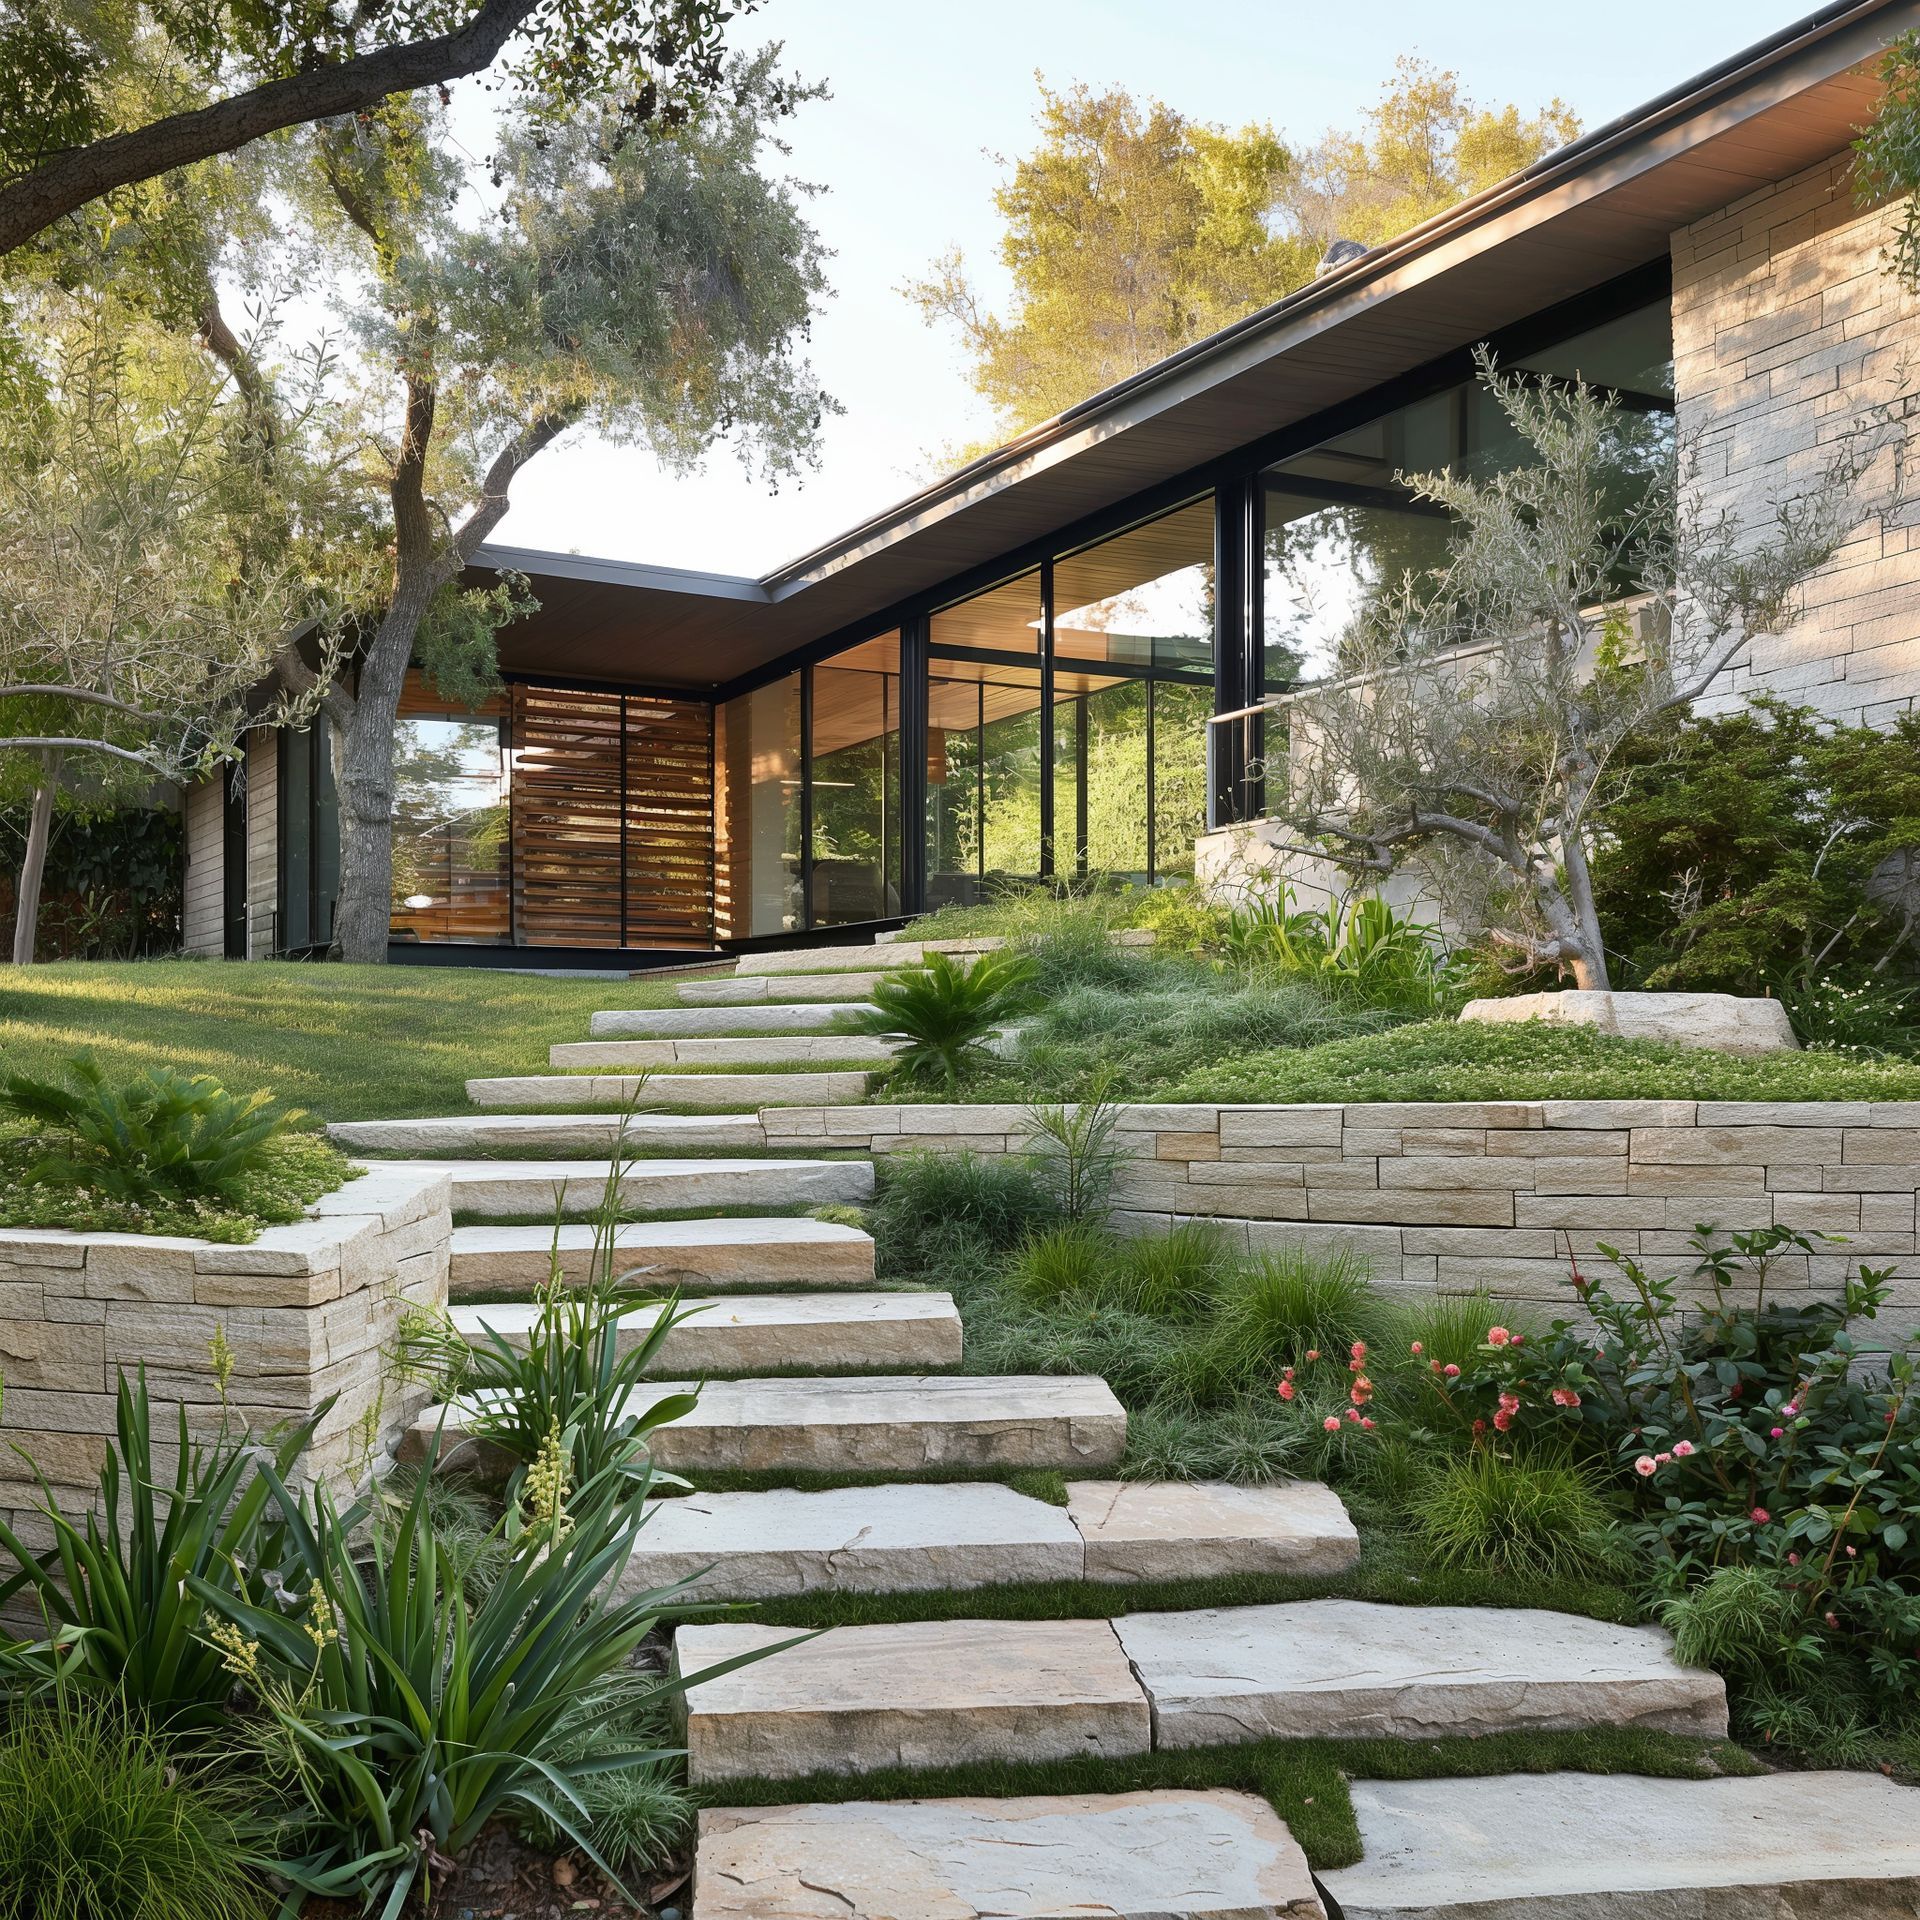
- If your garden is on a slope, a retaining wall can protect the soil from erosion, make the property more usable, and, more importantly, more valuable.
- Retaining walls are excellent in areas with poor soil or inadequate drainage.
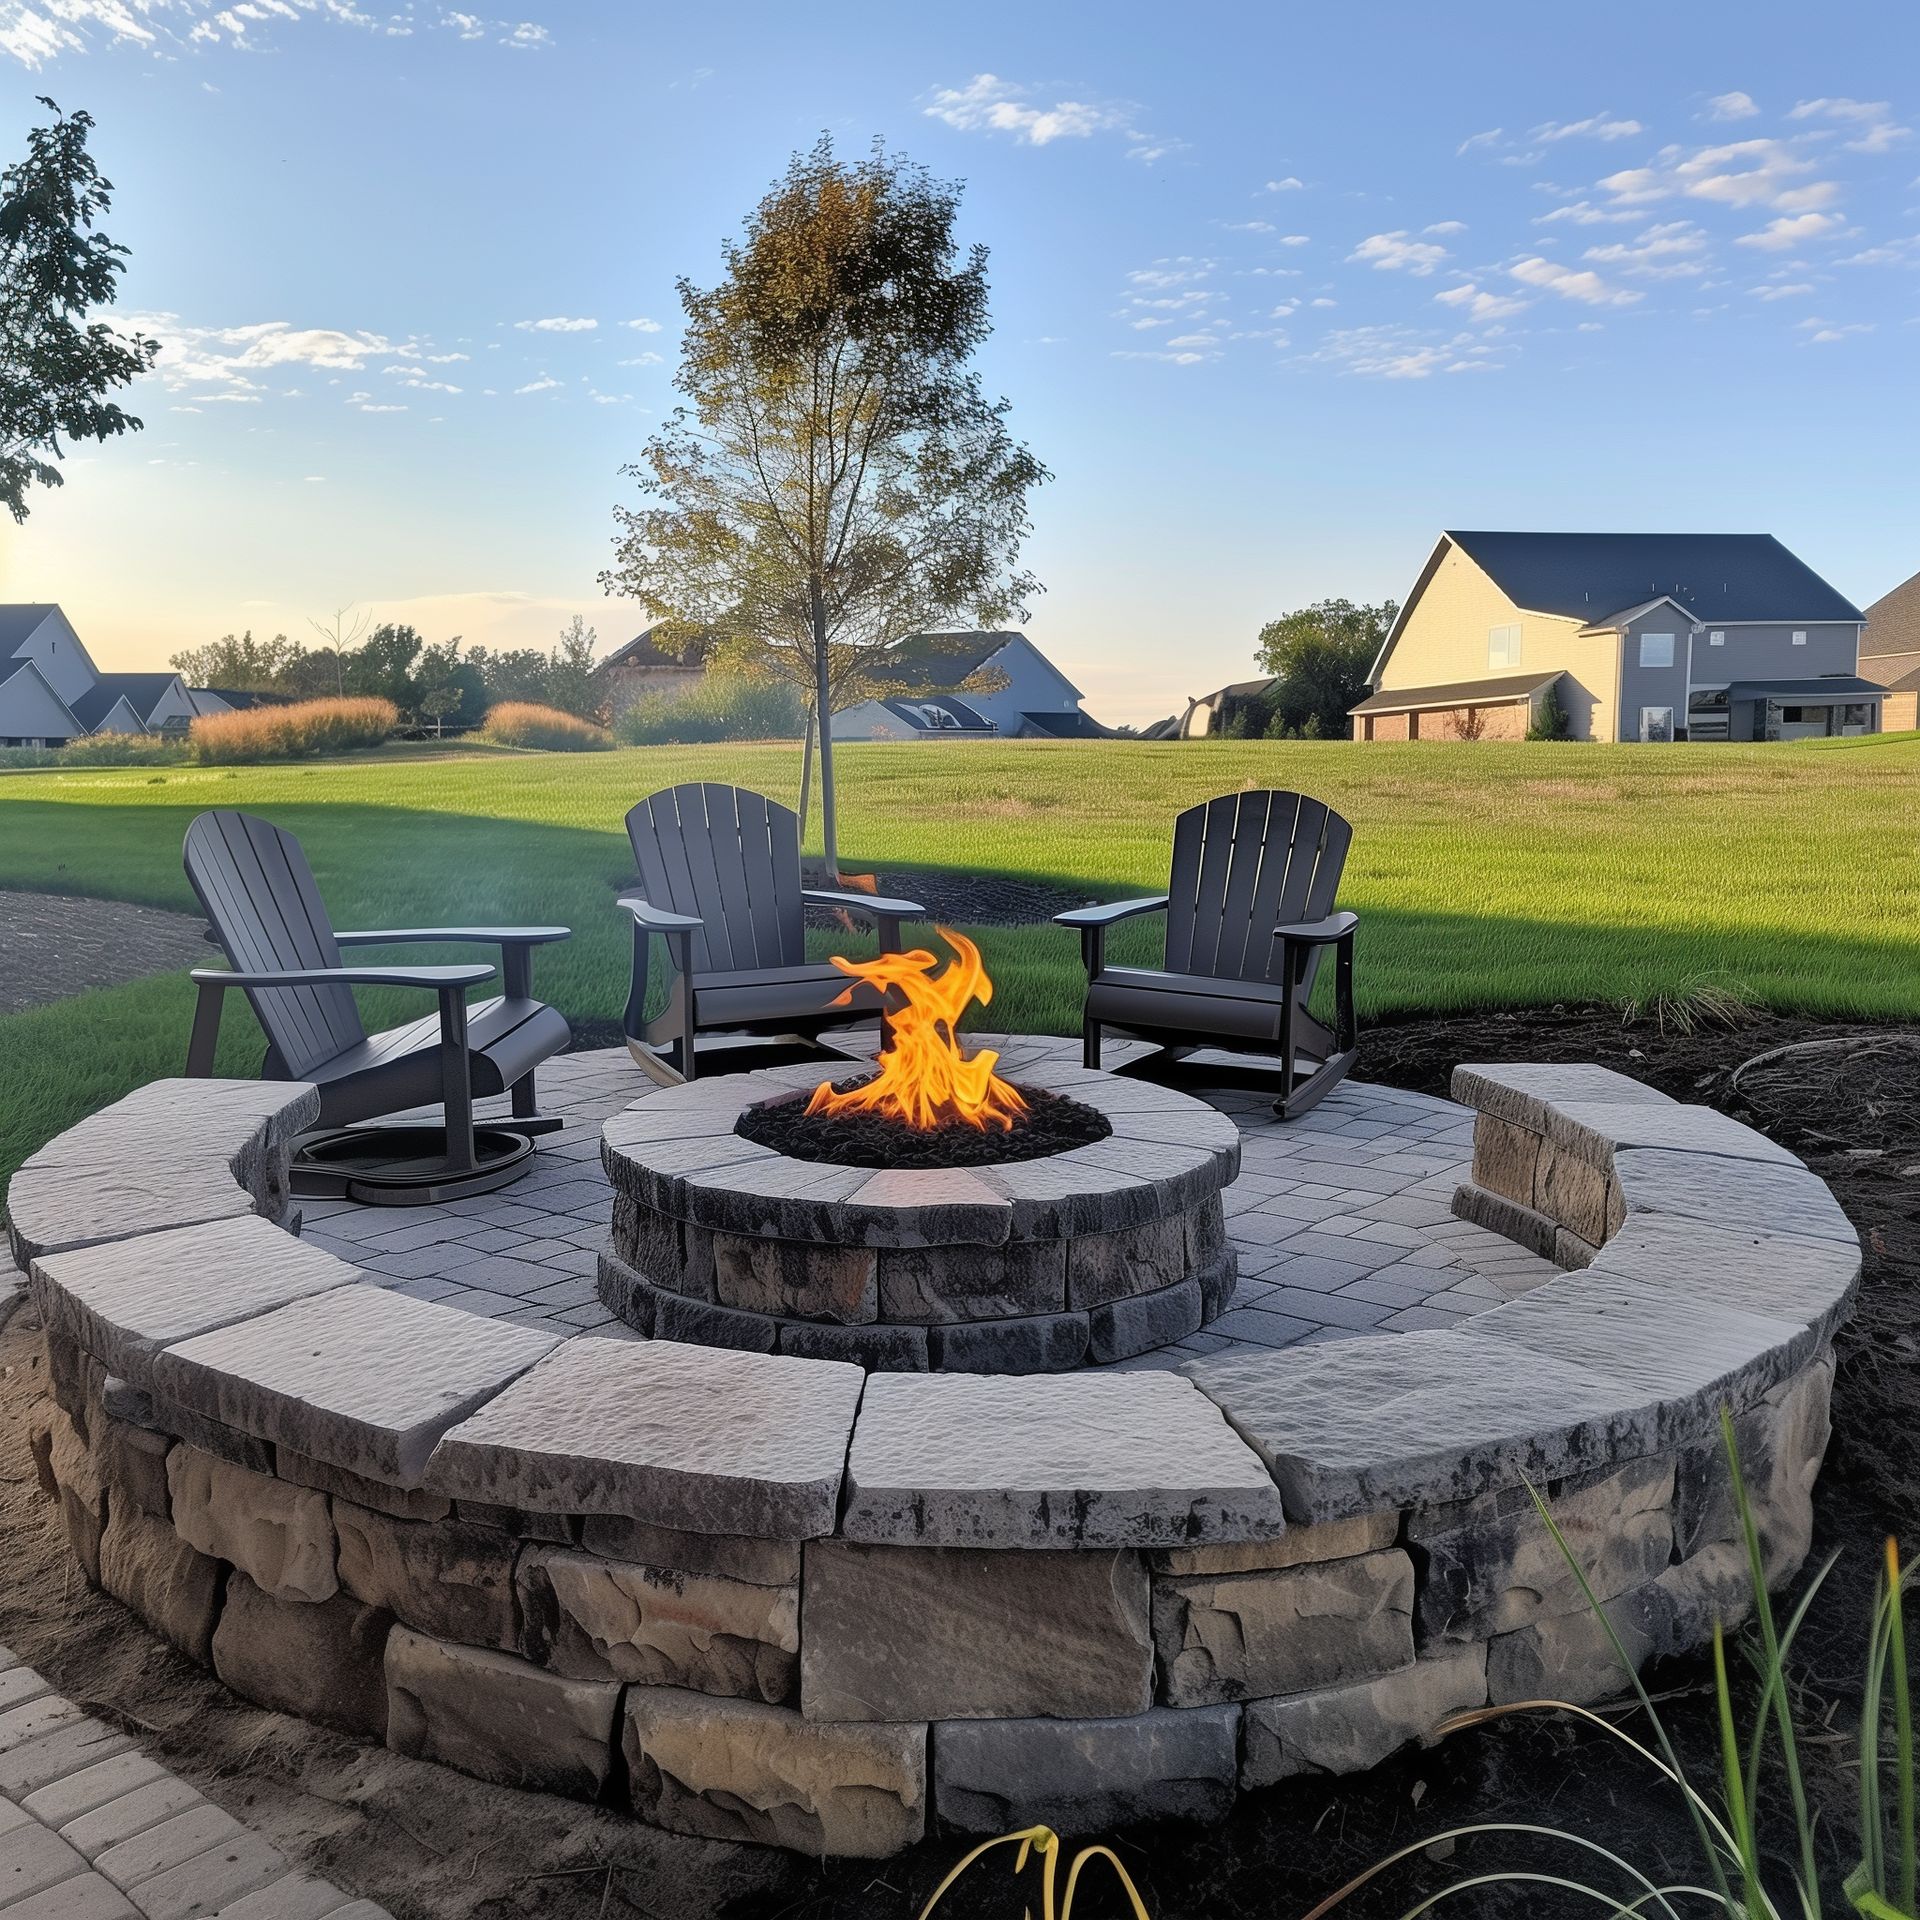
- Building a retaining wall is a fun and constructive weekend project for anyone who’s into gardening. It’s labor-intensive but not technical.
Start by Choosing your Work Area
Before you build your retaining wall base plant bed, you need to choose a location for it in your yard. It should ideally be in a central location so it can provide a view from all angles.
Once you pick a spot, mark the shape of a bed with flour, spray paint, or a string. The exact shape is a matter of personal preference, so you can be as creative as you want with the design here. There are endless possibilities, so don’t limit yourself.
As a general rule, circular beds are charming, while rectangular or square beds give a more regular and orderly feel. You can also go for unforced, flowing shapes that blend into the overall environment.
A bed whose shape aligns with the garden’s natural contours will look like it’s always been there. Again, give your imagination free rein and see what comes up.
You also don’t need to worry too much about how airy the soil is. A raised plant bed provides natural drainage, so that will work itself out. You can place newspapers down the center of the outline you’ve made, however, to protect against the growth of grass and weeds when your plants begin to take root.
Prepare a Foundation
- Start by digging a foundation trench. As a general rule, the width of the channel should be 12 inches more than the width of one of your blocks, while the depth of the trench should be 12 inches more than half the height of a stone. For example, if your block is 6 inches wide and 6 inches tall, the trench should be 18 inches wide and 15 inches deep.
- Next, make sure to compact and level the bottom of the trench. For this, you’ll need a piece of timber that matches the width of the trench. Place it across the bottom and with a carpenter’s level on top of it. Use a shovel to smooth out the trench floor in front of the timber and then move it to that spot to see if the level is at the right position.
- Once the entire trench is level and compact, fill it with at least 6 inches of the base material. The base can be a mix of dirt and sand, topsoil, or compost. Once you’ve poured in the base material, make it level with a trowel and then compact it with your manual or power compactor.
- Pour a 2-inch layer of sand on top of the base material. Level it with a trowel and then compact it.
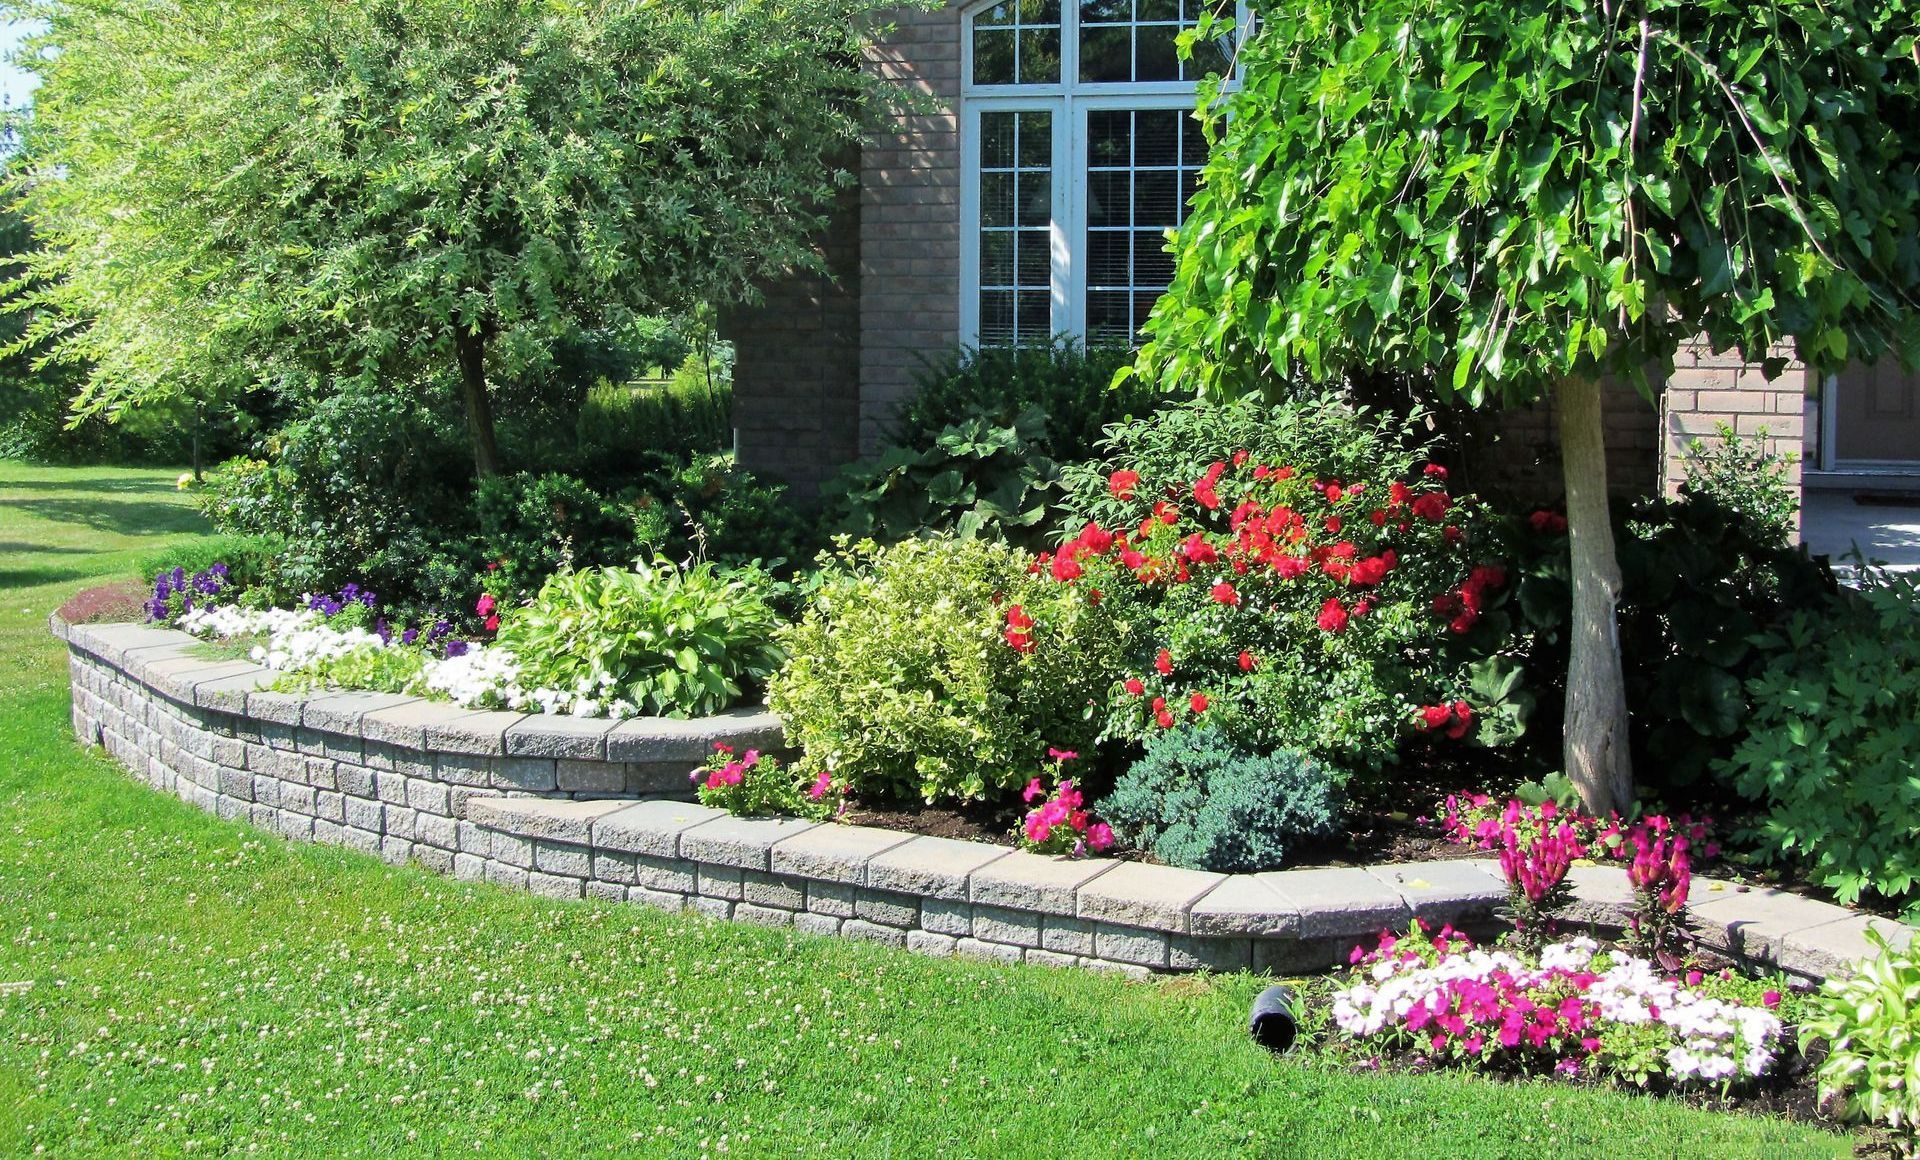
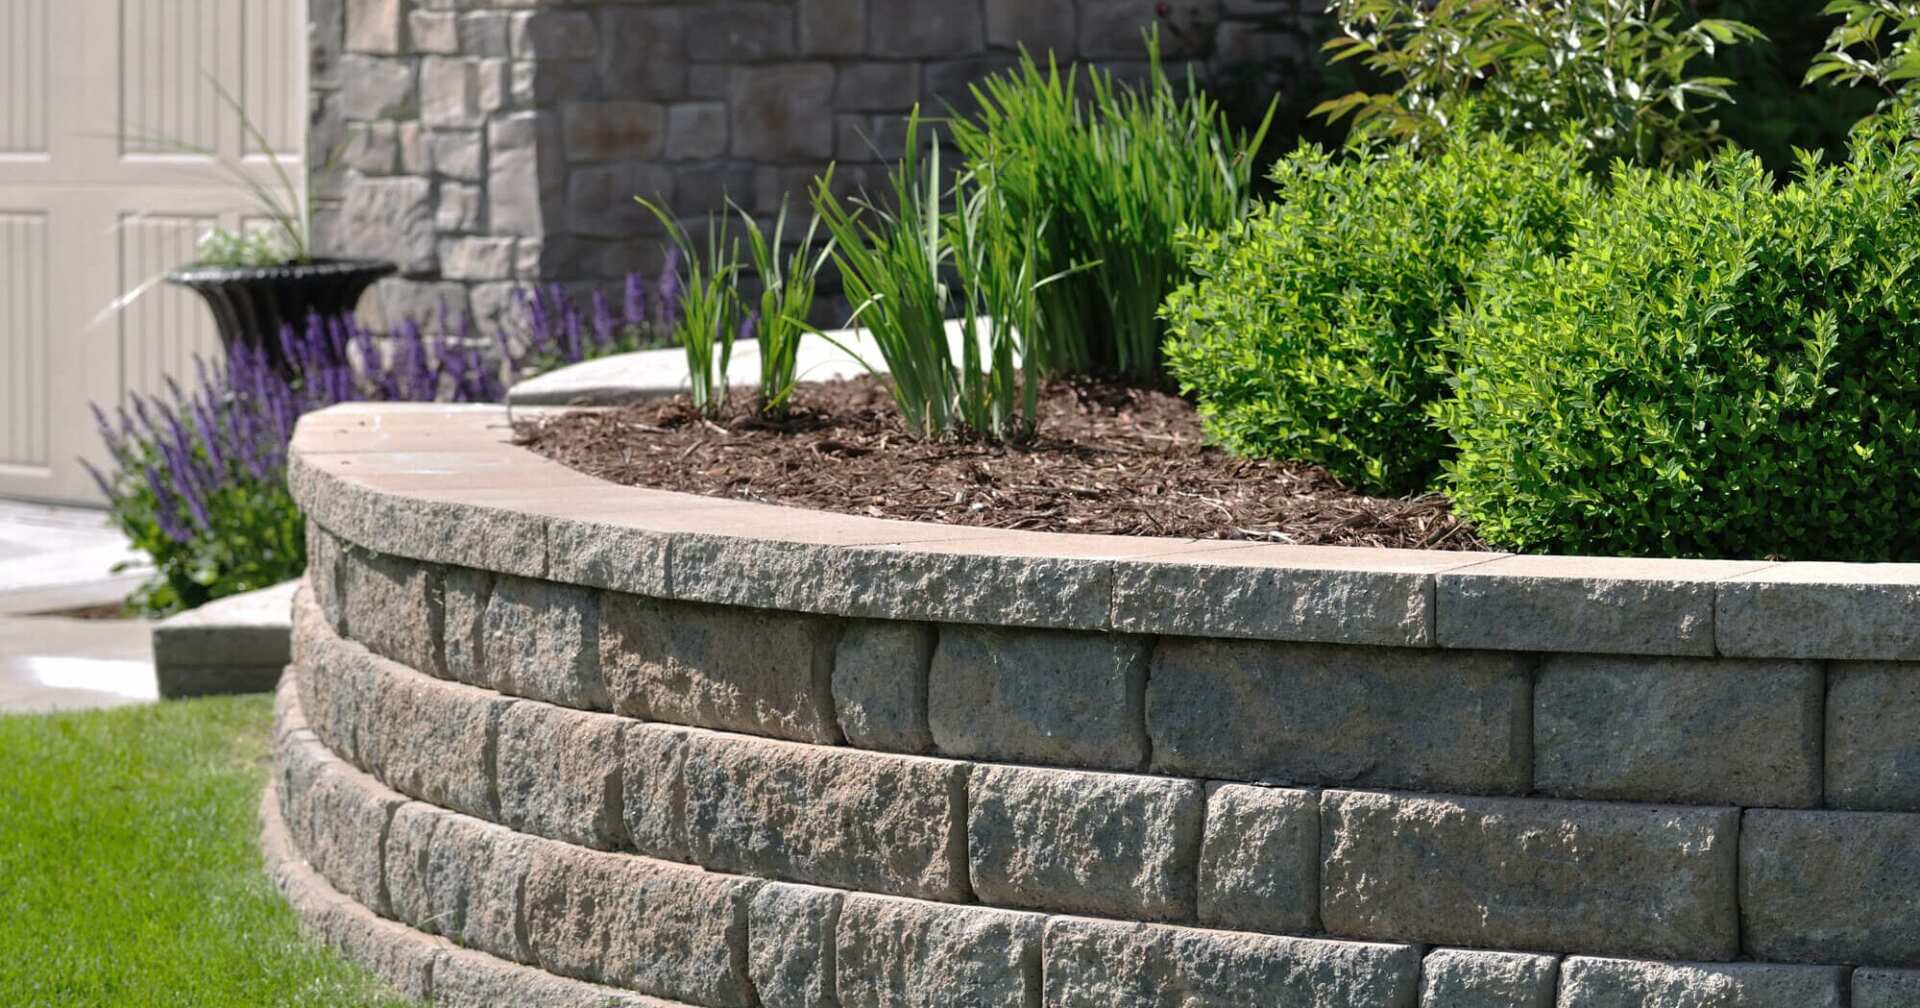
Choosing Bricks
You can build your retaining wall with bricks, concrete blocks , rough-hewn stones, or machine cut stones. If you buy a diamond-bit circular saw, you can cut the stones yourself and choose whichever shape you like.
What’s important is that you choose stones and bricks that will survive well in wet environments. Bricks may not be well-suited to wet conditions.
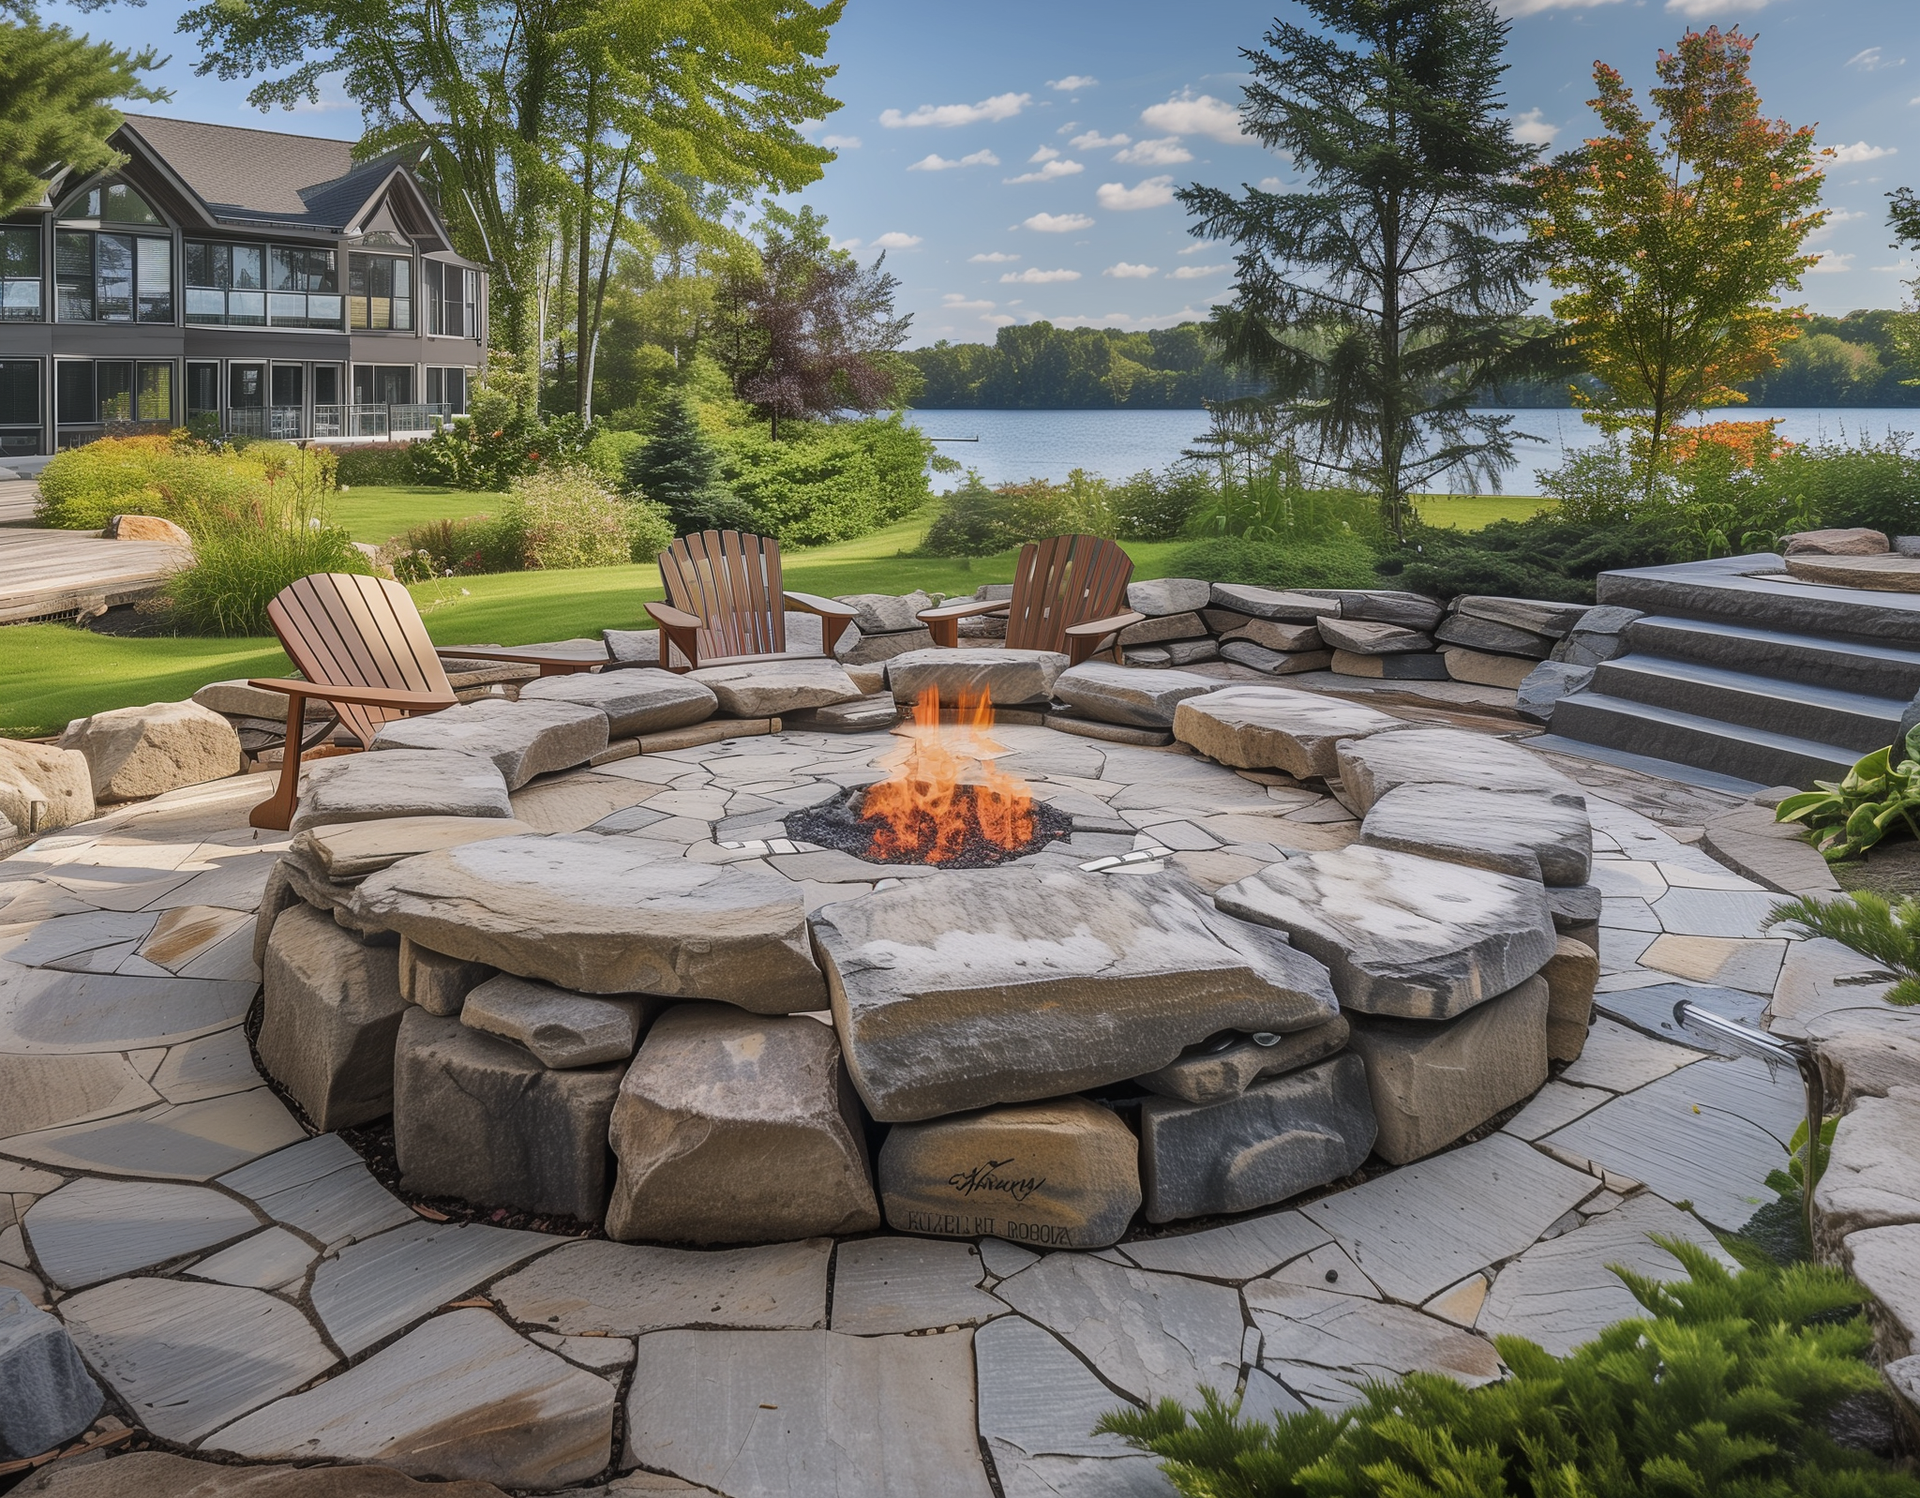
For information on stone sizes and makeup, visit your local landscape expert or supplier. They will help you find out your options before you choose the block material or size. Generally speaking, the recommended height for retaining walls is two to three courses, depending on the stones’ height and the trench’s depth.
Laying the Blocks
Lay the first row of stones or blocks in the center of the trench. Drive each one into the sand with a rubber mallet as you lay it. Then, take the following steps.
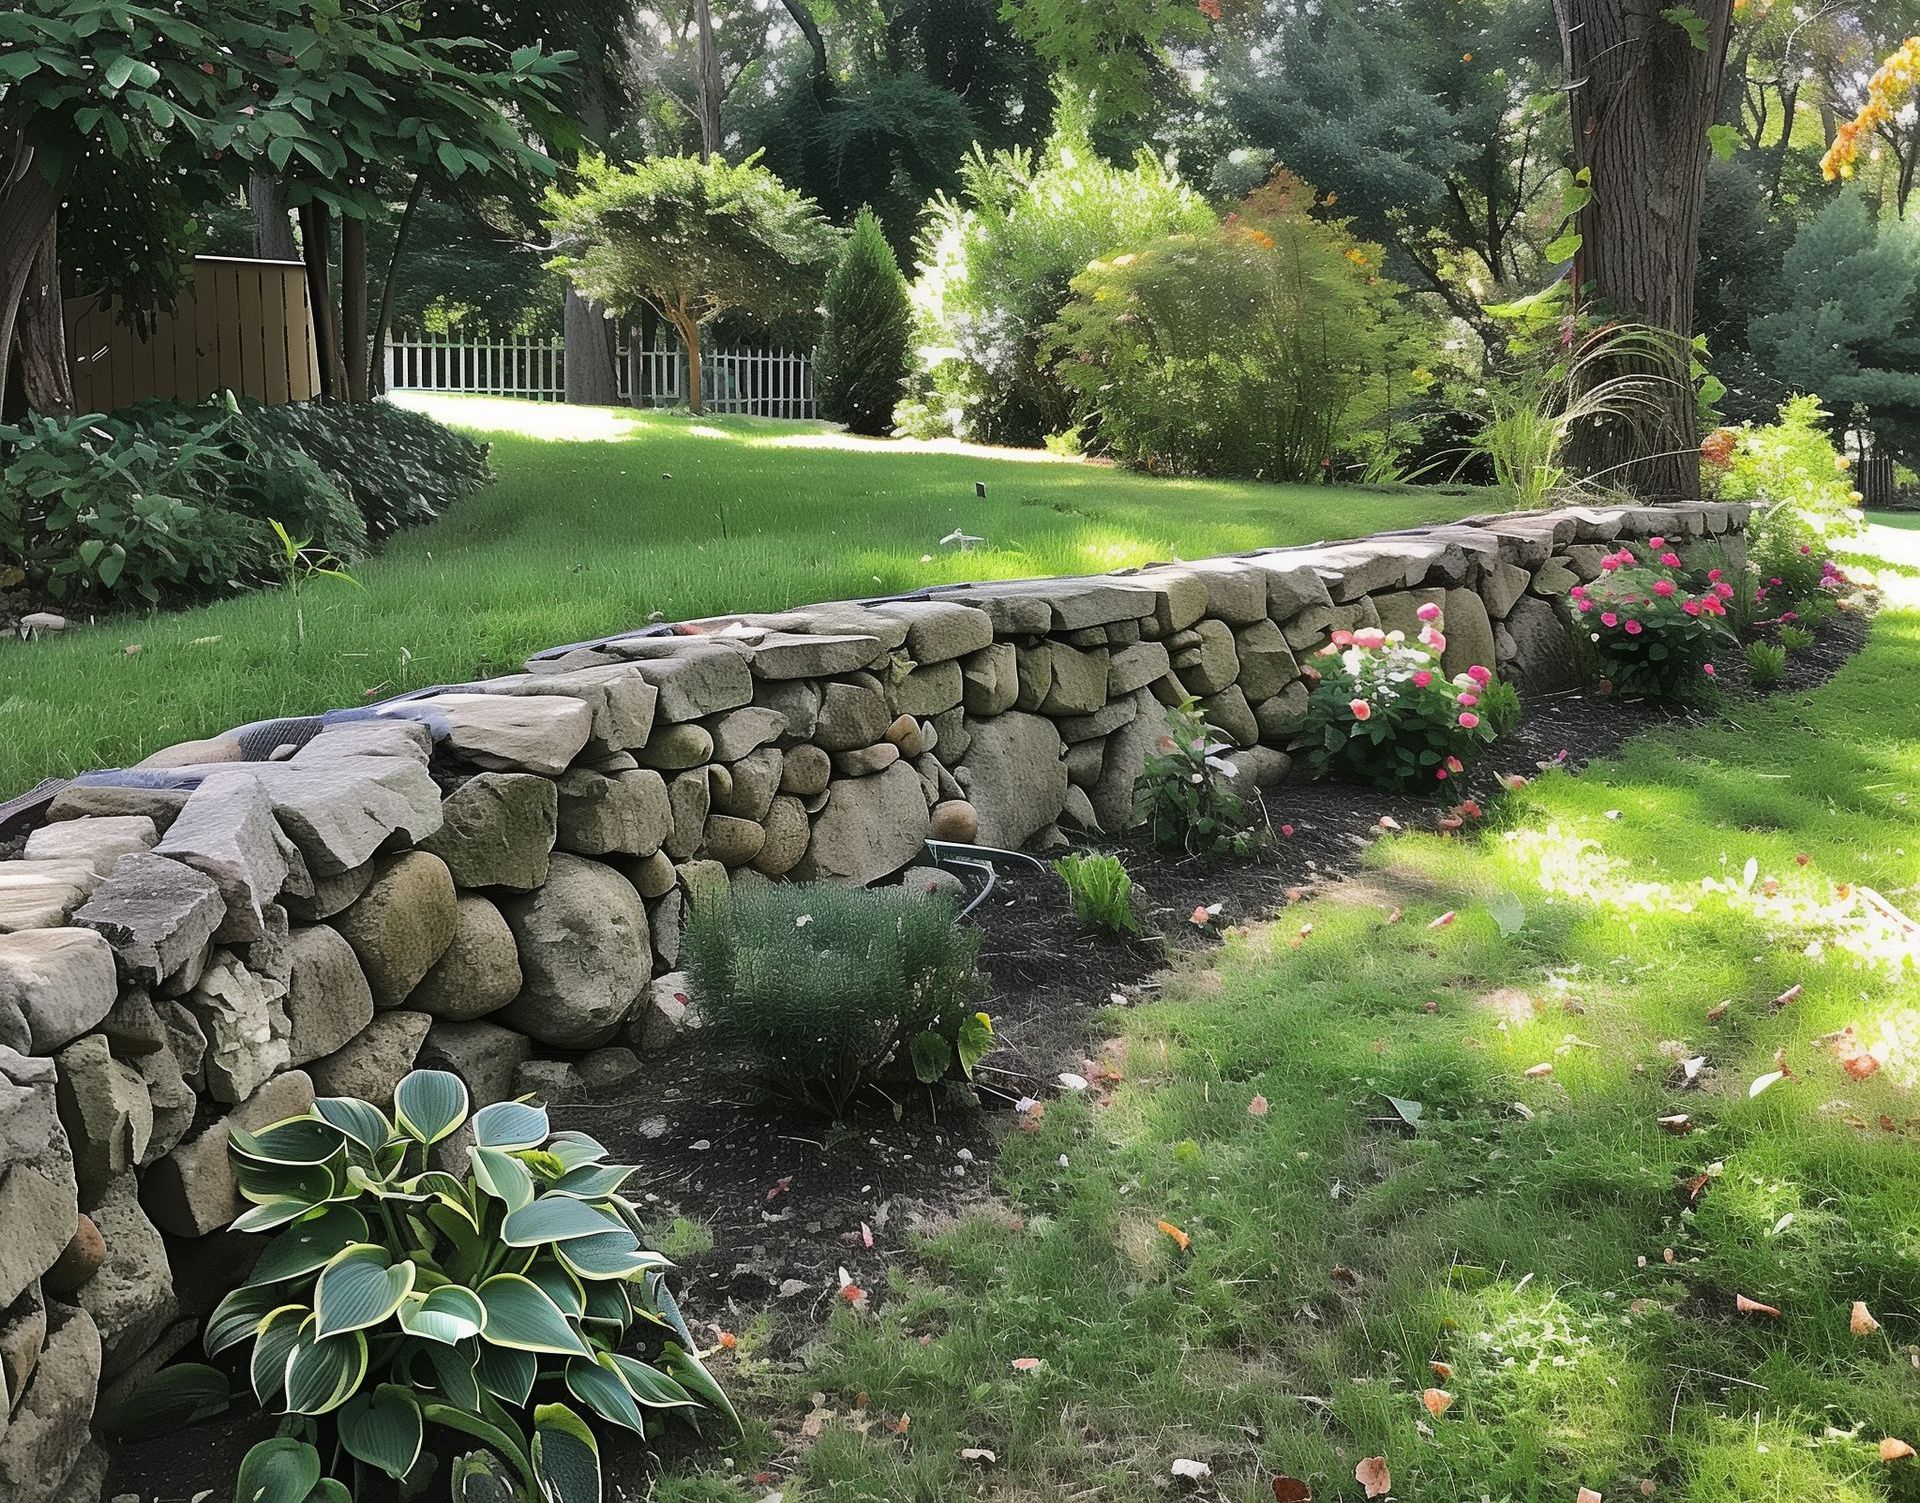
- To ensure that the blocks are level, place a carpenter’s level across them. Adjust them as needed before moving on. That first row must be level. In case you’re using rough-hewn stones, lay the ones with irregular faces in this row. The rough face can go down into the sand, and the level face can be on top.
- Once you finish with the first row, lay the second one. It’s a good idea to stagger the blocks so that the vertical edges don’t align across layers. This step forms a beautiful and natural-looking alternating pattern.
- If you have rough-hewn stones, try to make the second row as stable as possible, just like the first. If you don’t, the rocks might fall off. If you have to, you can stabilize them by chipping the irregular parts with a maul and chisel then pushing the chips into the gaps between the stones.
- Much of the work for this step is making sure things look harmonious and hold together. Cut the blocks and use the little chips to fill in the odd spaces between blocks or at the wall’s ends. You can even use the chips as decorative additions if they are colorful. You can use a tape measure to estimate the cutting line around the block and then label it with a pencil or marker. Once you’ve marked it, use a hammer and chisel to chip away at the line and cut a notch along it. After completing this step, use the hammer and chisel to strike hard at the groove so the block fractures.
Stabilize the Structure
To interlock the blocks, use metal pins. Use a hammer to drive the metal pins through slots in the block.
- Continue the process outlined above as you lay the blocks, cutting blocks, and setting pins where necessary until your wall is high enough.
- After that, fill in the remaining space in the trench behind the wall with gravel. Any remaining space in the channel in front of the wall can get filled in with dirt. Make sure to level and compact both so they’re level with the ground.
- If you like, you can fix capstones on top of your wall. This idea is handy if it consists of concrete blocks. Apply some concrete adhesive along the top face of the top row and lay the capstones on top. Tamp them into the bonding agent with a rubber mallet to make them hold in place.
- Now fill the interior of the retaining wall garden with soil for your planting bed.
A Worthwhile Garden Project
As you can see, all the above can get done with a few simple tools and the willingness to put in the work. This project may take a couple of weekends, but it is well worth the time and effort. After the grunt work is over, you will gain a beautiful retaining wall garden for your lawn.
If you’re not confident in your ability to build your own retaining wall garden beds, contact the experts at KG Landscape to get started on this worthwhile landscaping project today.
The post How to Use Retaining Walls as Planting Beds appeared first on KG Landscape Management.
Ready to Start on Your Next Project?
Call us at (763) 568-7251 or visit our quick quote page.