10041 Polk Street NE Minneapolis, MN 55434
Patio Perfection: A Step-by-Step Guide to Designing and Building a Paver Patio
How to design and build a paver patio can be a rewarding DIY project that lifts your backyard into a beautiful and functional outdoor oasis. Whether you're envisioning a cozy nook for family gatherings or a spacious area for hosting guests, the versatility and charm of a paver patio make it an ideal choice. Pavers come in a wide range of colors, shapes, and materials, providing endless possibilities to craft a design that perfectly complements your home.
- Planning and Material Selection : Choose the right pavers and design for your space.
- Site Preparation : Clear and level the ground to set a solid foundation.
- Base and Sand Layer : Lay down a stable base to support your pavers.
- Installation : Carefully place pavers and fill the joints with polymeric sand for durability.
Creating a paver patio involves careful planning and execution. Although it may take some time and effort, seeing your backyard transform into a functional and inviting space will be well worth it. Stay tuned as we dive into each step, providing you with detailed guidance to achieve patio perfection.
How to Design and Build a Paver Patio
Designing Your Paver Patio
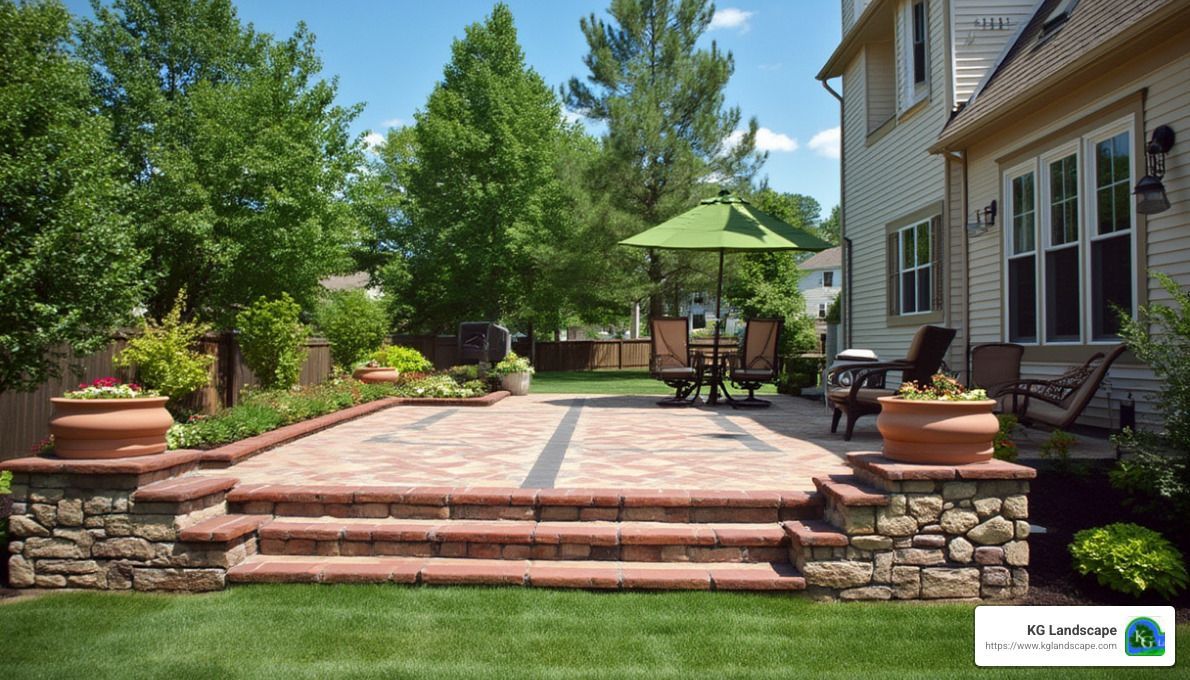
Before breaking ground, it's crucial to plan the layout of your paver patio . Think about how you will use the space and what patterns will best suit your needs. Paver patterns like jack-on-jack or running bond are simple to install and provide a clean look. For a more intricate design, consider herringbone or pinwheel patterns, although these require more cutting and precision.
Start by sketching your patio layout on paper. Consider sight lines from your home to ensure the patio complements your view. Choose a location that allows for easy access and fits well with the rest of your landscape. The right pattern and layout can make your patio both functional and visually appealing.
Preparing the Ground
The success of your patio project starts with proper ground preparation . Begin by marking the area where your patio will be. Use stakes and mason's line to outline the perimeter. Next, you'll need to excavate the site. Remove any grass, roots, or debris, digging down about 8–10 inches to make room for the foundation layers.
Once excavated, ensure the ground is level. Use a long board and a level to check your work. If the area isn't level, adjust by adding or removing soil. Compact the ground thoroughly using a hand tamper or a rented plate compactor. This step is vital to prevent your pavers from shifting over time.
Building the Foundation
A strong foundation is key to a long-lasting patio. Start by laying a gravel base , about 6 inches thick. Use 3/4-inch clean gravel, which allows for proper drainage. Spread the gravel evenly and compact it well, ensuring it is level and stable.
Next, add a 1-inch layer of sand over the compacted gravel. This sand layer acts as a bed for your pavers, helping to keep them in place. Use electrical conduit pipes as guides to level the sand. Drag a straight board across the pipes to smooth out the surface, creating a consistent and even layer.
By carefully designing your layout and preparing the ground, you'll set the stage for a successful patio installation. The foundation work might seem tedious, but it's essential for stability and durability. With the groundwork complete, you're ready to move on to laying your pavers and bringing your vision to life.
Laying the Pavers
Choosing the Right Pavers
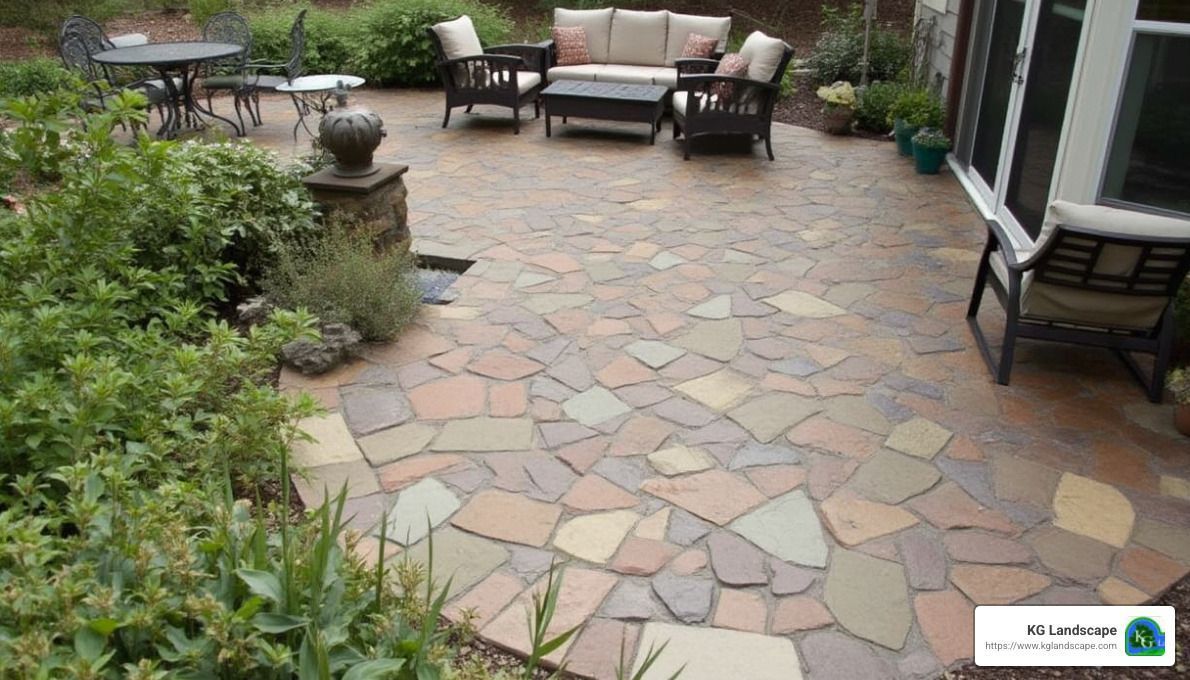
Selecting the right pavers is an essential step in building a durable and attractive patio. Pavers come in various types, including concrete, brick, and natural stone. Each type offers different color options and textures, allowing you to customize the look to match your home's style.
Consider the thickness of the pavers as well. Thicker pavers are sturdier and better suited for areas with heavy foot traffic or additional weight, like a grill or outdoor furniture. Choose colors that complement your existing landscape, keeping in mind that lighter shades can help keep your patio cooler under the sun.
Installing the Pavers
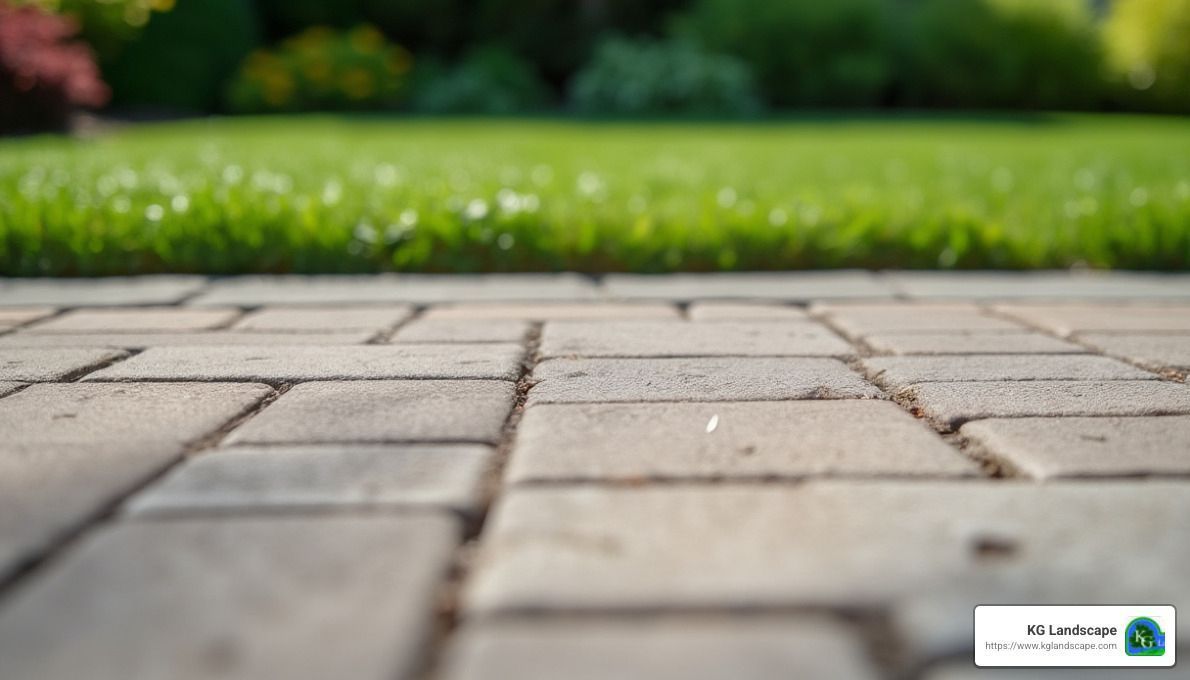
With your pavers selected, it's time to lay them on the prepared foundation. Start by placing the pavers in straight lines, using the edge of your patio as a guide. Maintain consistent spacing between each paver to ensure even joints. A rubber mallet is handy for gently tapping the pavers into place without damaging them.
Avoid dragging pavers across the sand base, as this can create uneven surfaces. Instead, set them straight down and fit them snugly together. If you need to cut any pavers to fit your design, mark the cutting line with a straight edge and use a masonry saw for clean cuts. Always wear gloves and protective eyewear when cutting pavers.
Locking in the Pavers
Once all the pavers are in place, it's time to lock them in with polymeric sand . This special sand not only fills the joints but also helps prevent weeds from growing between the pavers. Spread a light layer of sand over the entire patio and use a push broom to sweep it into the gaps.
After the sand is in place, use a plate compactor to vibrate the sand into the joints. This step is crucial for compaction , which keeps your pavers from shifting. Be sure to use a pad under the compactor to avoid scratching the pavers.
Finally, add another thin layer of sand and repeat the sweeping and compacting process. This ensures all joints are filled and stabilized, providing a polished and professional finish to your patio.
Conclusion
Congratulations on completing your paver patio! Now that the hard work is done, it's time to focus on the finishing touches that will turn your patio into a true outdoor oasis.
Finishing Touches
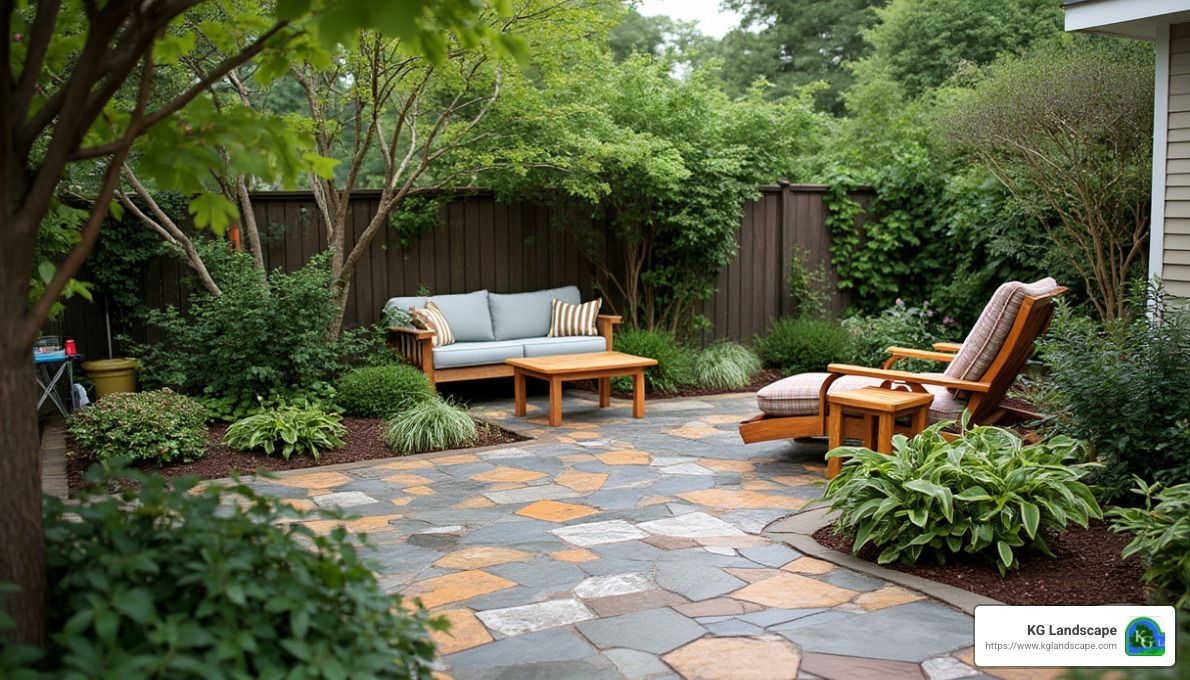
Begin by adding some greenery around your patio. Incorporating plants and shrubs not only improves the aesthetics but also creates a natural, inviting ambiance. Choose plants that thrive in your climate and match your desired style, whether lush and tropical or minimalist and modern.
Outdoor lighting is another essential element. Consider installing string lights, lanterns, or spotlights to extend the usability of your patio into the evening. Lighting not only improves safety but also adds a magical touch to your outdoor gatherings.
Outdoor Furniture
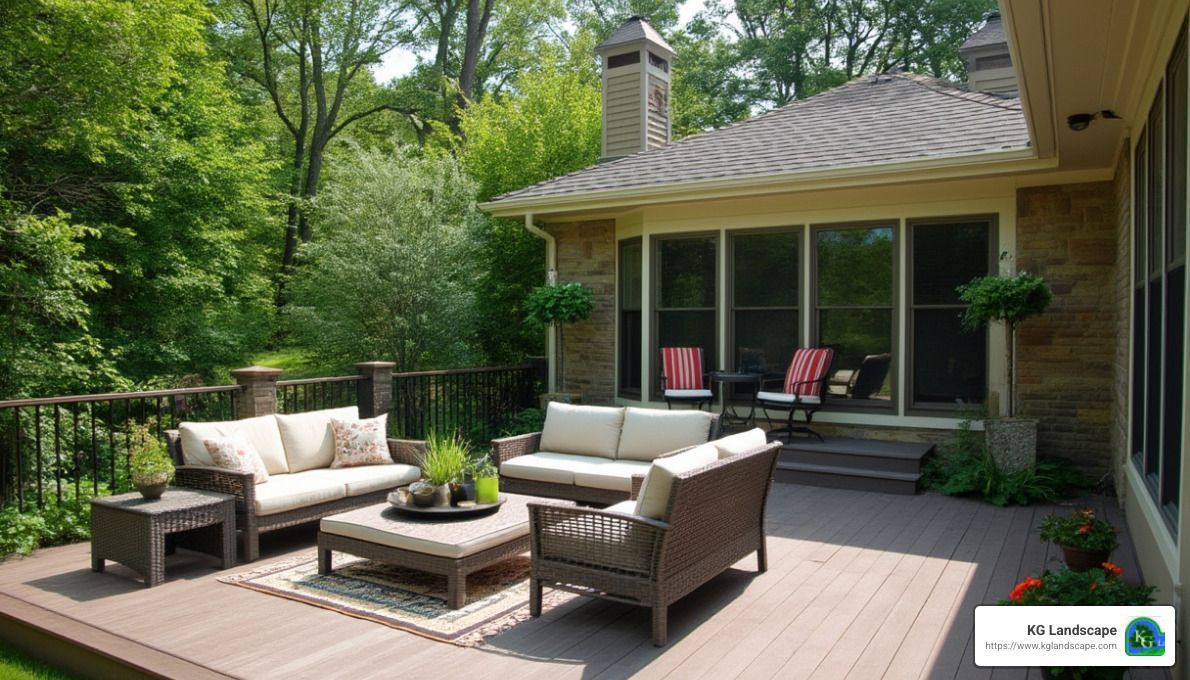
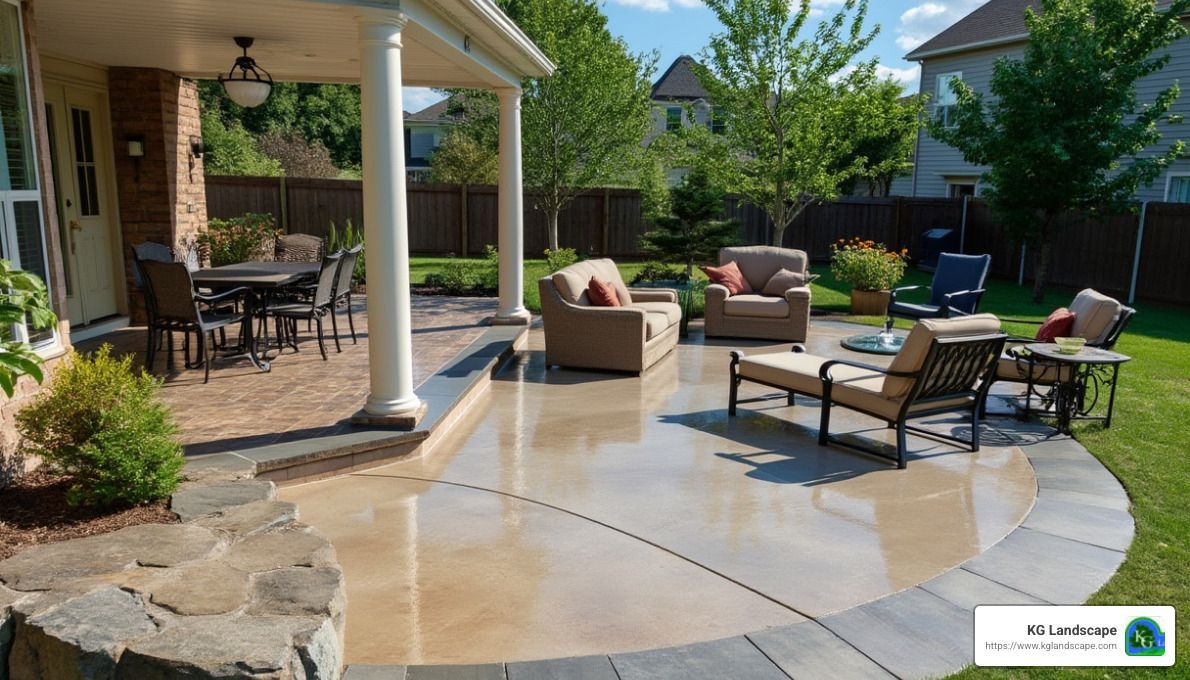
Selecting the right outdoor furniture is key to making your patio a comfortable and functional space. Opt for weather-resistant materials that can withstand the elements, ensuring longevity and reducing maintenance. Arrange seating areas to encourage conversation and relaxation, and add outdoor cushions for extra comfort and style.
KG Landscape
If you're looking to take your outdoor space to the next level, consider professional landscaping services. At KG Landscape Management, we specialize in creating stunning outdoor environments that reflect your personal style. Our team is dedicated to providing high-quality, detail-oriented work and an excellent customer experience.
Whether you're in Edina, Minneapolis, or any of our other service areas, we're here to help you achieve the patio of your dreams. Find how we can transform your outdoor space by visiting our Paver Patios service page.
With your paver patio complete, you're ready to enjoy countless memorable moments in your new outdoor haven. Accept the joy of al fresco living, and let your backyard become the perfect backdrop for everything from casual family dinners to lively get-togethers with friends.
Ready to Start on Your Next Project?
Call us at (763) 568-7251 or Request a Quote Online
Contact Us
We will get back to you as soon as possible.
Please try again later.
Helpful Links
Contact us
Residential Building Contractor License #BC718597 | © 2025 KG Landscape Management

