
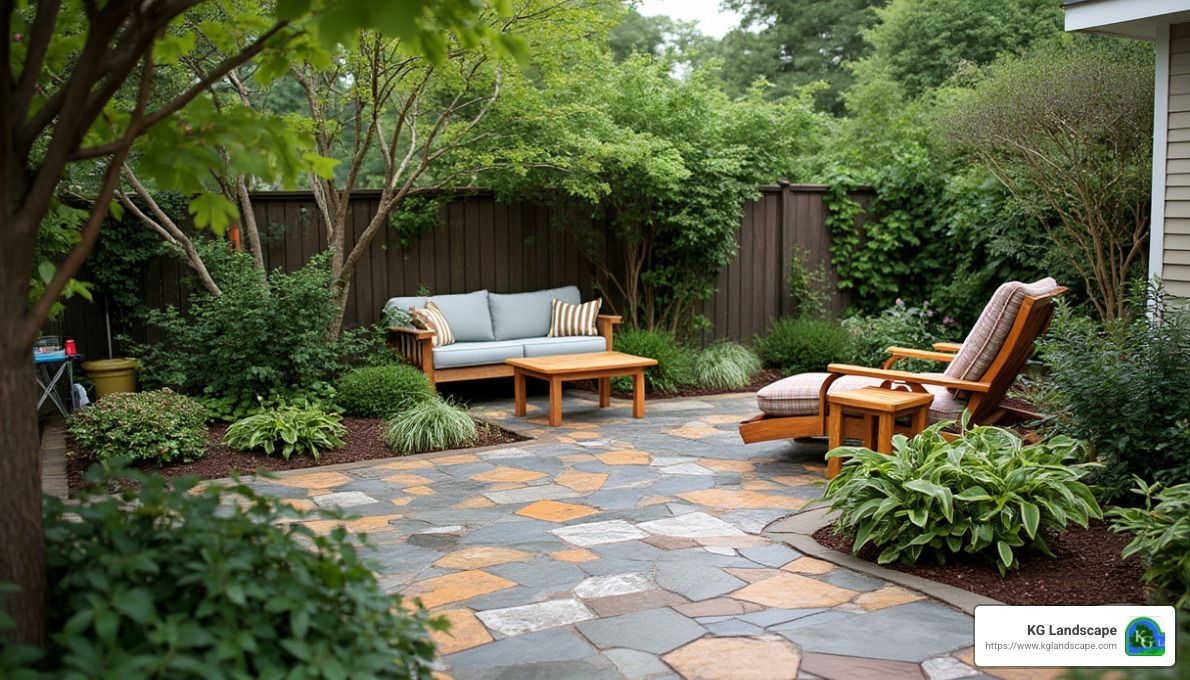
Say Hello to Your Dream Outdoor Space with This Handy Paver Patio Installation Guide
Ready to transform your outdoor space into a haven for relaxation and entertainment? This comprehensive patio installation guide will help you navigate through the process seamlessly, whether you're a seasoned DIY enthusiast or just starting. From selecting the right materials and tools to laying the foundation and adding finishing touches, we've got you covered. Get ready to bid farewell to mundane outdoor spaces as we dive into the world of creating your dream patio oasis.
The purpose of this article is to help give you the tools information and tools to select the right bedding / leveling aggregate material when installing your patio. This “leveling” layer will be the final step before installing your stone patio material and will have a large impact on the ease of installation and longevity of your patio.
We recommend using either a chipped / crushed rock or course / washed sand. Both materials will provide a solid leveling base for your hardscape with several differences between the two that we will discuss below.
Installing a Paver or Flagstone Patio
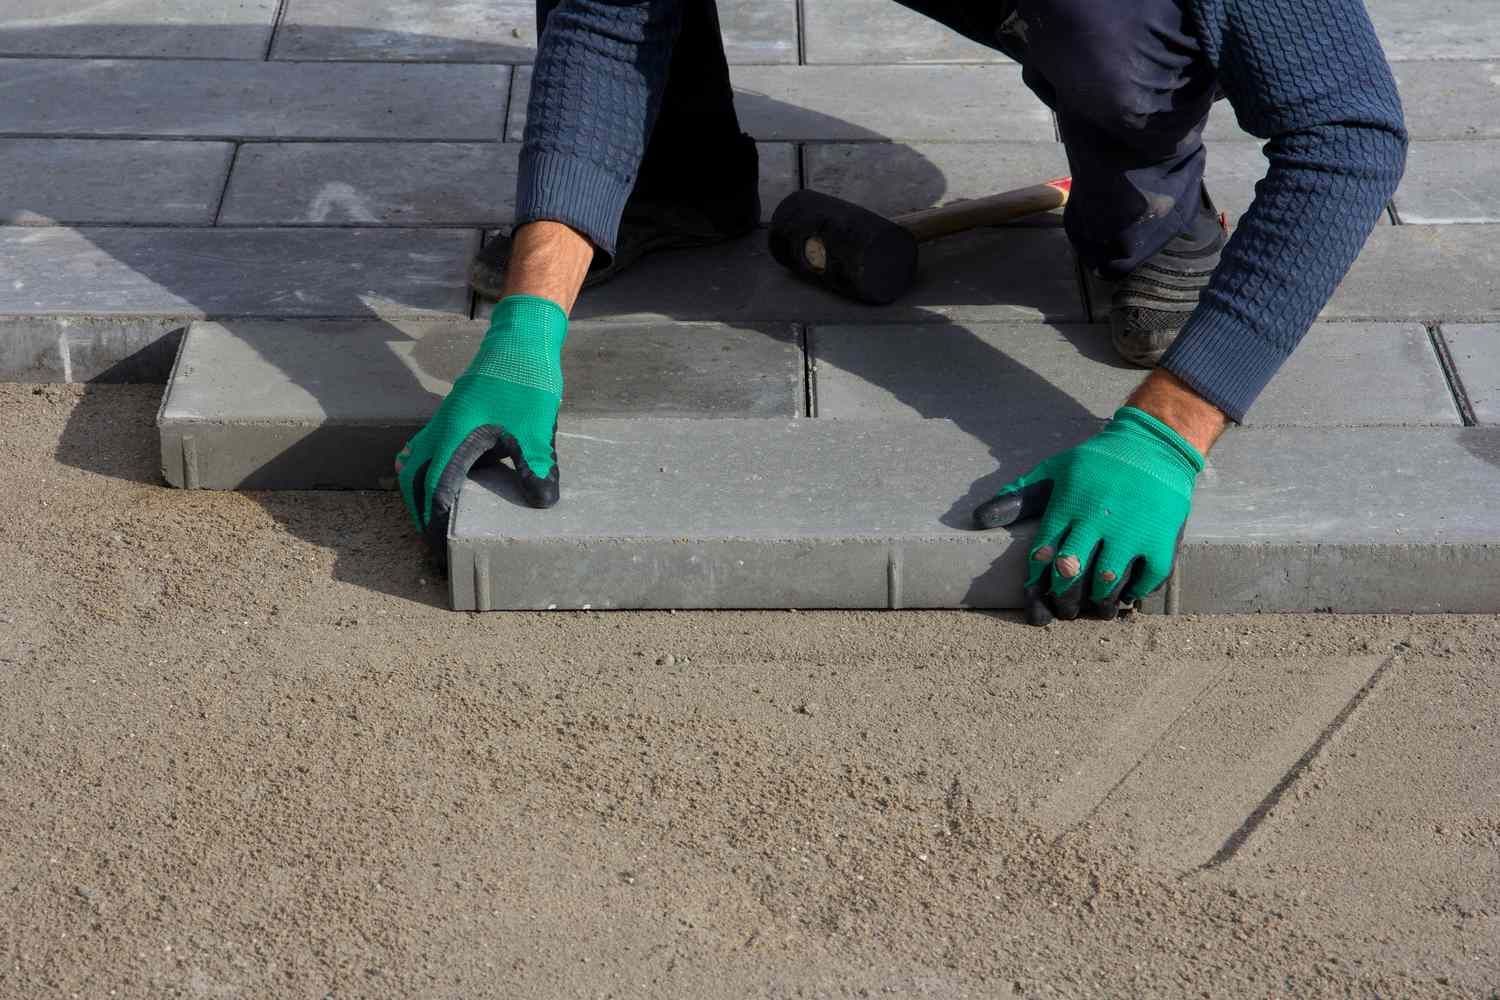
Installing leveling material is very simple process that will be done right before you begin laying your chosen paver/stone material. Our standard installation depth is 1”.

- Excavate Work Area
- Establish Heights and compact subsoil
- Install Geotextile
- Install Base Gravel (typically class 5 or class 2 aggregate
- Compact and slope aggregate for drainage
- Install a bedding Material
- Install Patio pavers, brick or flagstone Material
- Finish with compaction/paver sand/edging
- Install polymeric sand between paver seams
Selecting the Right Bedding Material for a Patio
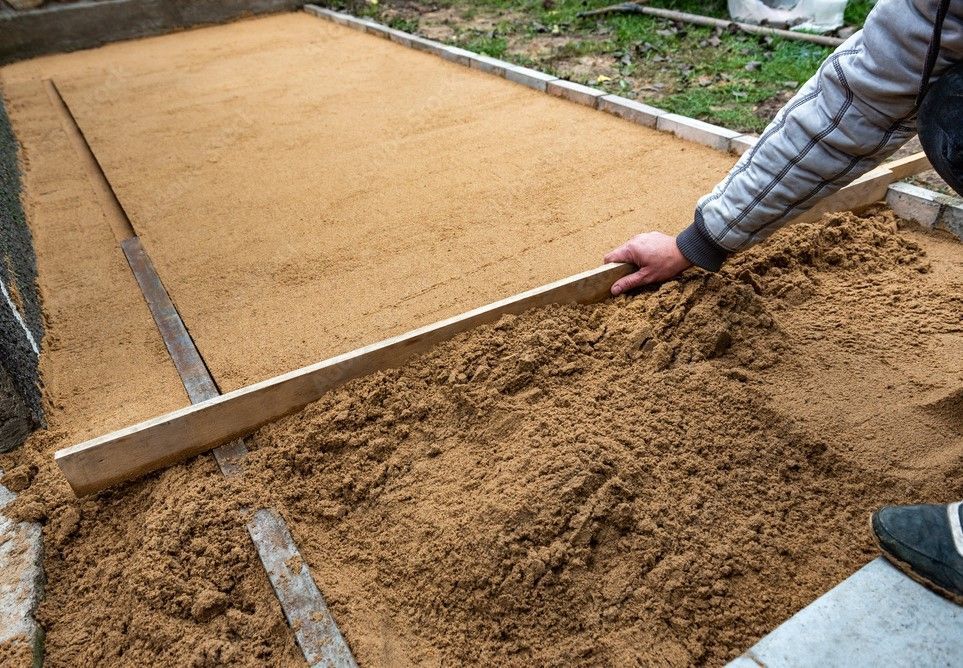
Leveling Sand
The most common material we will use for leveling purposes is sand, commonly called coarse sand or construction sand. The benefits of using this are many and are listed out below:
Pros:
- Sand is easy to work with and packs down well
- Provides solid drainage
- Sand is widely available, almost all landscape supplies will carry it
- Is forgiving and allows for slight adjustments to help level pavers when setting them in place
- Provides good shock absorption for areas that experience heavy traffic (both foot and vehicular)
- Good thermal properties (it absorbs and retains heat)
- Last but not least, sand has a low cost when compared to other similar materials
Cons:
- If the edges of your hardscape are not secure, the sand can migrate over time and could spill out
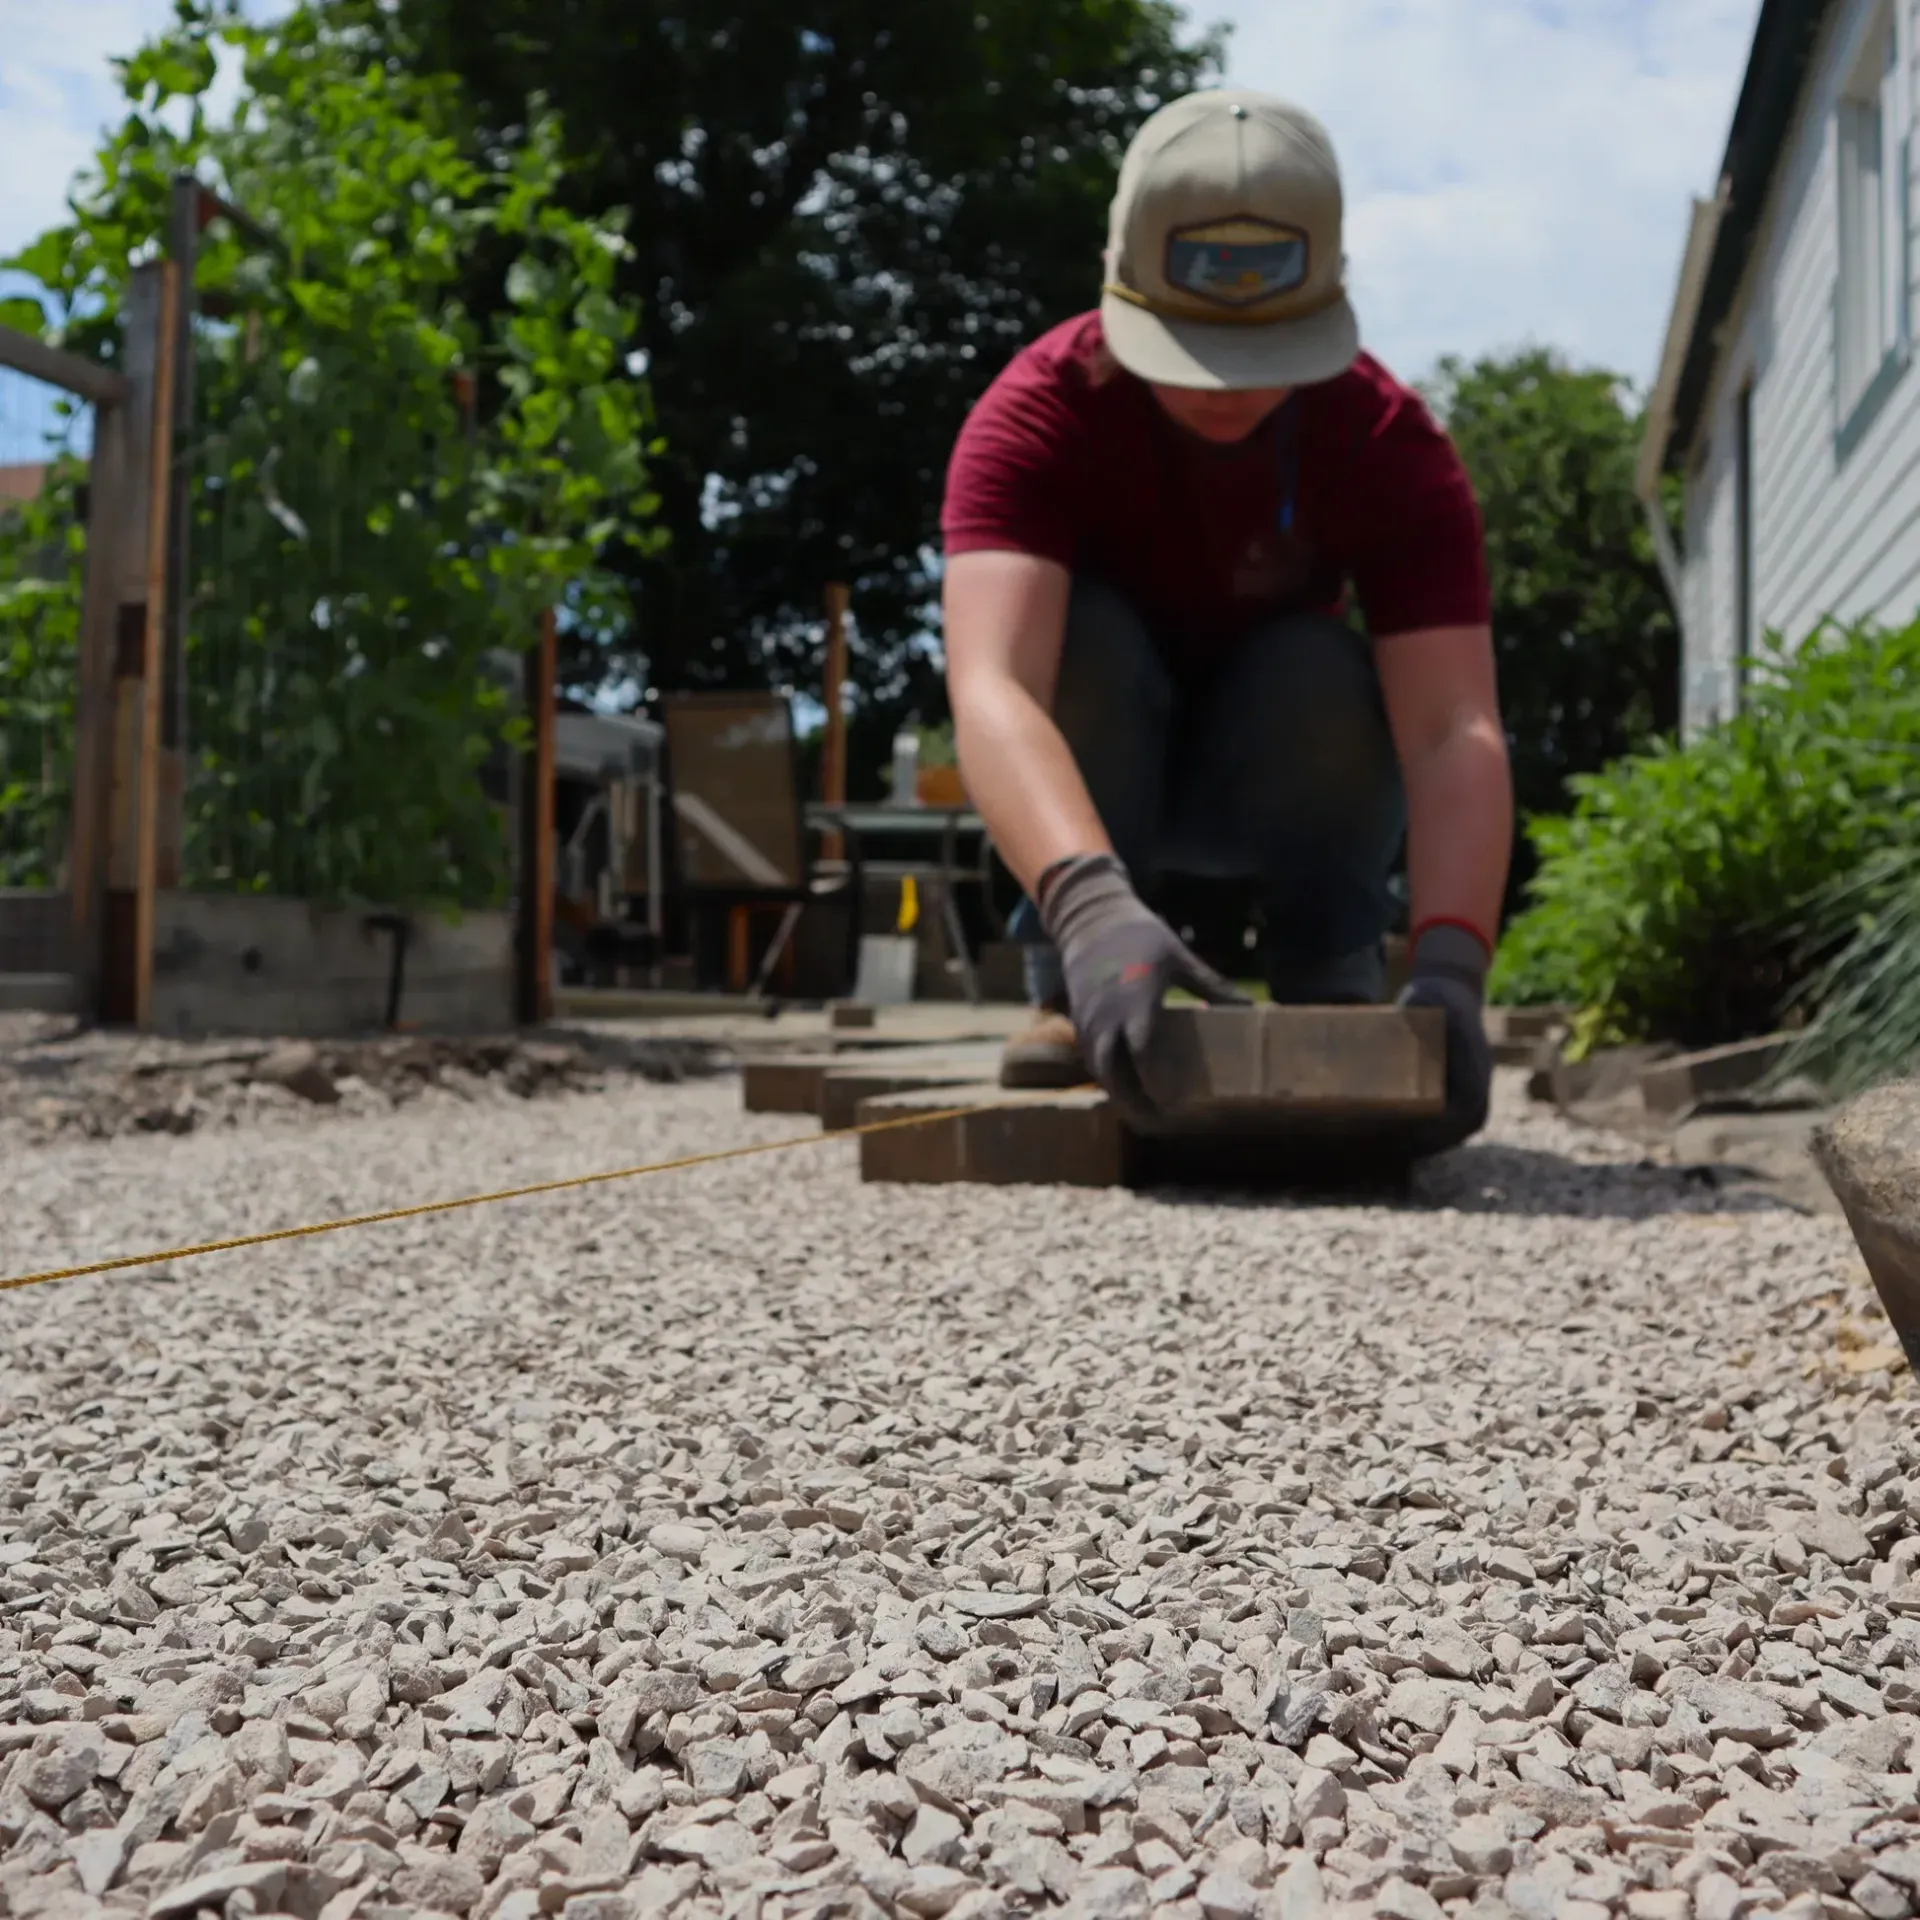
Crushed Rock
Chipped rock offers many of the same benefits that we will list out below. The key difference between the two materials will come down to price. We will typically use a 3/8” crushed trap or granite chips for this purpose. The big thing to look for when using a rock product is to ensure that the pieces are irregular/angular in shape. Round rock such as pea gravel does not “lock” into place like irregular/angular pieces do and should never be used for this purpose.
Pros:
- Excellent drainage properties
- The ability to hold and support heavy material
- Provides an additional barrier of weed control
- Does not require as much compaction when installing
Cons:
- The installation is more labor and time intensive, the material does not allow for compaction so it must be installed perfectly prior top setting your stone/pavers in place
Other Concepts to Consider When Installing Bedding Material
When it comes to installing bedding material, consider factors like drainage, soil type, and plant selection. At KG Landscape, we understand the importance of these additional concepts to ensure your outdoor spaces are not only beautiful but also sustainable and functional. Let's work together to create the perfect landscape for you.
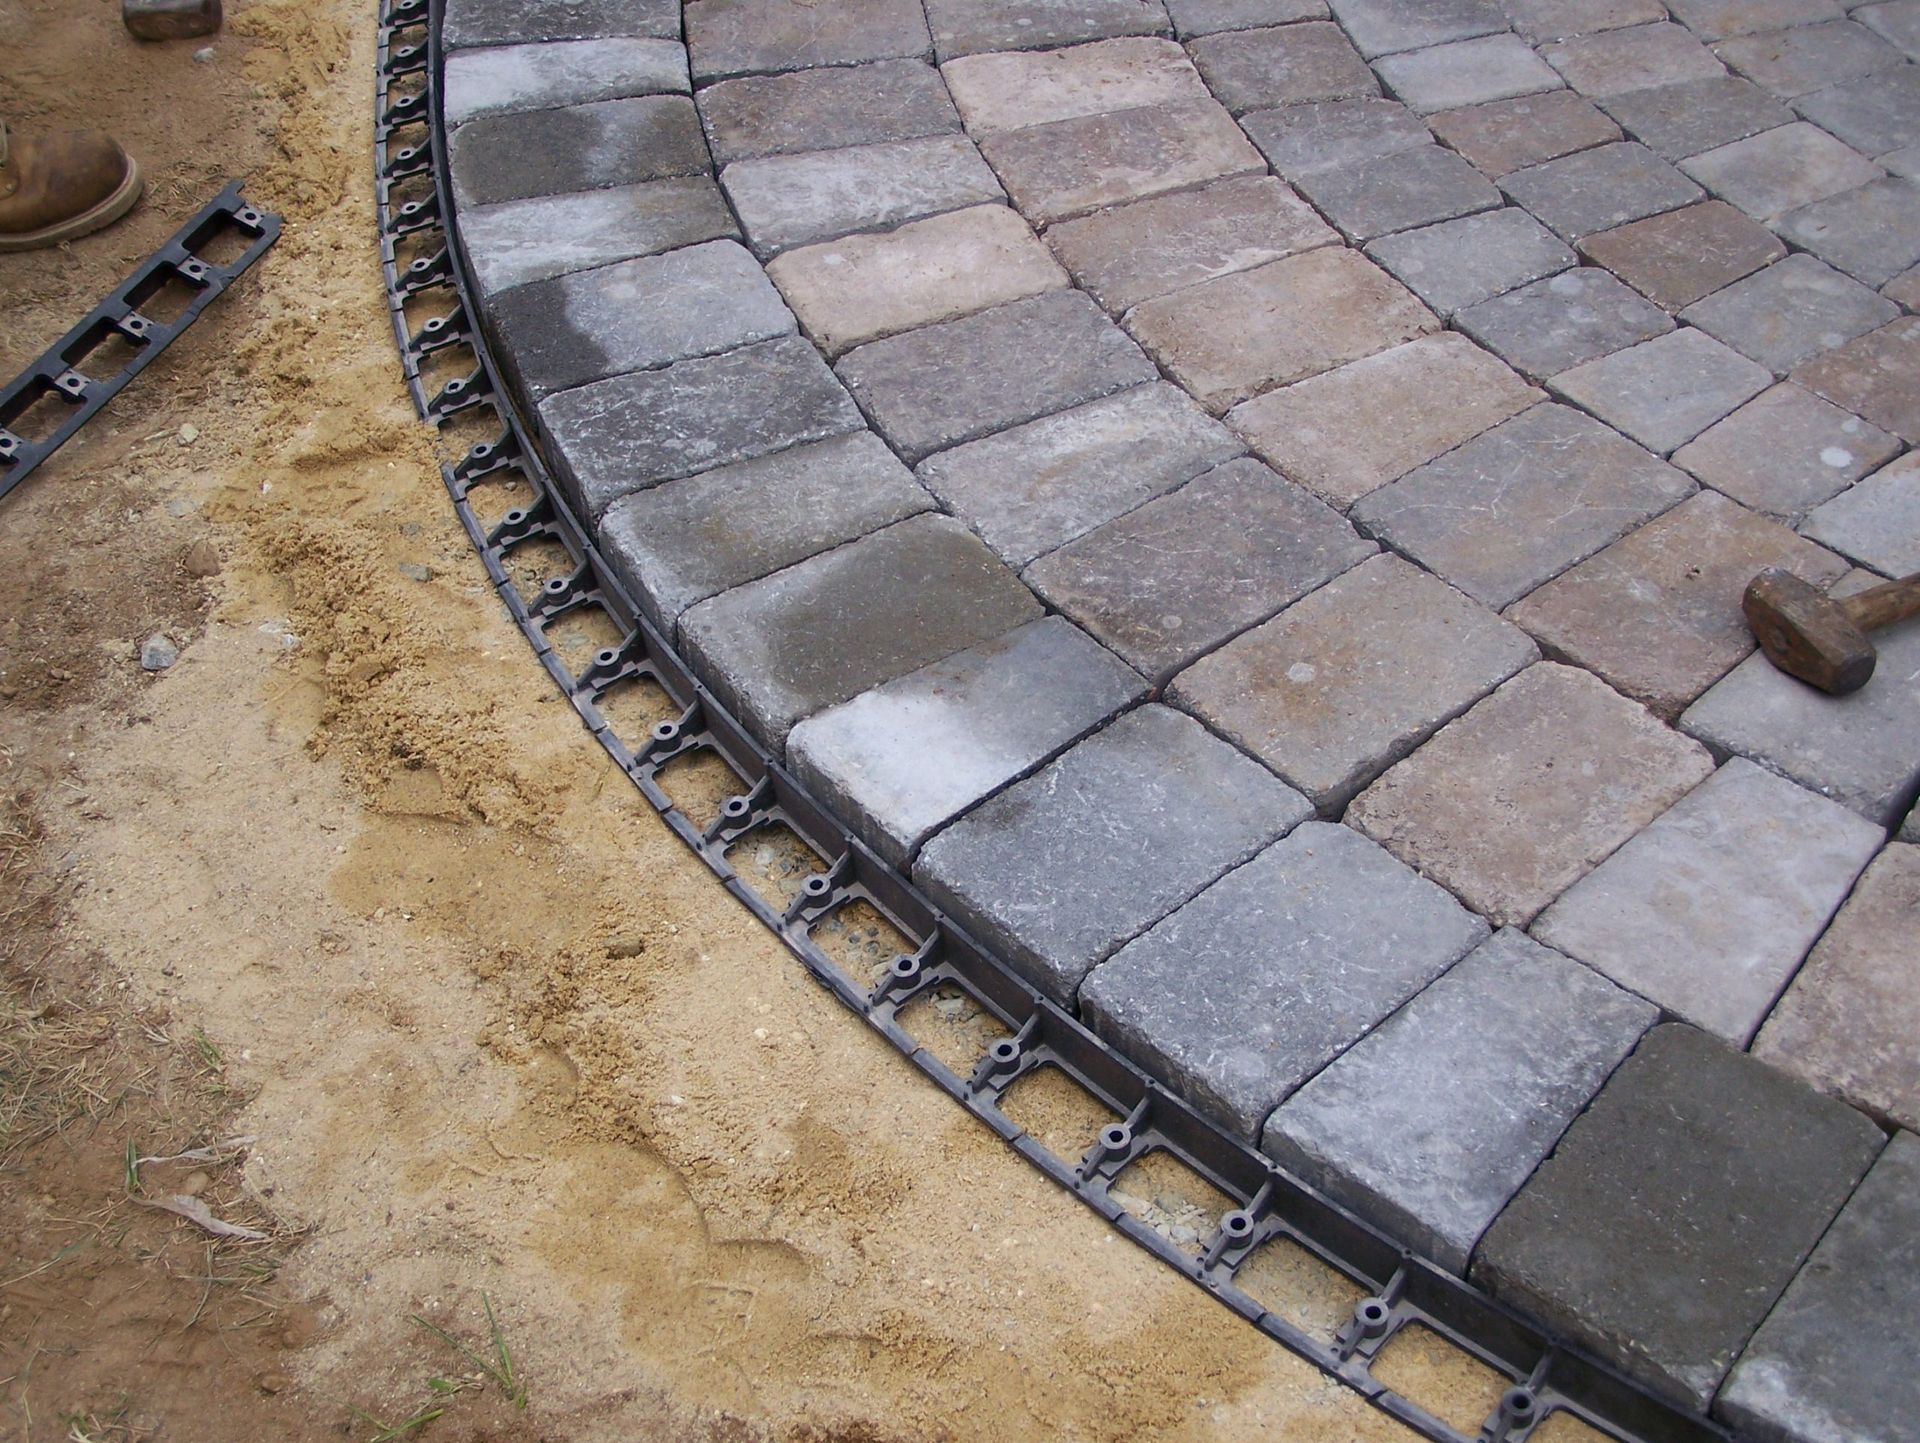
Securing the Edges / Preventing Washout of Base and Bedding Material
With all stone patios you will need to have a plan to secure your edges. This is done to not only fix your hardscape pavers/stone in place, but to keep your base material and leveling layer from spilling out from under your pavers/stone. The standard material that KG Landscape uses for this is a poly snap edging product that can be found at all landscape supply options. To go a step further you can install a concrete edging that completely prevent any movement of your base material and hardscape installation.
Cost
Depending on your location, leveling sand is typically a cheaper option.
Climate
Our climate in Minnesota will factor into what materials we use on our patios. We have to account for the freeze-thaw cycle and will therefore need to use materials that have drainage properties. Both sand and chipped rock feature good drainage properties.
Soil Type
Follow this
Link
to see a detailed map of the soil type found in Minnesota.
- Loam – Mixture of sand silt and clay, which requires less emphasis on drainage, we would typically use sand for this soil type
- Clay – Retains water and has poor drainage properties. We will use either sand or chipped rock depending on the paver/stone that we are installing.
- Sandy Soil
- Drains quickly, once again less of an emphasis on drainage properties and more on support. As long as your base has been stalled correctly, sand would be the typical option for this type of soil condition.
Aesthetic
You will also want to keep in mind the finished look of your hardscape installation. If you are creating a pathway that would have large gaps between the pieces, we would recommend using a chipped rock for a finished look.
Types of Stone Patio Materials
The material you are using for your patio will factor into what type of leveling material you should use. For more info about patio design and material options,
visit our patio construction page
.
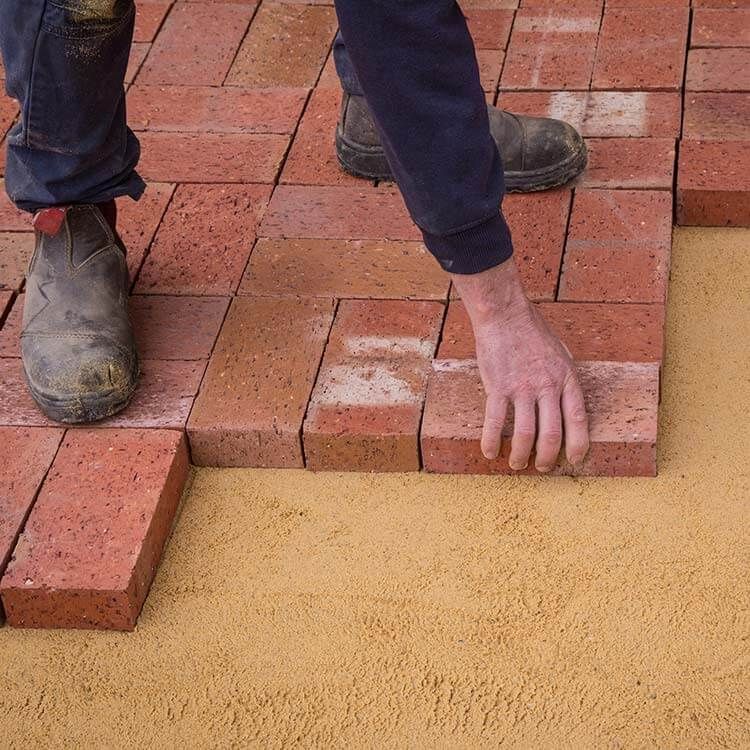
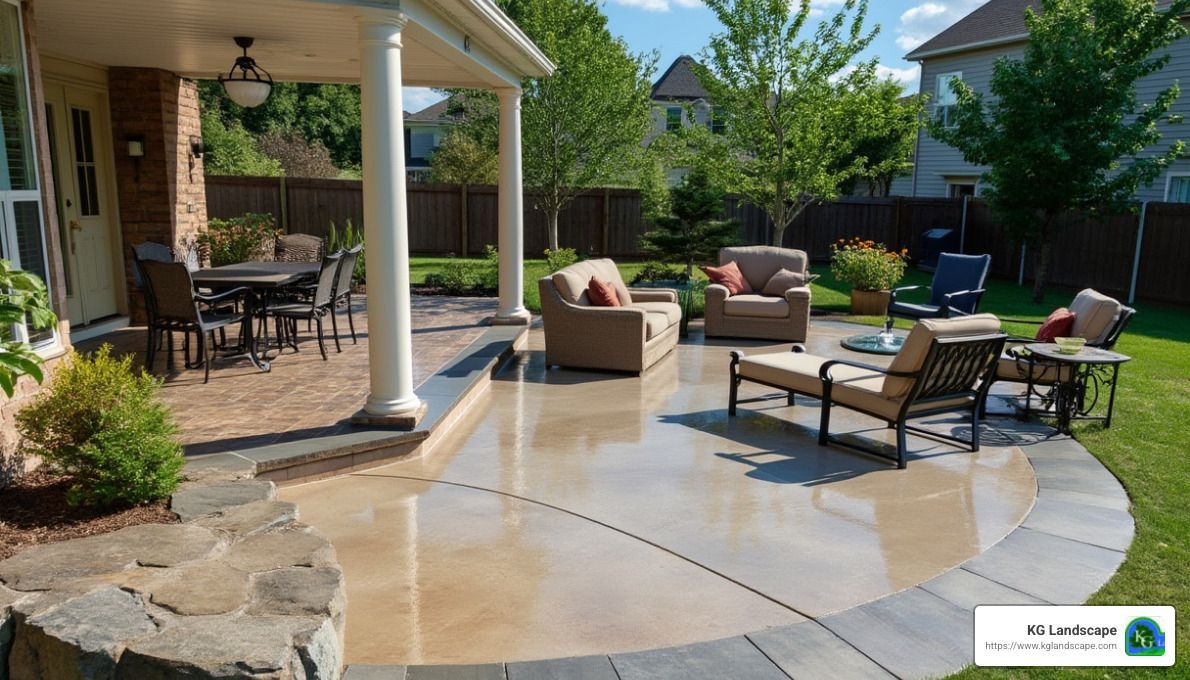
- Concrete Pavers and Brick – we will typically use sand for leveling a brick or paver feature when stone sizes are less than 1.5 square feet per piece
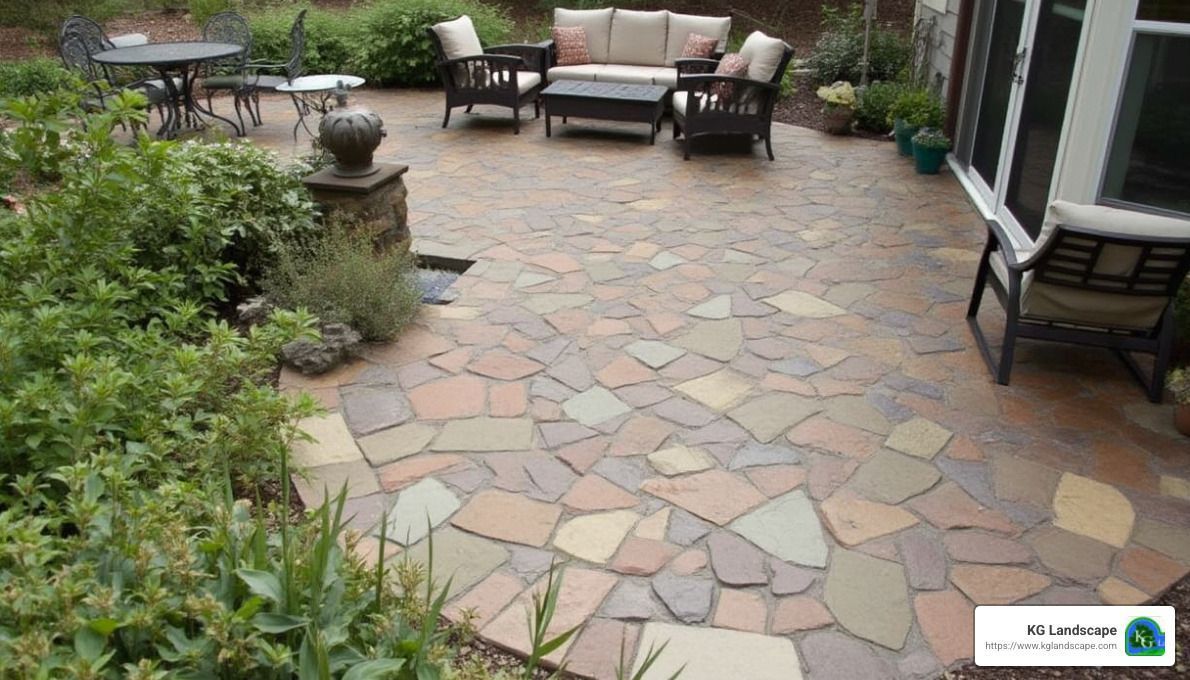
- Natural Stone/Flagstone/Bluestone – for larger pieces of stone such as flagstone or a bluestone we will start looking at using chipped rock when stone pieces exceed 2 square feet per piece or 24”x24”

- Porcelain Pavers – either sand or chipped rock can be used for this material. Once the pieces start getting larger than 24”x24” we would recommend using chipped rock for its better supportive properties.

In conclusion
installing a complete patio involves careful planning, precise measurements, and patience. From selecting the right materials to preparing the base and laying the pavers, each step is crucial for a successful installation.
KG Landscape recommends using either sand or 3/8” chipped rock for your patio/paver leveling needs. Both provide a solid option for your leveling layer with several differences. Be sure to check if there are any local building codes or regulations that you would need to consider when choosing a material. Contact us today If you would like to have one our experts, come out and offer further advise on installing hardscape at your location.
KG Landscape recommends using either sand or 3/8” chipped rock for your patio/paver leveling needs. Both provide a solid option for your leveling layer with several differences. Be sure to check if there are any local building codes or regulations that you would need to consider when choosing a material. Contact us today If you would like to have one our experts, come out and offer further advise on installing hardscape at your location.
Discover innovative raised paver patio ideas to enhance your outdoor space and boost curb appeal with expert design and installation tips.
Discover cost-effective ways to find backyard deck builders near me and enhance your home with expert advice and quality materials.
Learn how to design and build a paver patio with tips on layout, preparation, and installation for a stunning outdoor space.
Discover top stamped concrete patio contractors near me for durable, stylish outdoor spaces. Get expert tips and cost insights today!
Discover top deck patio builders near you with expert tips on cost, design, and finding the right professional for your outdoor project.

Master how to install pavers with our DIY guide. Transform your outdoor space with expert tips from preparation to finishing touches!
Discover top concrete patio contractors near me for cost-effective installations and decorative finishes. Enhance your patio today!

Discover top backyard patio builders for custom designs. Enhance outdoor living with expert advice on materials, costs, and more.
Discover unique paver designs to transform your patio with style and function. Explore creative, eco-friendly, and timeless patterns today!
Discover how to choose the best backyard paving company with tips on materials, design, customer service, and more. Enhance your outdoor space!