Pave the Way: Creative Ideas for Raised Patios
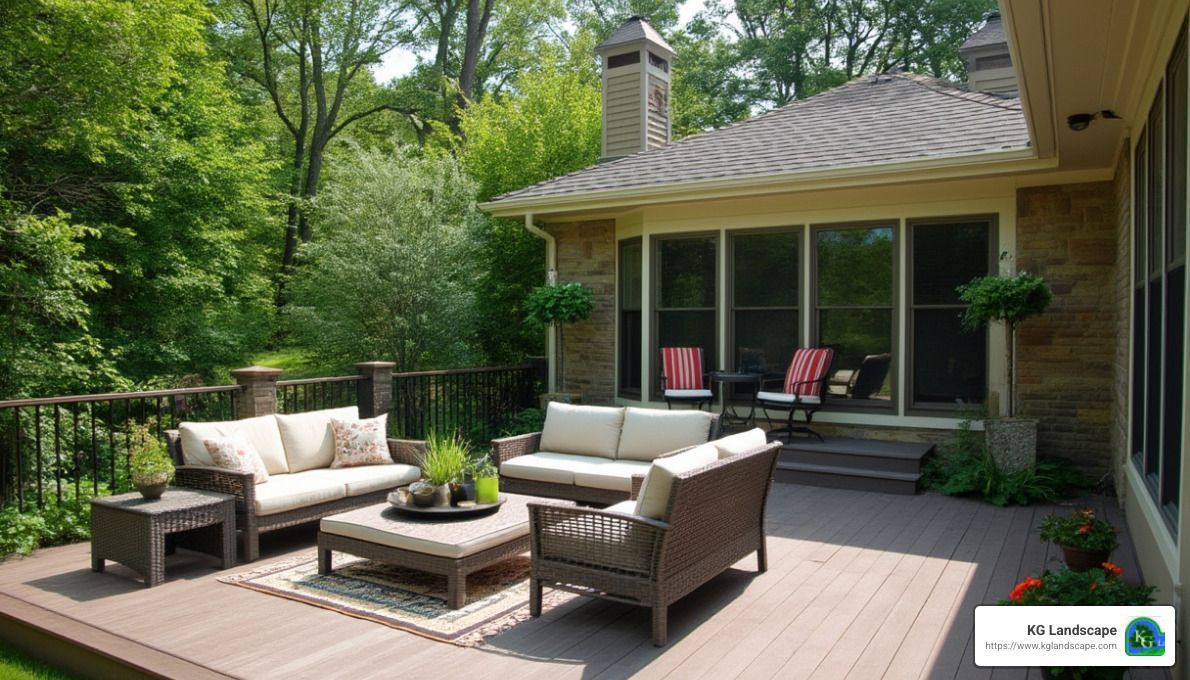
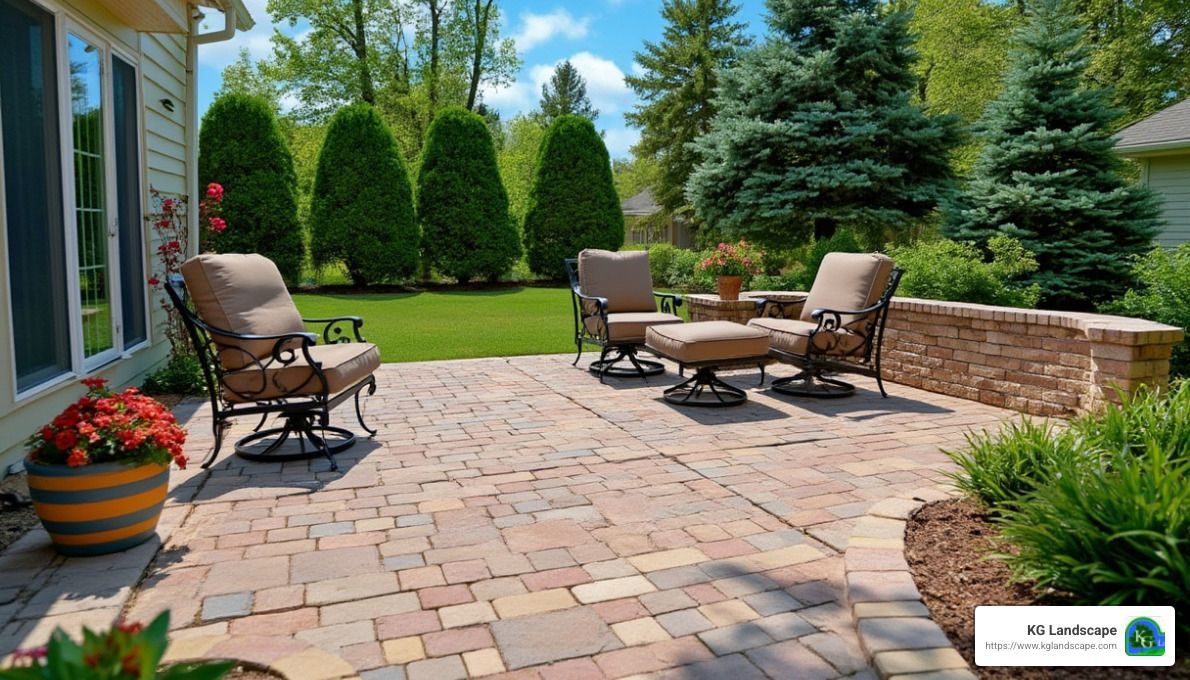
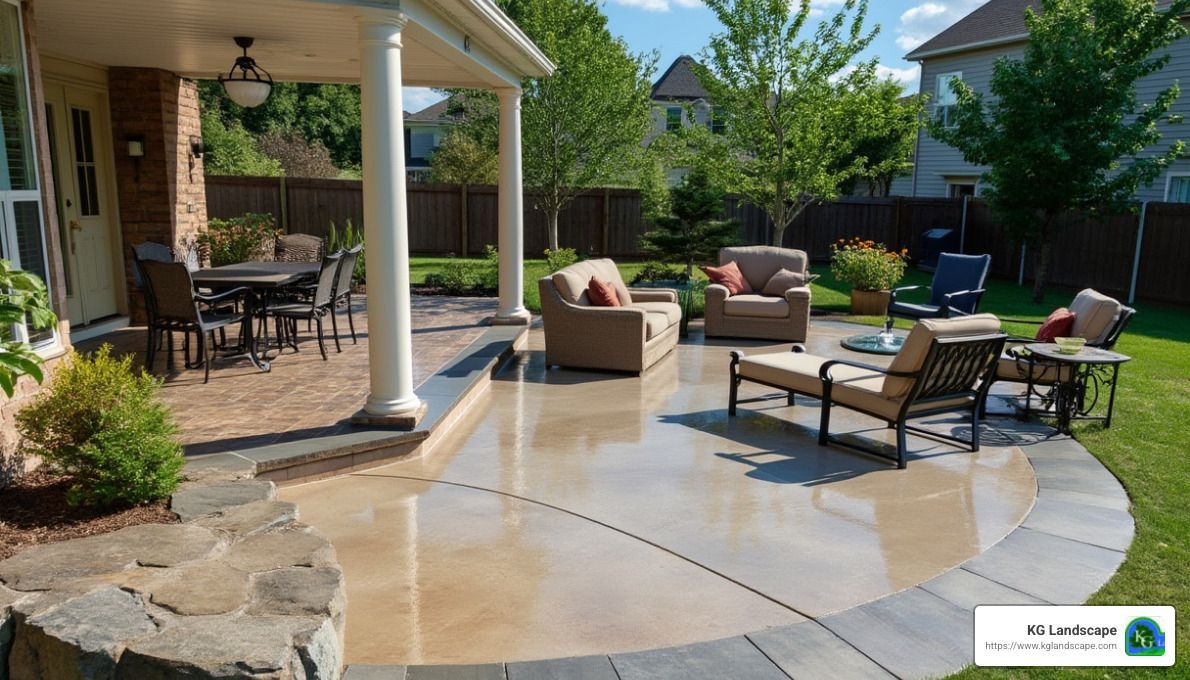
For homeowners looking to improve their outdoor living space, raised paver patio ideas are a fantastic choice. A raised patio not only extends your usable space but also adds a unique, stylish elevation to your landscape design. Here are some key benefits to consider when thinking about a raised paver patio:
- Improved Drainage: By elevating your patio, you can significantly reduce water pooling and manage runoff more effectively, protecting your home and garden.
- Versatility in Design: Raised patios offer diverse design options, allowing you to choose from a variety of materials and finishes that complement your home's style.
- Improved Views: Elevating your outdoor area provides better views of your surroundings, making your space feel more expansive and luxurious.
- Increased Property Value: A well-designed raised patio not only makes your space more enjoyable but also adds to your home's overall market value.
Choosing a raised paver patio is an excellent strategy for changing a sloped yard or replacing an old deck. The functionality and aesthetic appeal it adds to your home make it a worthwhile investment for any Minneapolis homeowner.
Whether it's creating a cozy spot for family gatherings or adding a sophisticated touch to your garden, a raised patio can significantly improve your outdoor experience.
Raised Paver Patio Ideas
Design Your Patio
Designing a raised paver patio starts with a well-thought-out plan. Begin by sketching your ideas on graph paper, using each square to represent a square foot. This modular design approach helps in visualizing the space and determining the materials needed.
Layout planning is crucial. Consider how the patio will integrate with existing structures and the landscape. Think about the flow of movement and how the space will be used. Will it host family barbecues, quiet evenings, or large gatherings?
Using graph paper, you can experiment with different shapes and features, such as curved edges or built-in seating. This stage is your chance to get creative and envision a patio that perfectly fits your needs and style.
Material Selection
Choosing the right materials is key to a successful raised paver patio. The main components you'll need include:
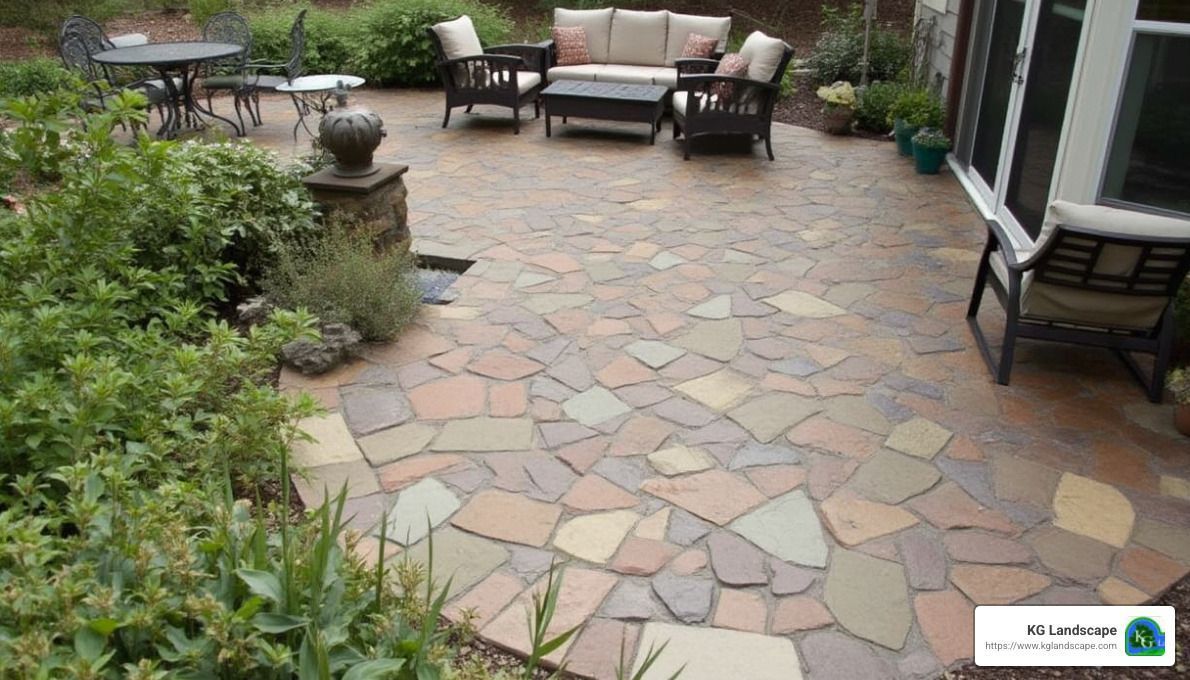
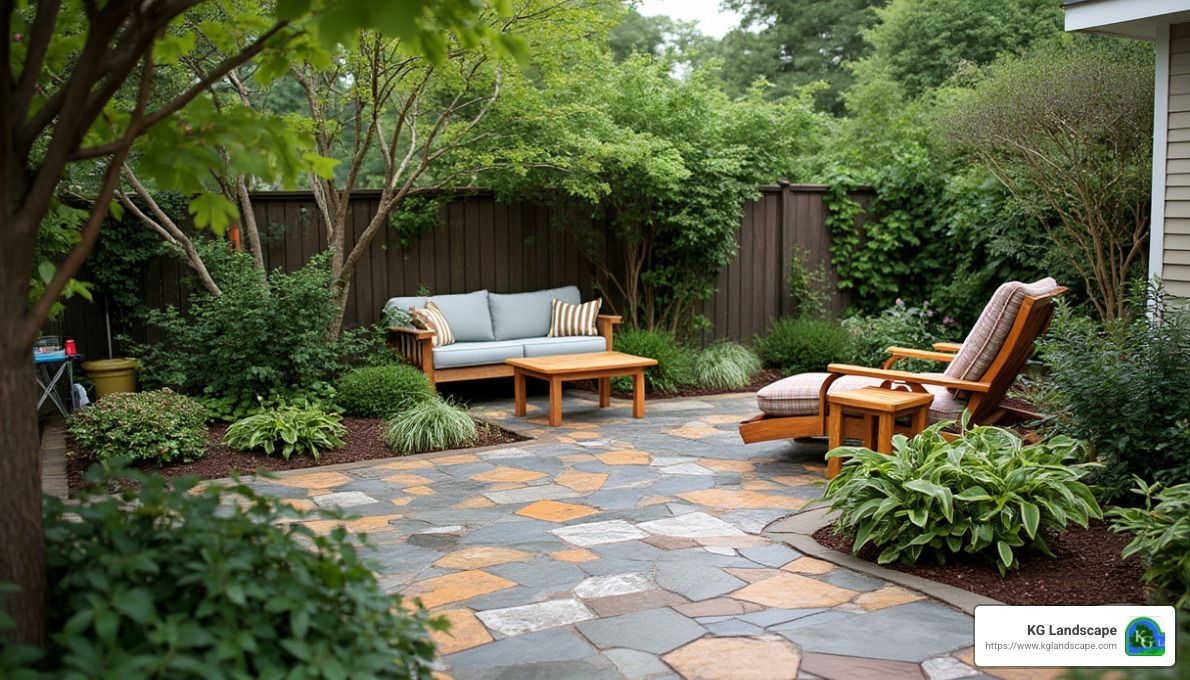
- Pavers: Available in various colors, textures, and sizes, pavers are the primary surface of your patio. They offer durability and style, allowing you to customize the look to match your home.
- Wall Blocks: These provide the structure for the raised part of the patio. They should be strong and weather-resistant to ensure stability.
- Capstone: Used to finish the top of the wall blocks, capstones give a polished look and can match or contrast with the pavers for added visual interest.
- Gravel: A crucial element for the base, gravel provides drainage and stability. It’s important to compact it well to support the weight of the patio.
When selecting materials, consider both aesthetics and functionality. For instance, lighter-colored pavers can keep surfaces cooler in the sun, making them ideal for hot summer days. Also, textured pavers can provide a slip-resistant surface, enhancing safety.
Installation Steps
With your design and materials ready, it's time to focus on the installation. Here’s a brief overview of the steps involved:
- Mark the Layout: Use white marking paint to outline the patio area. Ensure the lines are straight and square to maintain accuracy during construction.
- Excavate the Area: Dig a trench for the wall blocks, ensuring at least 10 inches of depth for stability. This step is essential for a solid foundation.
- Lay the Gravel Base: Compact the gravel to create a stable base. This layer is critical for drainage and support.
- Set the Wall Blocks: Start building the wall by placing the blocks in the trench. Use adhesive to secure them, ensuring they are level and straight.
- Install the Pavers: Once the walls are set, lay the pavers inside the defined area. Use a pattern that complements your design.
- Finish with Capstones and Joint Sand: Place capstones on top of the wall blocks for a finished look. Fill the gaps between pavers with joint sand to lock them in place and prevent weed growth.
By following these steps, you'll create a stunning and durable raised paver patio that improves your outdoor living space.
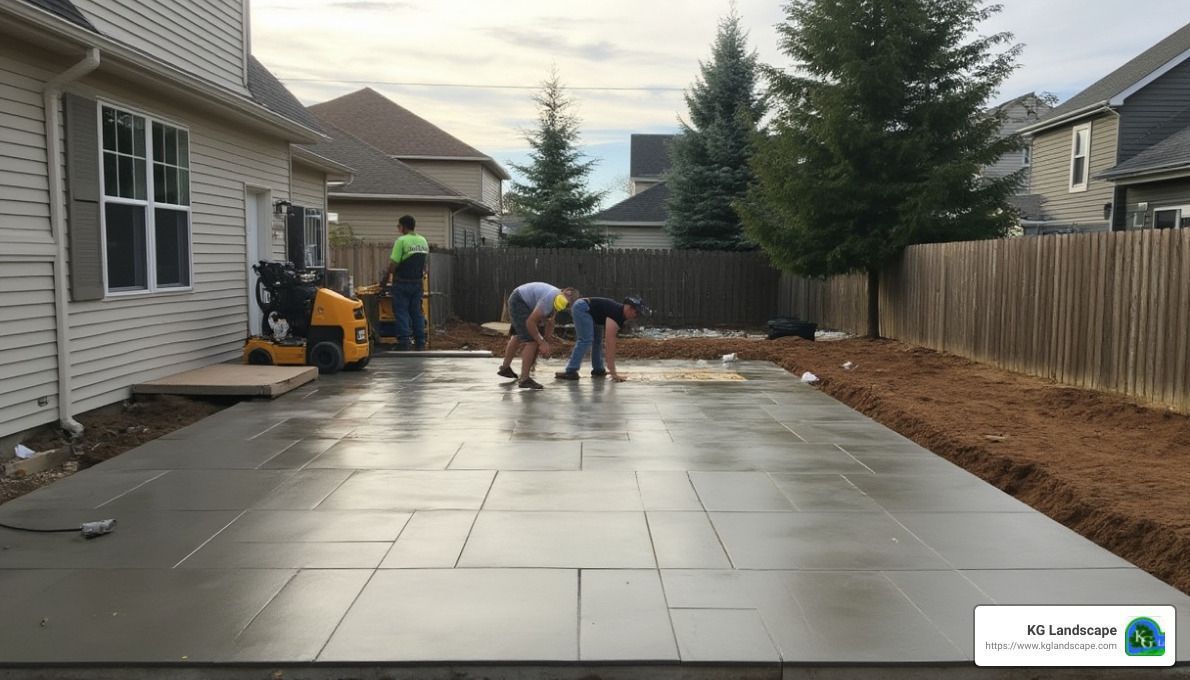
Installation Process
Creating a raised paver patio involves several key steps that ensure durability and aesthetic appeal. Let’s dive into the essential phases of this process.
Marking and Excavation
Start by marking the layout of your patio with white marking paint. This helps in visualizing the area and guides you during construction. Make sure to request a utility check beforehand to avoid any underground hazards.
Next, it's time for trench digging . For a stable foundation, dig a trench where the wall blocks will be placed. Aim for at least 10 inches deep to accommodate the wall blocks and compacted gravel. This depth ensures the patio's stability and longevity.
Building the Foundation
Once the trench is ready, lay a gravel base . Spread and compact the gravel thoroughly, as it provides essential drainage and support for the patio. The compacted gravel should be about 6 inches deep.
Now, proceed to wall block setting . Place the first row of wall blocks in the trench, ensuring they are level and aligned. Use a rubber mallet to tap them into place. Apply adhesive between each block to secure them firmly. This step is crucial for the structural integrity of the patio.
Finishing Touches
With the foundation set, it's time to add the finishing touches . Begin by placing the capstones on top of the wall blocks. These capstones not only improve the patio's appearance but also serve as an edge restraint.
Next, fill the spaces between the pavers with joint sand . Overfill the joints slightly, then use a plate compactor to settle the sand and lock the pavers in place. This process helps prevent weed growth and adds stability.
Finally, sweep off any excess sand and enjoy your beautifully constructed raised paver patio. The combination of a solid foundation, well-set wall blocks, and careful finishing ensures a patio that will stand the test of time.
Conclusion
A raised paver patio is a fantastic way to improve your outdoor space, providing both functionality and beauty. At KG Landscape, we specialize in bringing your patio dreams to life with professional installation and exceptional customer experience.
Our team is dedicated to delivering high-quality, detail-oriented work that transforms your backyard into a perfect retreat. We understand that every yard is unique, which is why we offer personalized design services to suit your specific needs and preferences.
With our expertise, you can rest assured that your raised paver patio will be built to last. From precise excavation to the careful setting of wall blocks and the final touches of joint sand, we handle every step with precision and care.
Ready to create your dream outdoor space? Contact us today to learn more about our services and how we can help you pave the way to a beautiful new patio. Visit our paver patios page to get started. Let's work together to bring your vision to life!