
French Drain: How to Build it the Right Way
Here in Minnesota, “lake life” is a way of life. Many people own a lake home and spend countless summer weekends fishing, swimming, and boating. Lakes are wonderful! Except when they’re in your lawn . . .
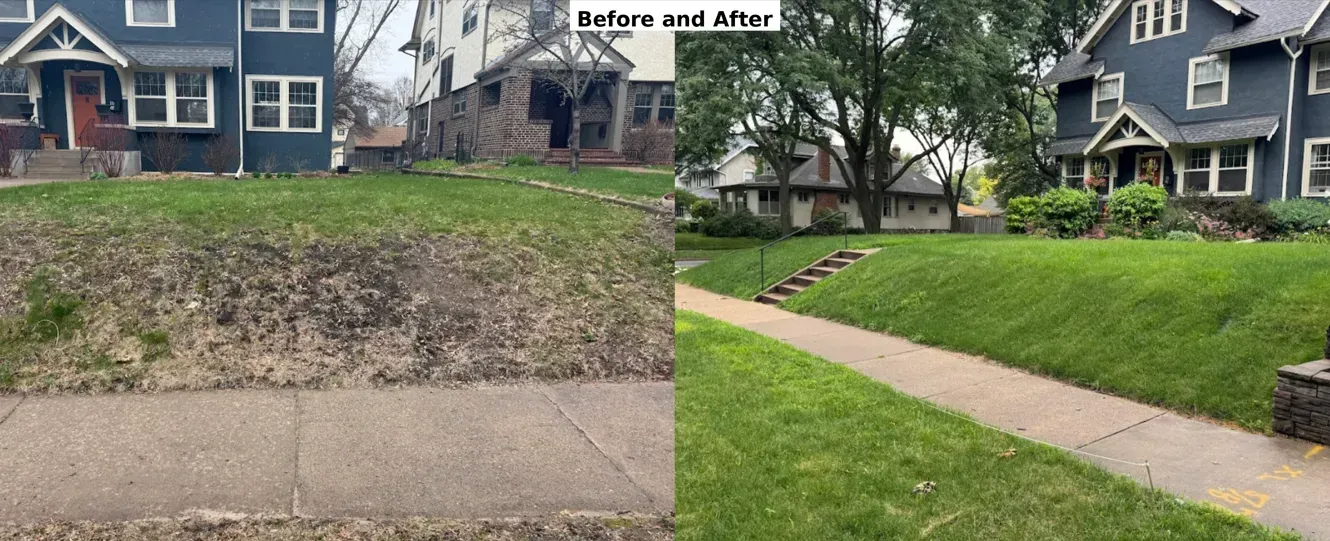
We get lots of calls about lakes or swamps forming in lawns. These kinds of issues can lead to loads of problems including foundation crumbling around your home, water leaking into your house, or diseases in your lawn . Besides these facts, it looks awful and makes your lawn less useful.
One of the most popular fix to these yard drainage problems is a french drain as part of a drainage system. A drainage system can have many different components including a French drain, drywell, closed tubing, catch basins, and pop-up emitters. In this blog post, We’ll be discussing French drains and drywells and how to install them correctly.
What’s your yard drainage problem?
Before starting to dig a trench or hauling in dirt to level off the ground, you want to figure out exactly what kind of drainage issues you’re having. There are three main kinds of drainage issues that occur in turf areas: water accumulating into a small lake, swampy type of ground, or a small flowing river.
Lake Forming
This is a critical problem, especially when it is formed by downspouts and occurring near any house. Before taking care of any other problems, this needs to be addressed. These problems are often solved with one of two methods. One method is to build up dirt near the house to angle the water away. Another method is to install catch basins and solid tubing. A catch basin is installed to collect all of the rainwater from the downspouts, which is then connected to solid tubing. The solid tubing moves the water to a pop-up emitter, where all of the water pushes out to a street or catch basin.
Swampy Ground
One of the tell-tale signs of swampy ground occurs when you walk on the ground and some water pushes up around your shoe. This can last for days after a rainstorm. The water builds up and can stay in the ground for any number of reasons, including that the ground is super compact, the ground contains lots of clay, the ground is angled differently, or any number of things. The swampy ground is often best solved by installing French drains and/or drywells.
Flowing River
Just like with the other two problems, this can be caused by a variety of reasons. Often it’s a combination of the two problems above. By fixing one or both of those problems, the river will often go away. Catch basins and French drains can both be answers to this problem., but it depends on the other circumstances.
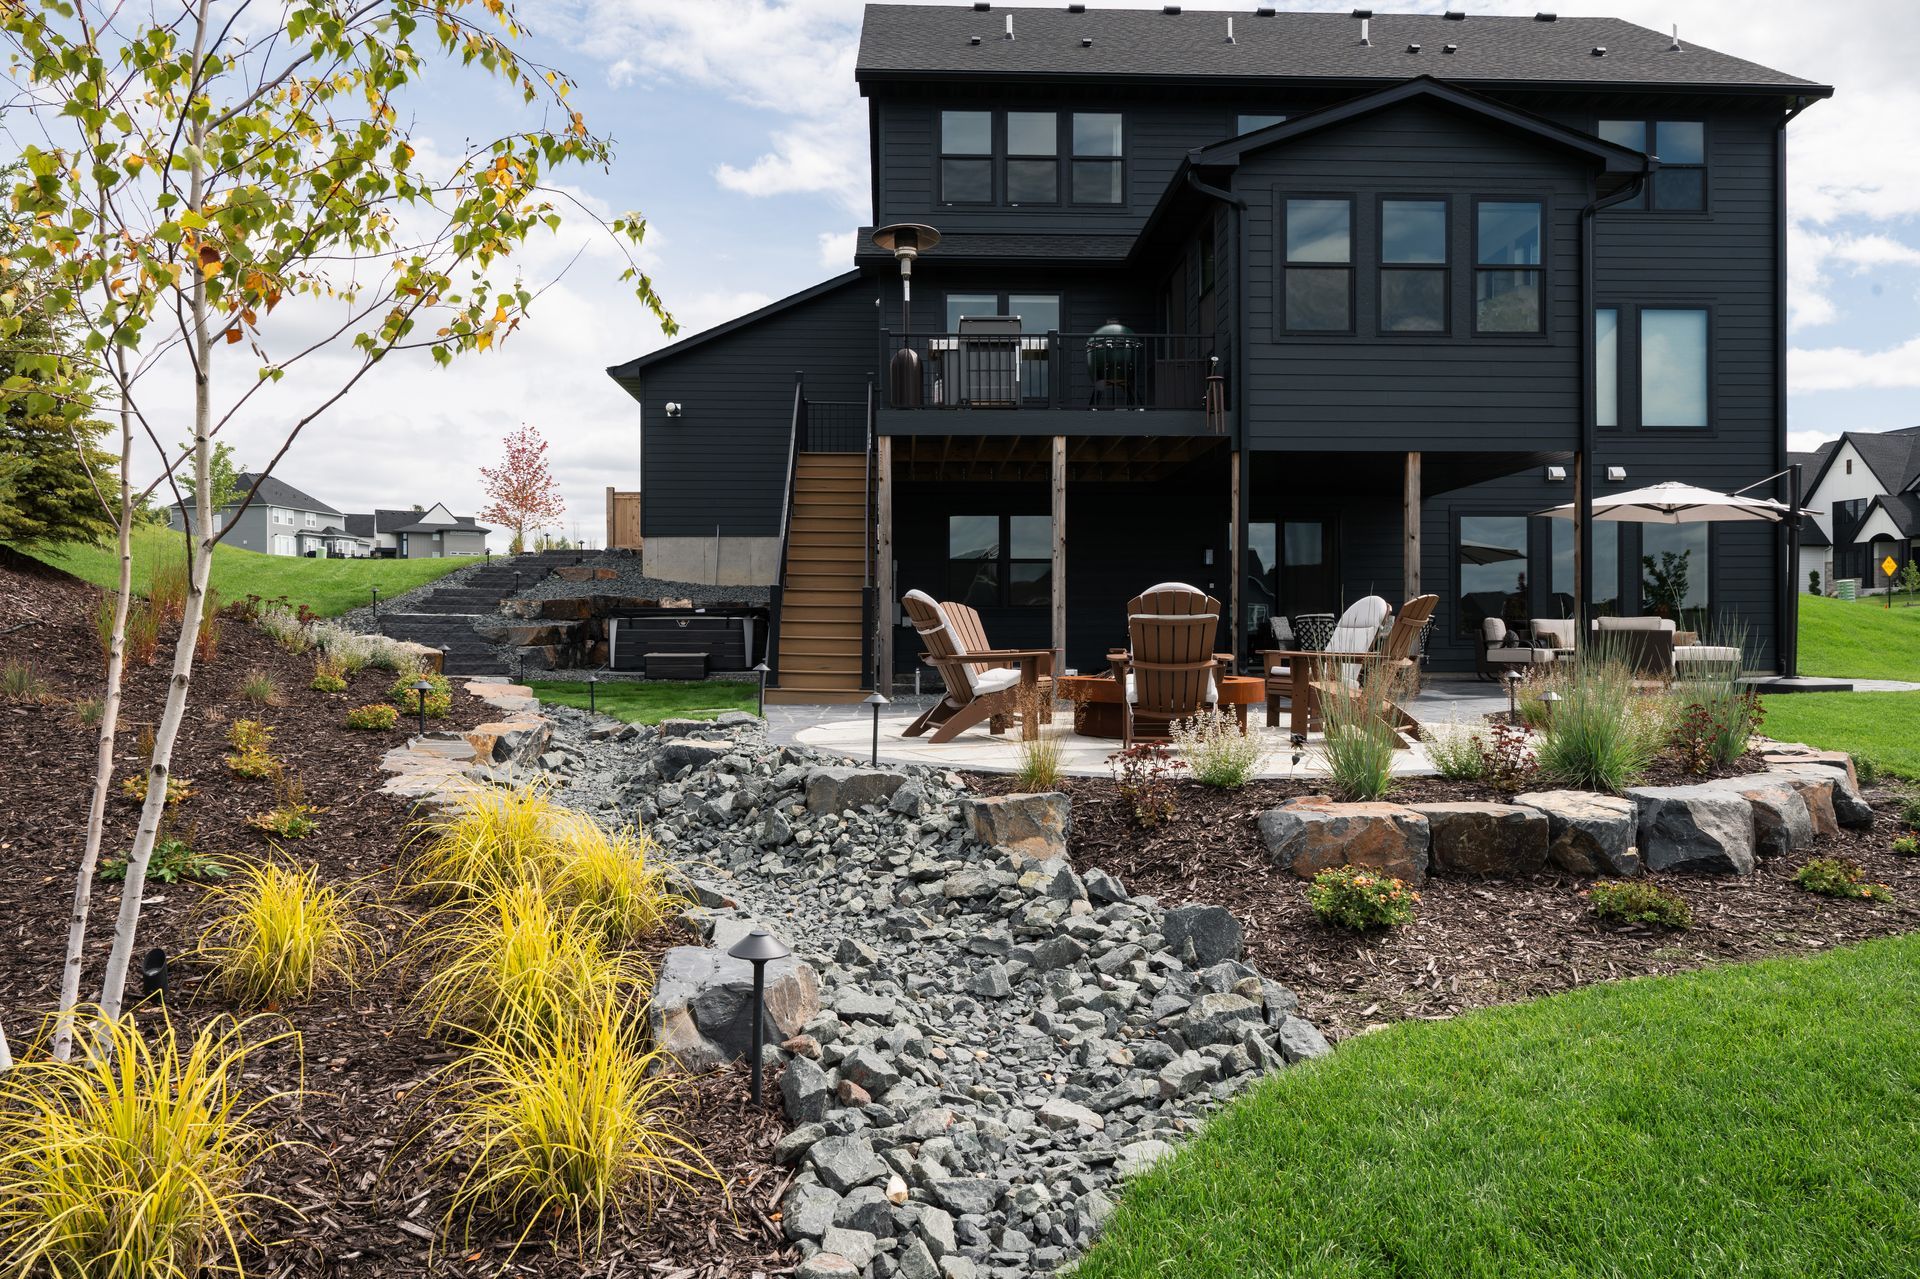
How to build a French drain correctly
What you need
First step
The first step—and if you read everything above then you’ve already done it—is to make sure a French drain is a right answer to your problem and to make a plan. Having a professional come out and look at your property and assess what is going on is the best way to make sure you’re not wasting your time. But if you haven’t read the info above, a French drain is often best with the swampy ground. You want to plan out the trench before you start doing any digging. Know where you are starting (near the middle of the swampy area) and where you’re going to end (further away in a dry area of your lawn). You can even mark the areas with flags or sticks.
Second step
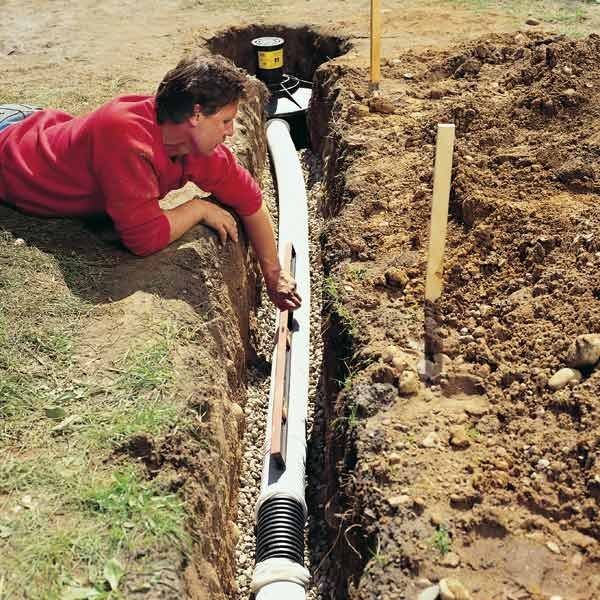
Start digging. You want the trench to be at least 8″ deep. We would suggest digging it at least 8″ wide as well. A wider trench will allow the trench to last longer because it won’t collapse. It also allows more room for water to pass down because, again, the point of a French drain is to get water from a wet area to a dry area. You can dig the trench by hand with a shovel (we LOVE trenching shovels) or you can rent a trencher from a rental company. We have done both methods, depending on the length of the pipe that needs to be installed.
This is when you’d want to install drywell if you’re going to. Just dig some deep holes with a post-hole shovel or with an auger. Then make a sock with landscape fabric and fill it with gravel. Just drop the sock in the hole and you’re good.
When you’re finished digging, line the inside of the trench with landscape fabric that allows water to pass through. The fabric will help prevent some roots from getting into the drain and interfering with the water flow. It also holds back the soil from encroaching into the gravel.
Third step
Fill in the bottom of the trench just a little bit with rock (1″ to 2″) and lay the perforated tube on top. MAKE SURE THE PERFORATION IS ON THE BOTTOM TOWARD THE ROCK. Also, you’ll want the perforated tubing to have a fabric “sock” around it. This stops roots and dirt from getting into the tube. The longer the tube can be free, the longer the system works correctly. Then, simply mostly fill the trench with gravel and replace your grass and dirt. That’s it!
If you need some professional guidance or want our team to install an outdoor drainage system,
please feel free to fill out a quote request or call us at 763-568-7251.
Ready to Start on Your Next Project?
Call us at (763) 568-7251 or visit our quote page.
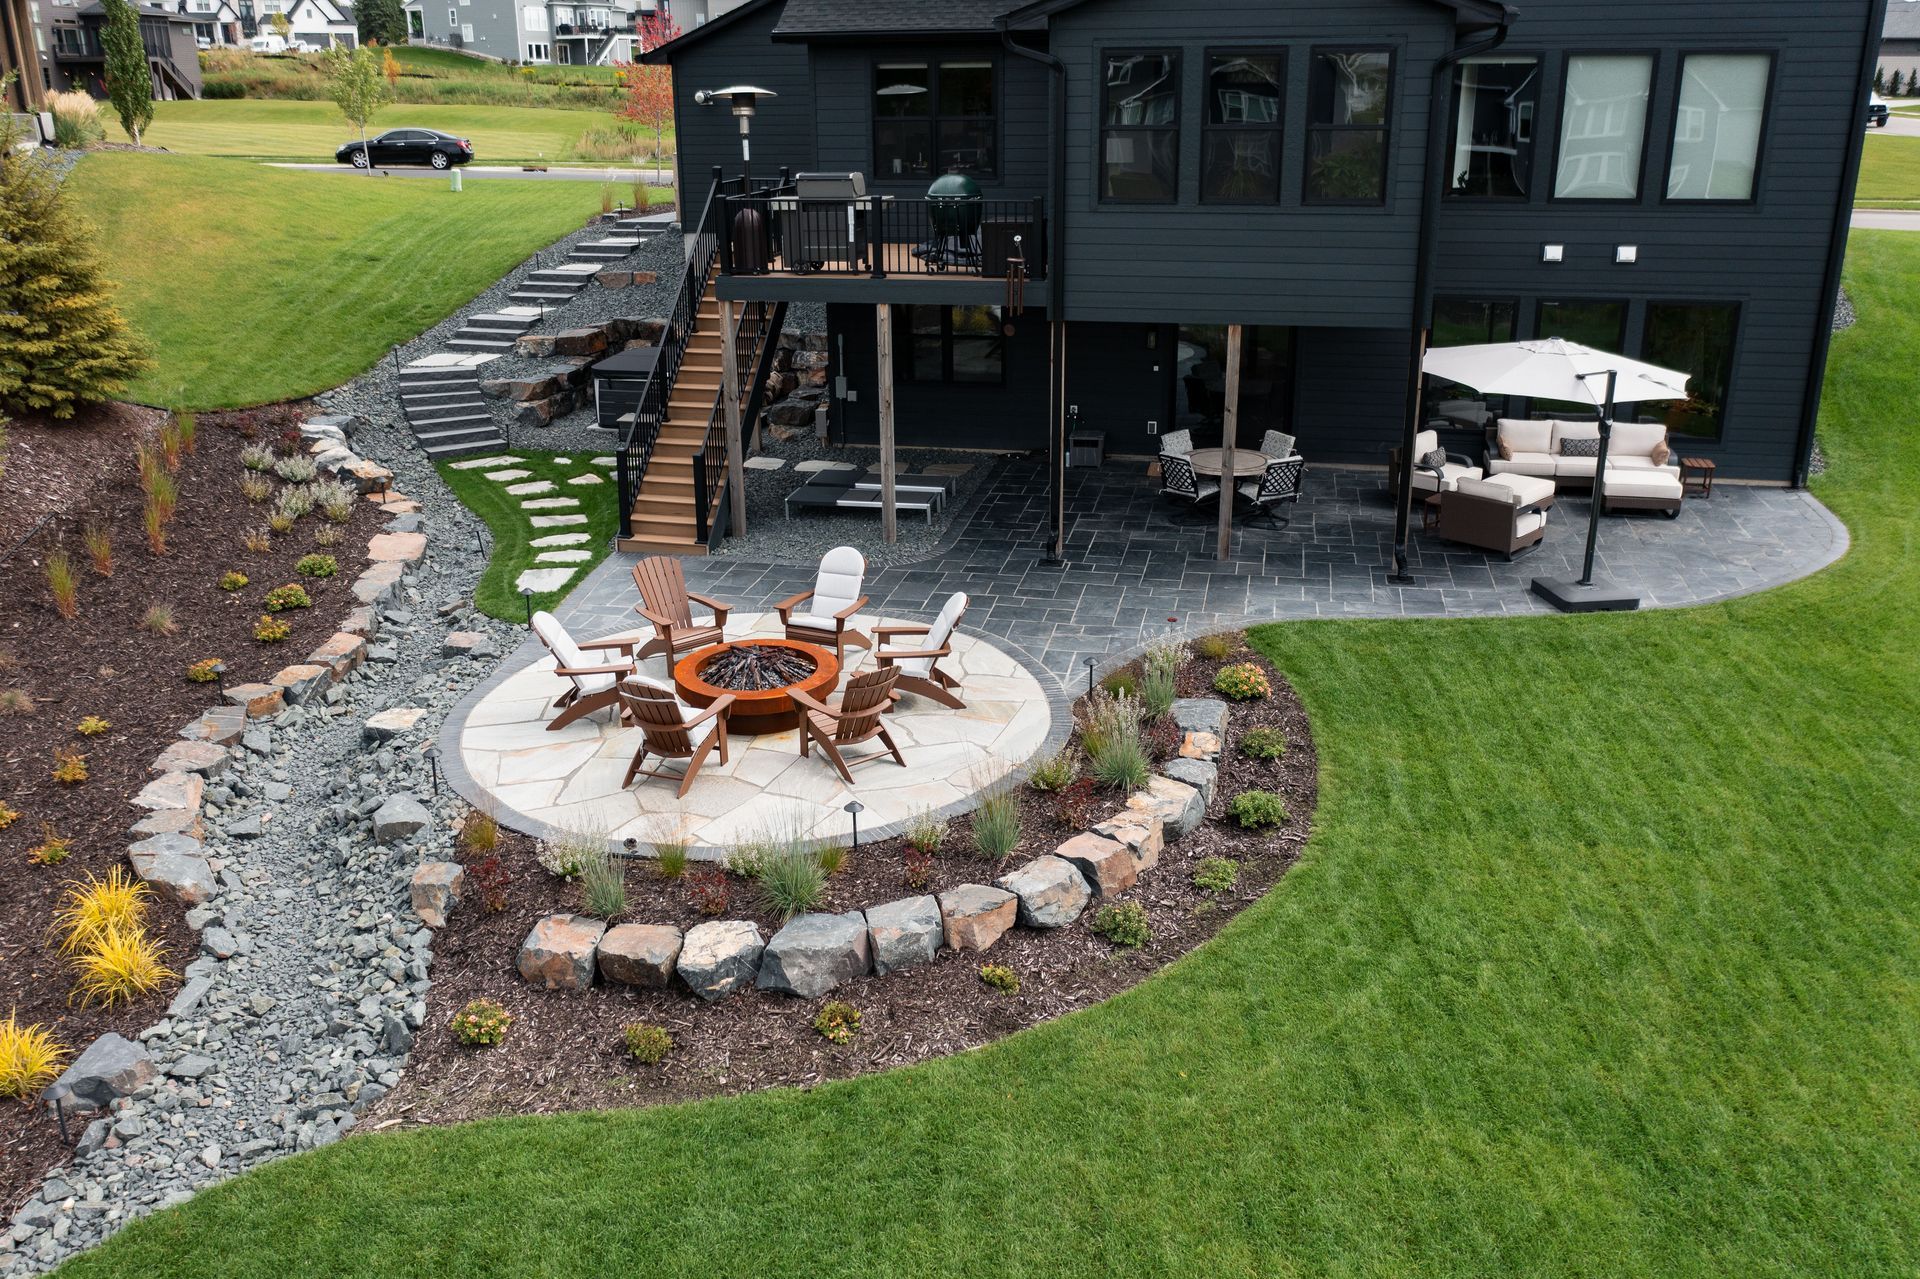
How to design a backyard patio and outdoor living space around a walkout basement in Chanhassen, with fire features and integrated landscaping.
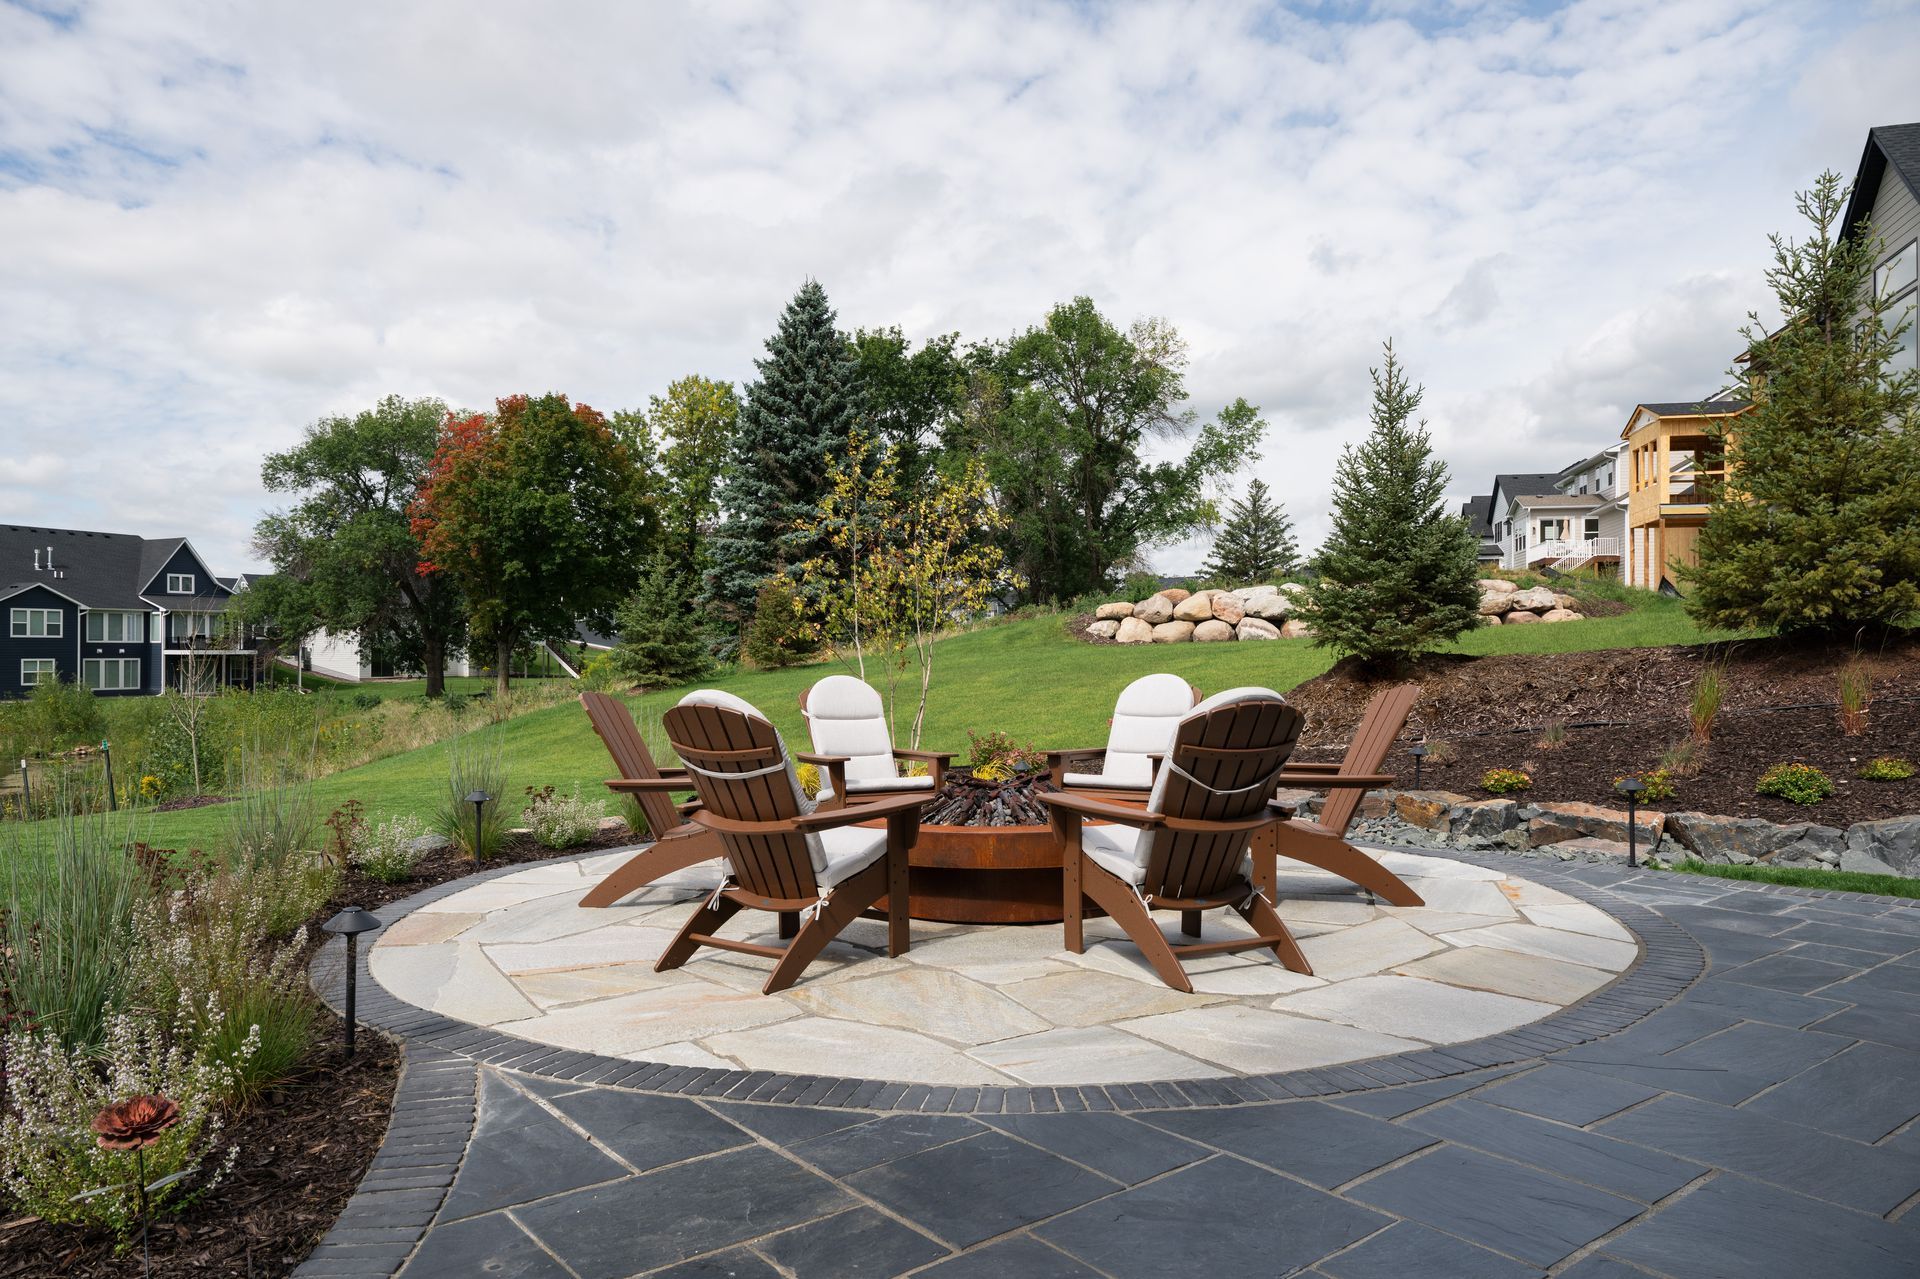
How KG Landscape designed a rustic flagstone patio around a custom gas fire feature in Wayzata, built for gathering, comfort, and year-round use.
How KG Landscape used screen plantings and intentional design to block unwanted views and create a private, beautiful yard for a Wayzata homeowner.
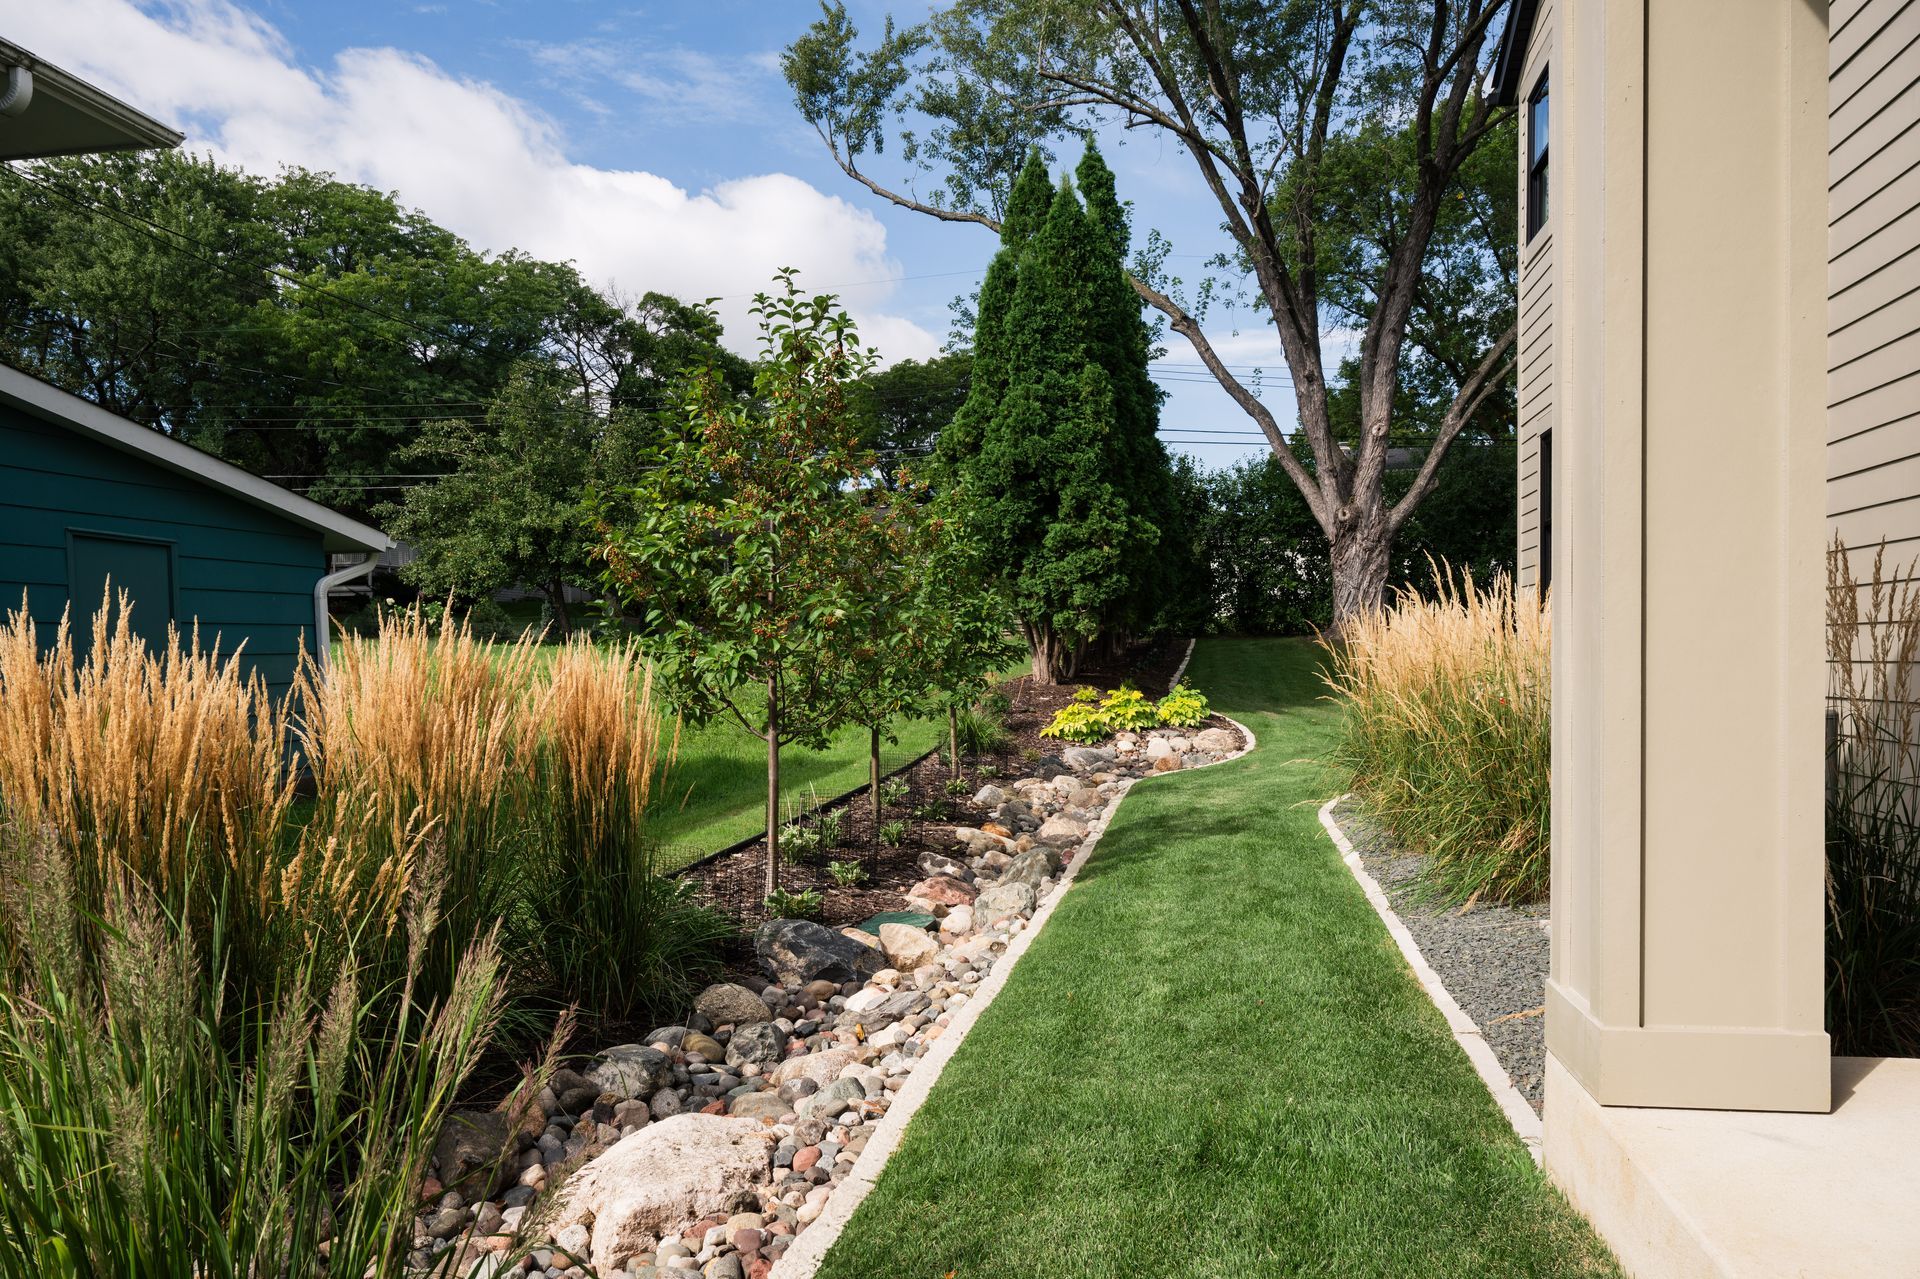
How KG Landscape solved drainage, privacy, and curb appeal with a dry creek bed and screen plantings for an Edina homeowner's wet, unusable side yard.
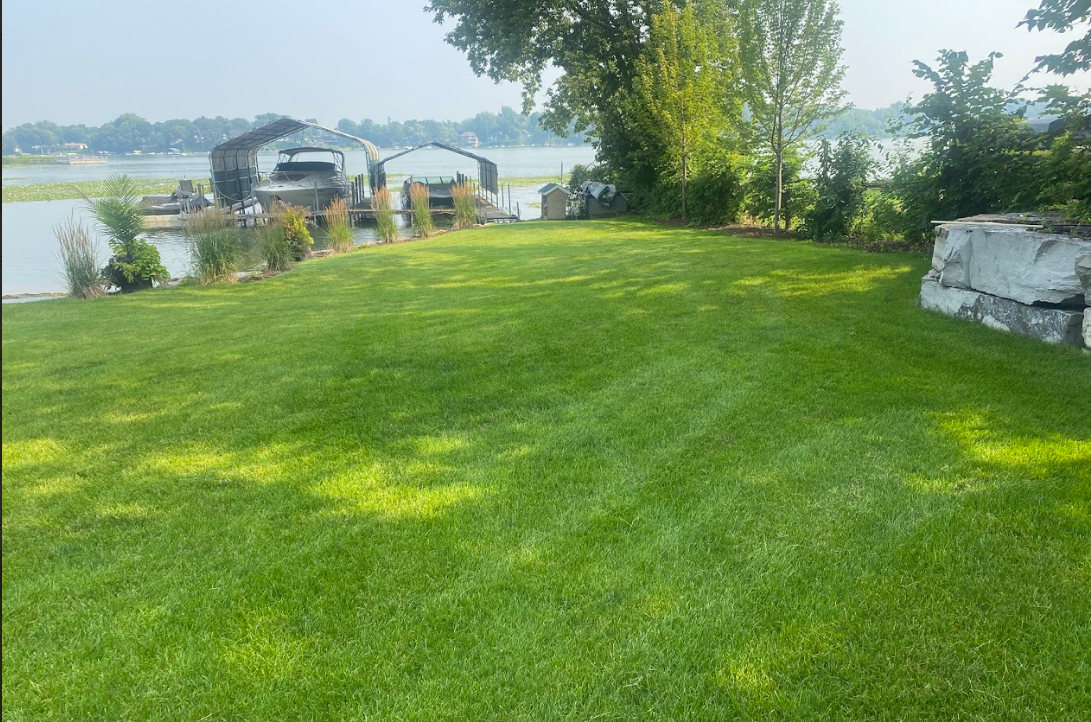
See how KG Landscape used topdressing to restore a thinning, uneven lawn on a lakefront property in Minnetonka, MN. Expert lawn renovation for lasting results.
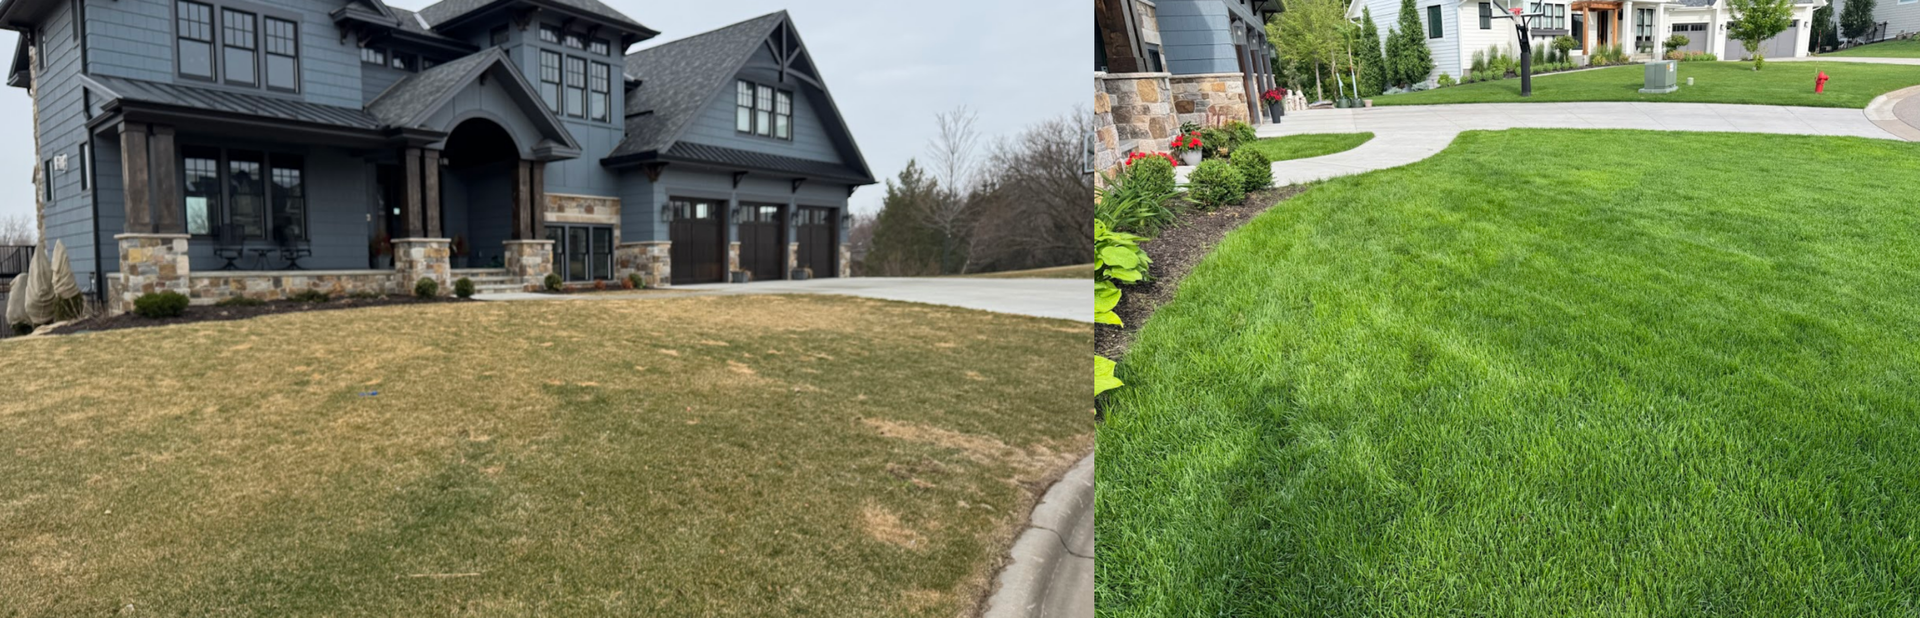
Learn how topdressing and overseeding transformed a struggling new construction lawn in Mendota Heights, MN. KG Landscape shares the process and results.
Spot drainage problems early in Bloomington, MN. Learn the warning signs of yard water issues and when to call a pro. Get a free evaluation.
New lawn dying after move-in? Learn why builder landscaping fails in Bloomington and how to fix the soil problems underneath. Free evaluation.
Learn how compost-based topdressing restores thin, patchy lawns in Minneapolis. Discover the process, benefits, and best timing for this natural lawn care solution.
Avoid the terracing mistakes that cause wall failures on Eden Prairie slopes. Learn what goes wrong and how to build it right the first time.